Back at the Duke’s Altar, now is a good time to invest the Lei you’ve accumulated in previous parts into upgrades and ammo. From the Moreau section onwards is when the action elements of Resident Evil Village really come to the fore, with tougher battles and more difficult foes in greater numbers. When you’re ready, open the Four-winged Unborn key door on the southern edge of the Altar. This leads back to the East Old Town where you faced the overwhelming force of lycans at the start of the game.
Waterwheel Weapon and Black Werewolf
In this East Old Town area, your main objective is to pick up the Waterwheel Weapon before you make your way down to Moreau. Walk down the hill towards the buildings, and after the scene, fire off a couple of shots until you’re free to move again.
When you are, you’ll have to stalk around the village. Go outside the building, turn around and look over the stream to your left.
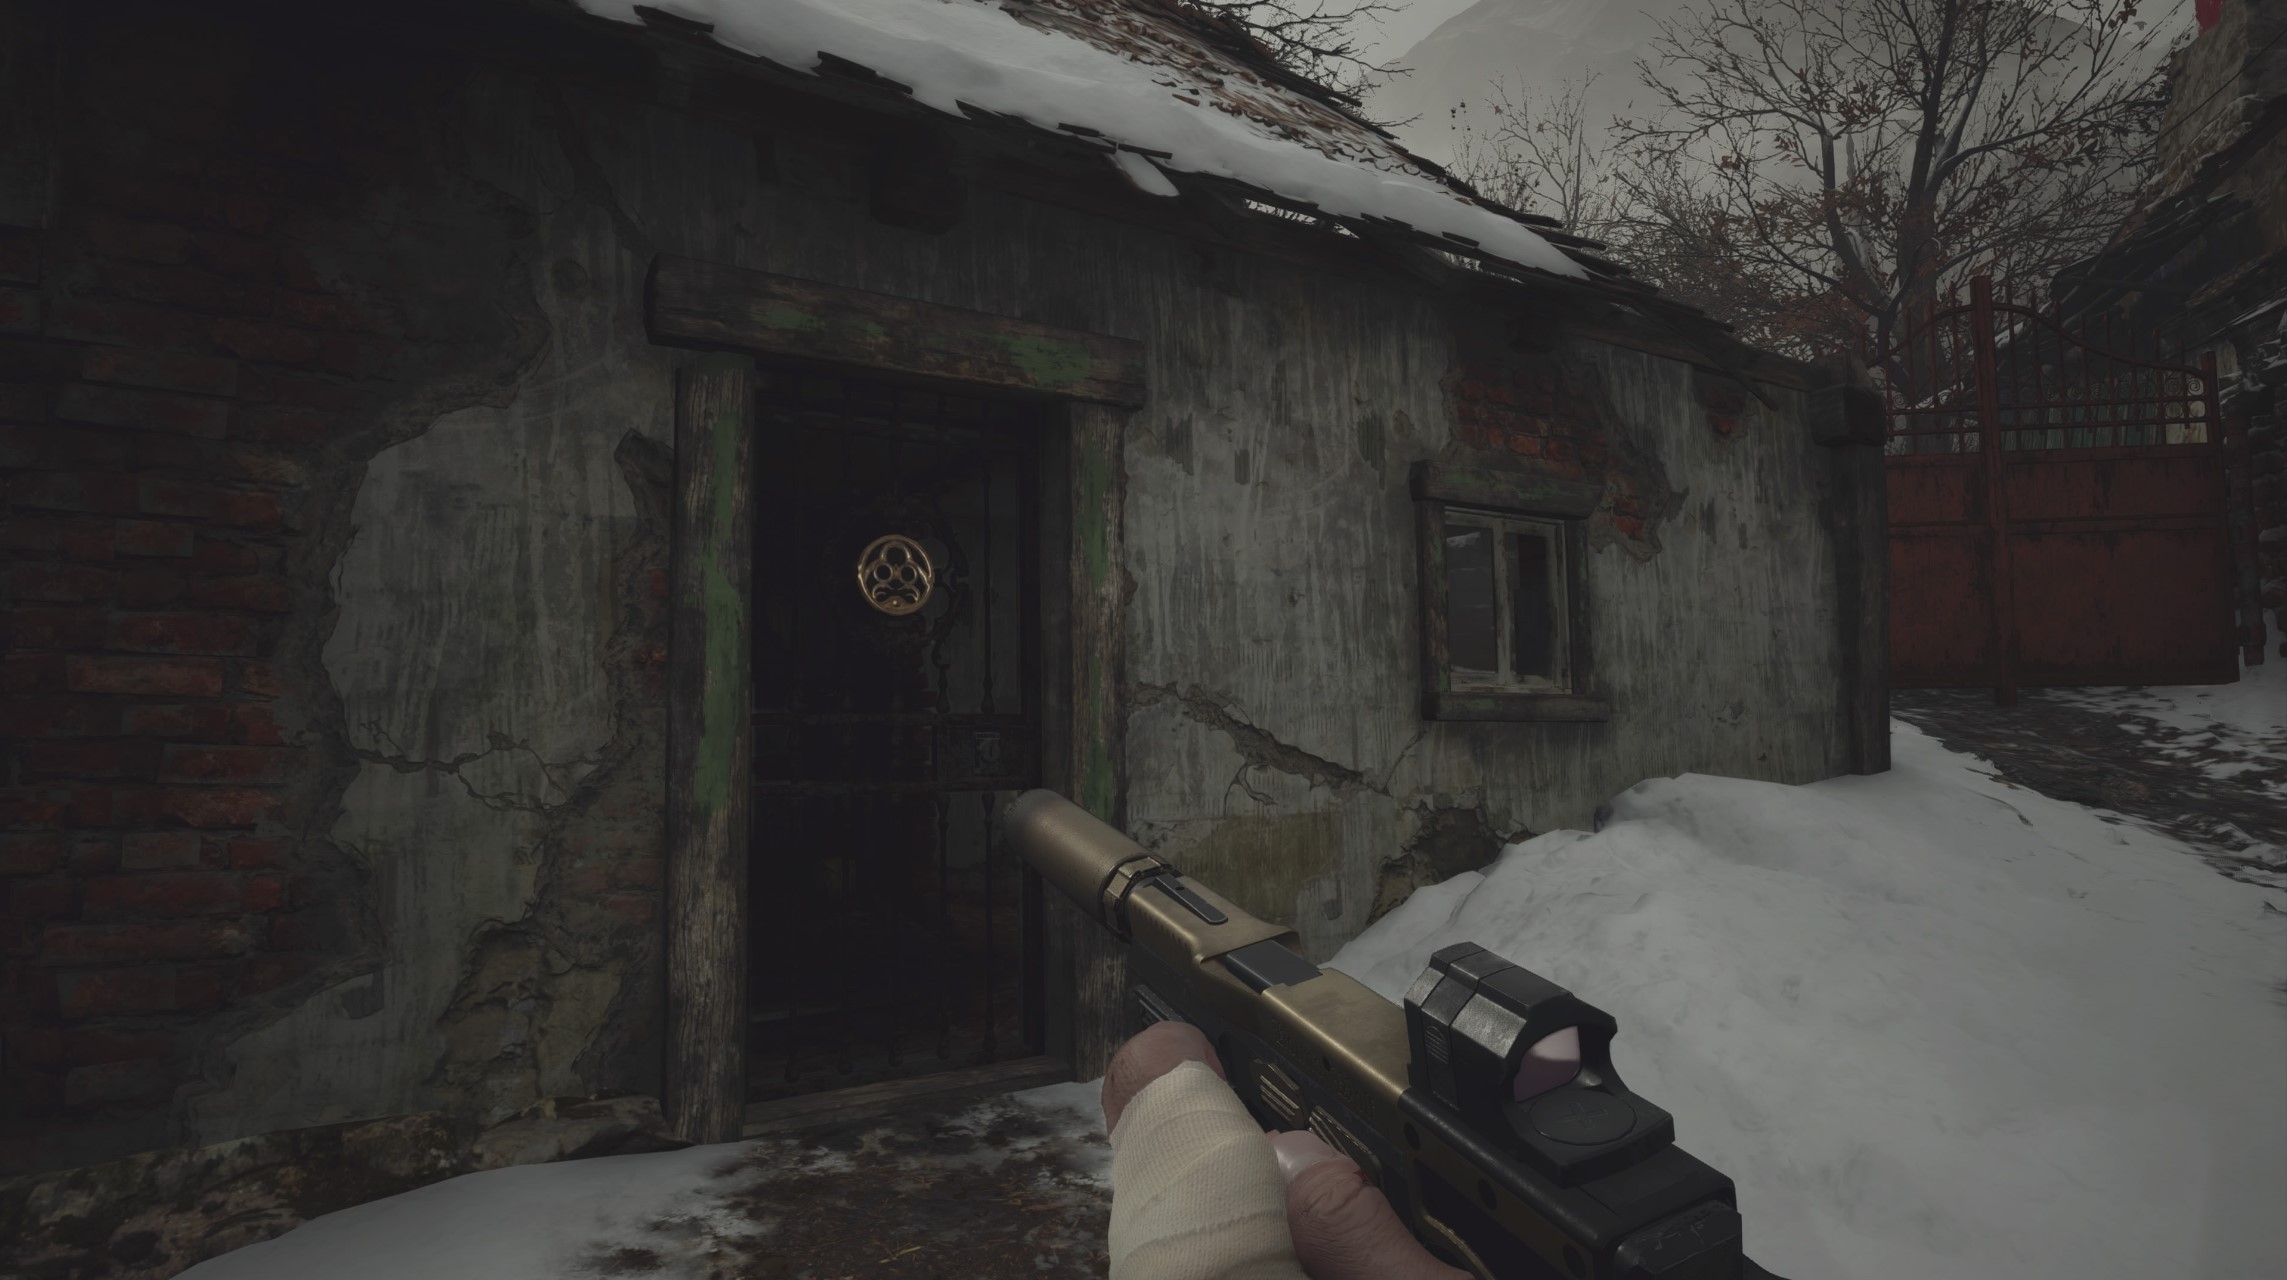
Inside the iron insignia door is the waterwheel weapon: a grenade launcher.
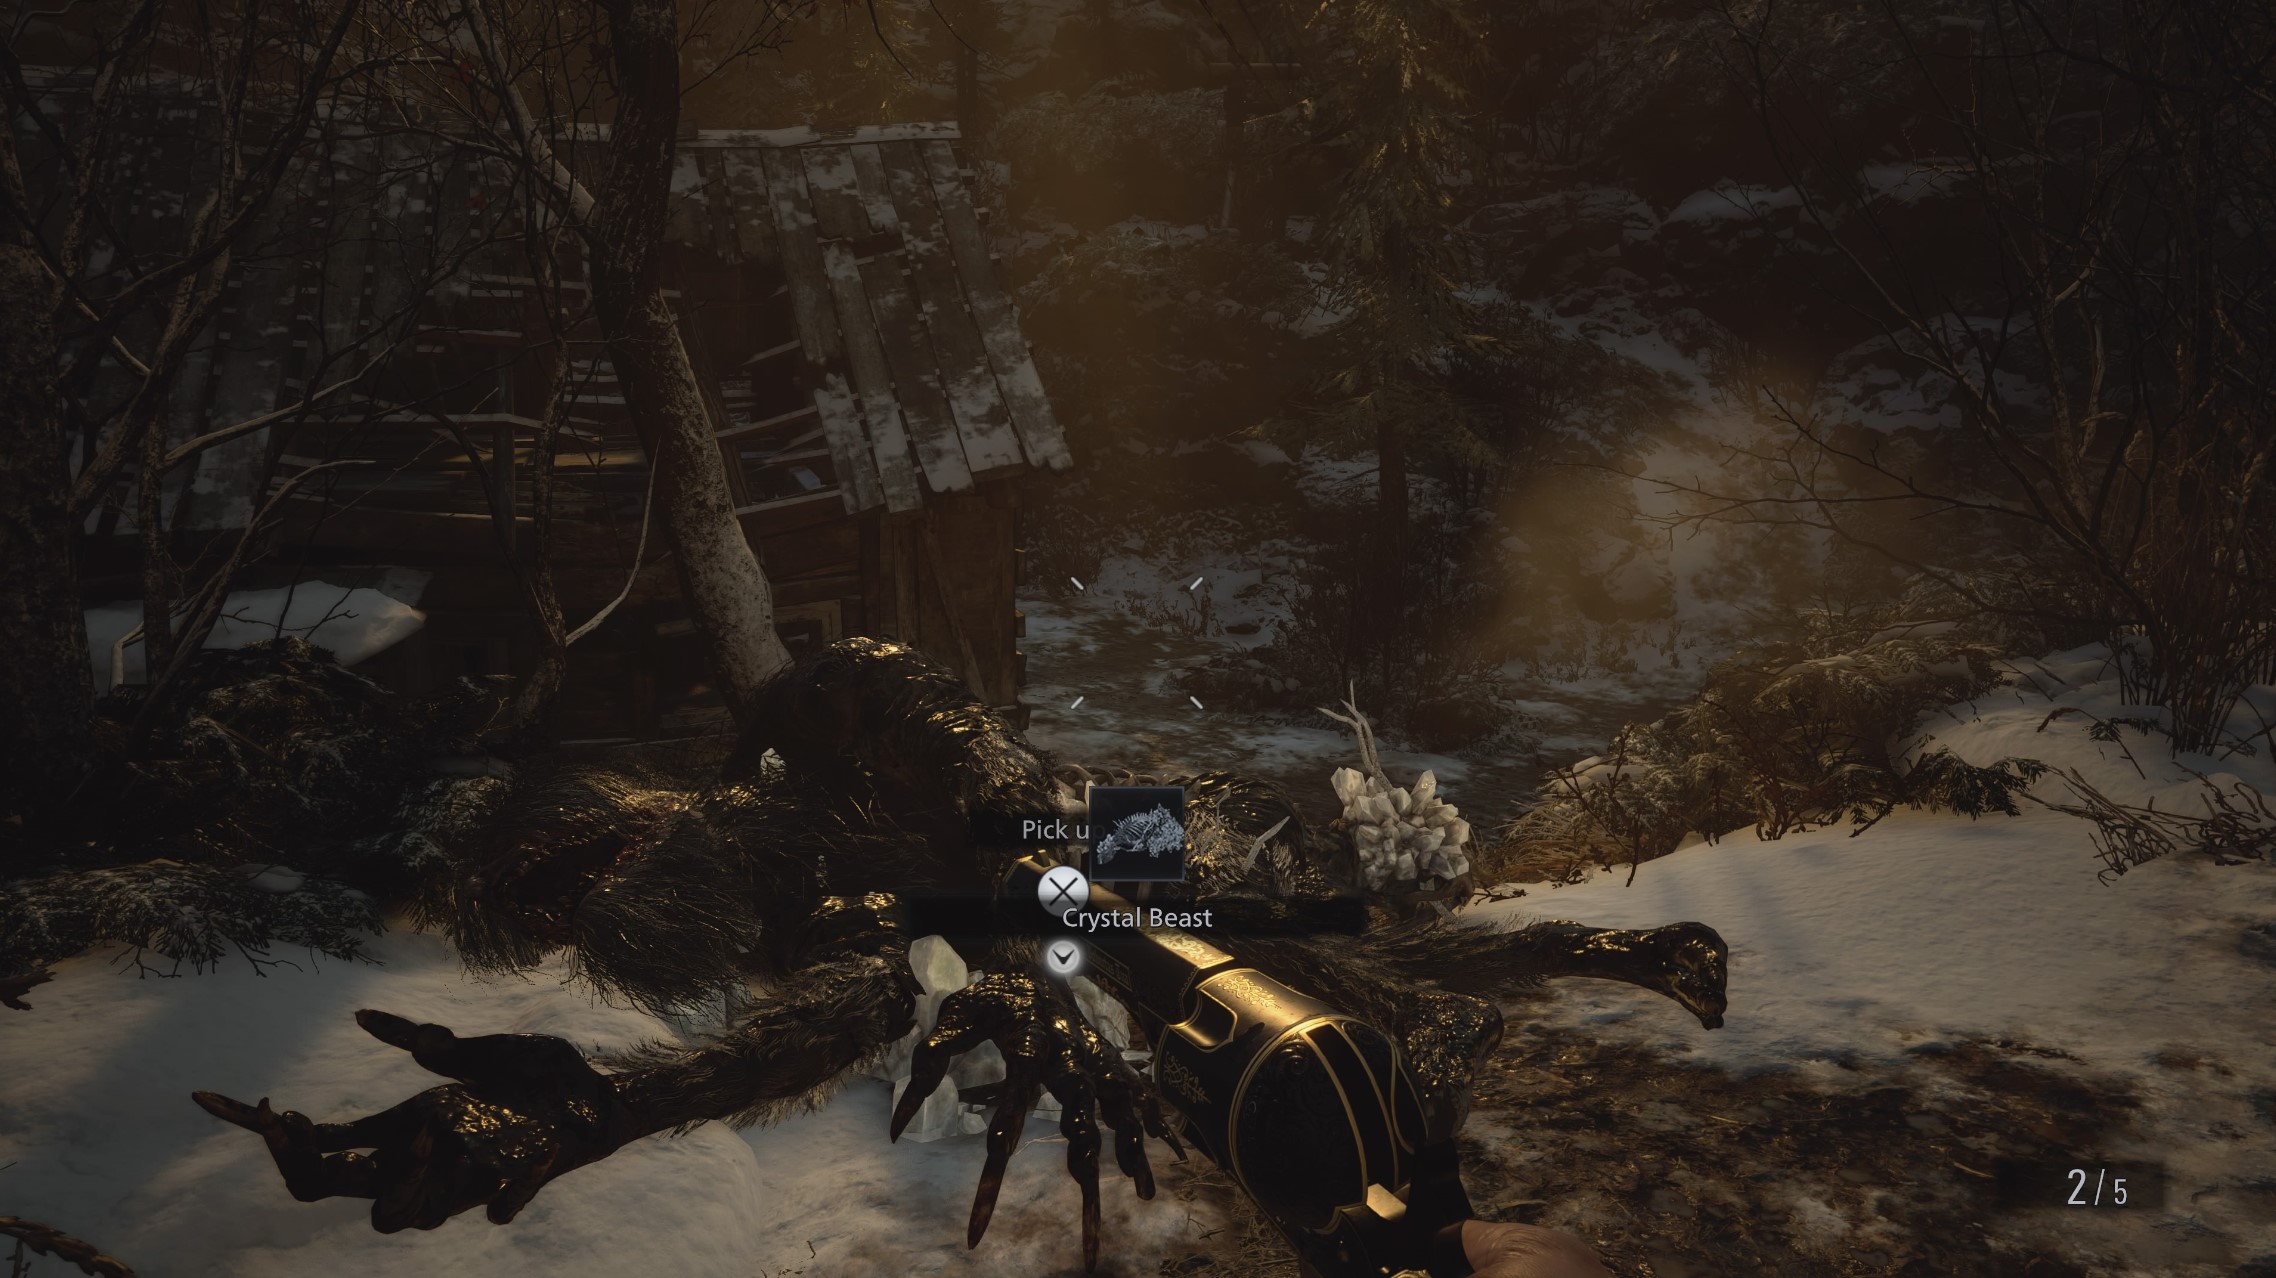
Break the box on your right for some more ammo, and now you’ve got a decent weapon against the beast. It definitely looks intimidating, especially after its introduction, but it is very beatable. You’ll find the beast walking languidly around. Take aim with the grenade launcher, fire off a shot, reload and fire again. Between a couple of grenades and a few sniper and shotgun blasts, it’ll die, leaving the Crystal Beast for you to sell.
Now head down to the southeast, towards the Reservoir. Shoot the slime blocking your path and it will dissipate.
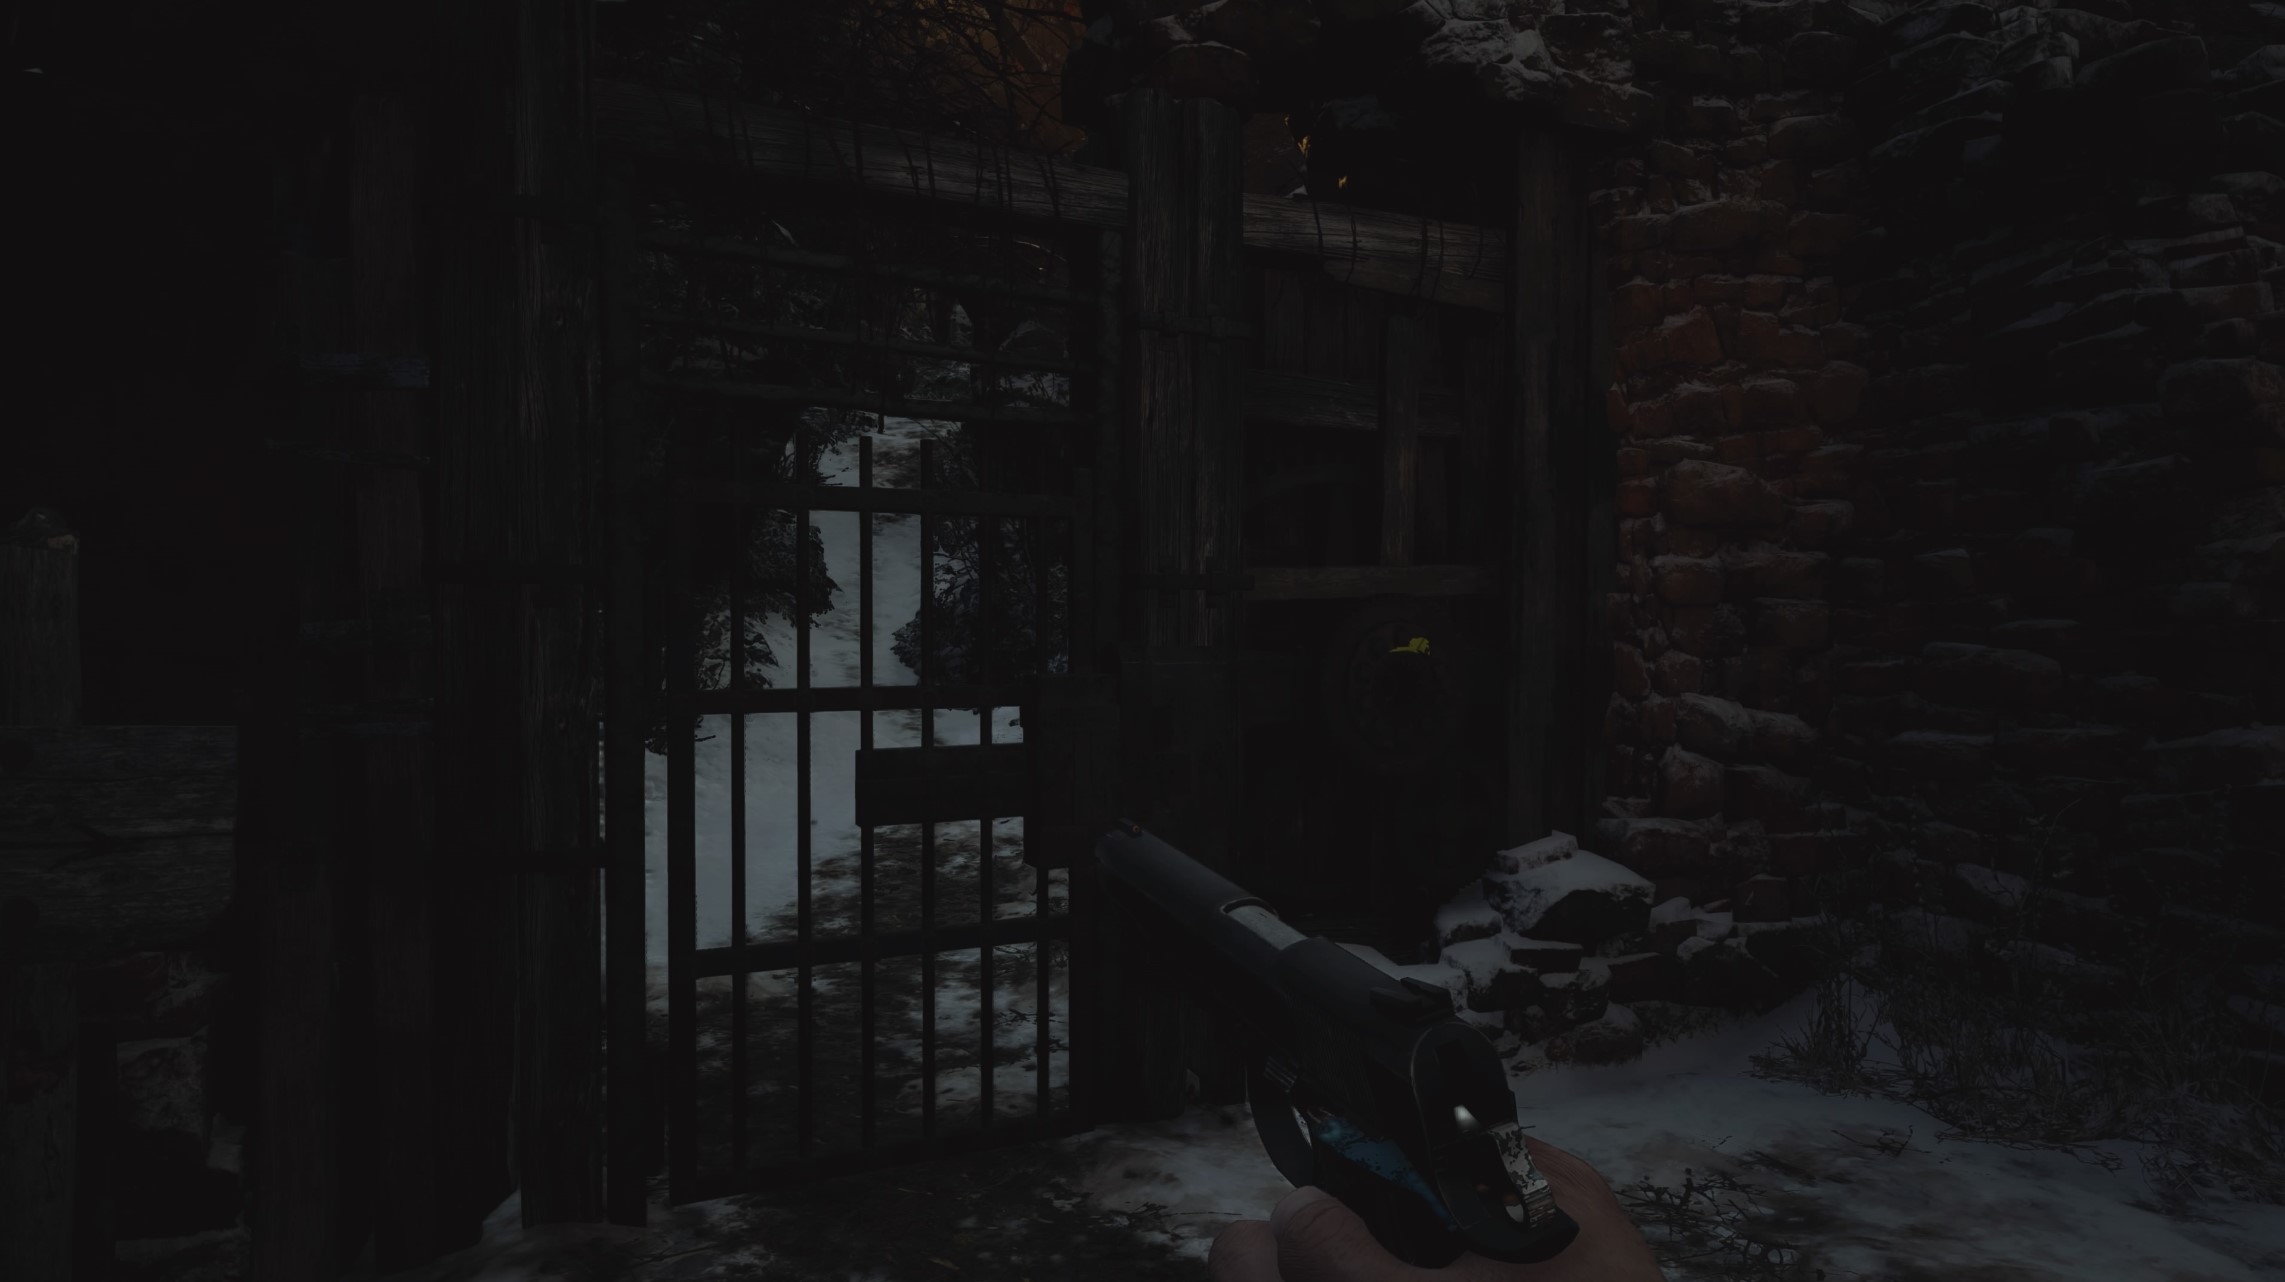
Walk up the hill and you’ll come to a dead end at a locked gate. Shoot the slime on your right a few times to reveal a ladder and climb over the wall.
Kill the pigs you find here for meat to cook some upgrades at The Duke. You should get 4 meat from here, then go inside the windmill. On the right is a photo of a rare animal, which is the white pig next to the well in the Fallow Plot, next to Luiza’s House in the main village.
If you haven’t killed it already, take a detour back to the Fallow Plot or the Duke’s carriage and use the juicy game from the white pig and the meat and poultry you’ve already collected to greatly increase your health. Once you’ve done that, return to this area and go further into the windmill. On the left is a save point, while your destination is the staircase labelled reservoir elevator around the back.
At the bottom, interact with the elevator to start a new nightmare. Leave the elevator, then go out into the cave in front of you. There’s a fork off to the side which is blocked by a six-winged unborn key lock. Walk forward and you’ll see the gate is locked, so look left to the rail line, above which is a crystal fragment to shoot down.
At the end of the line, take the stairs up, then double back on yourself and squeeze through the coral. Grab the flask, that was easy, and speak to Moreau.
Where to find the Boat Key
After the scene, squeeze back through the coral. Then run down the stairs, up the rail line and back into the larger cave again. Go through the now open gate on the left, then out into the air.
At the end of the path, go around the corner to the right, and you’ll see a boathouse.
Ignore the box floating in the water for now, then start the engine of the boat moored at the dock. You’ll find that you need the boat key, which is back in the mine. Go back the way you came and as you enter you’ll see a staircase on the left you passed earlier.
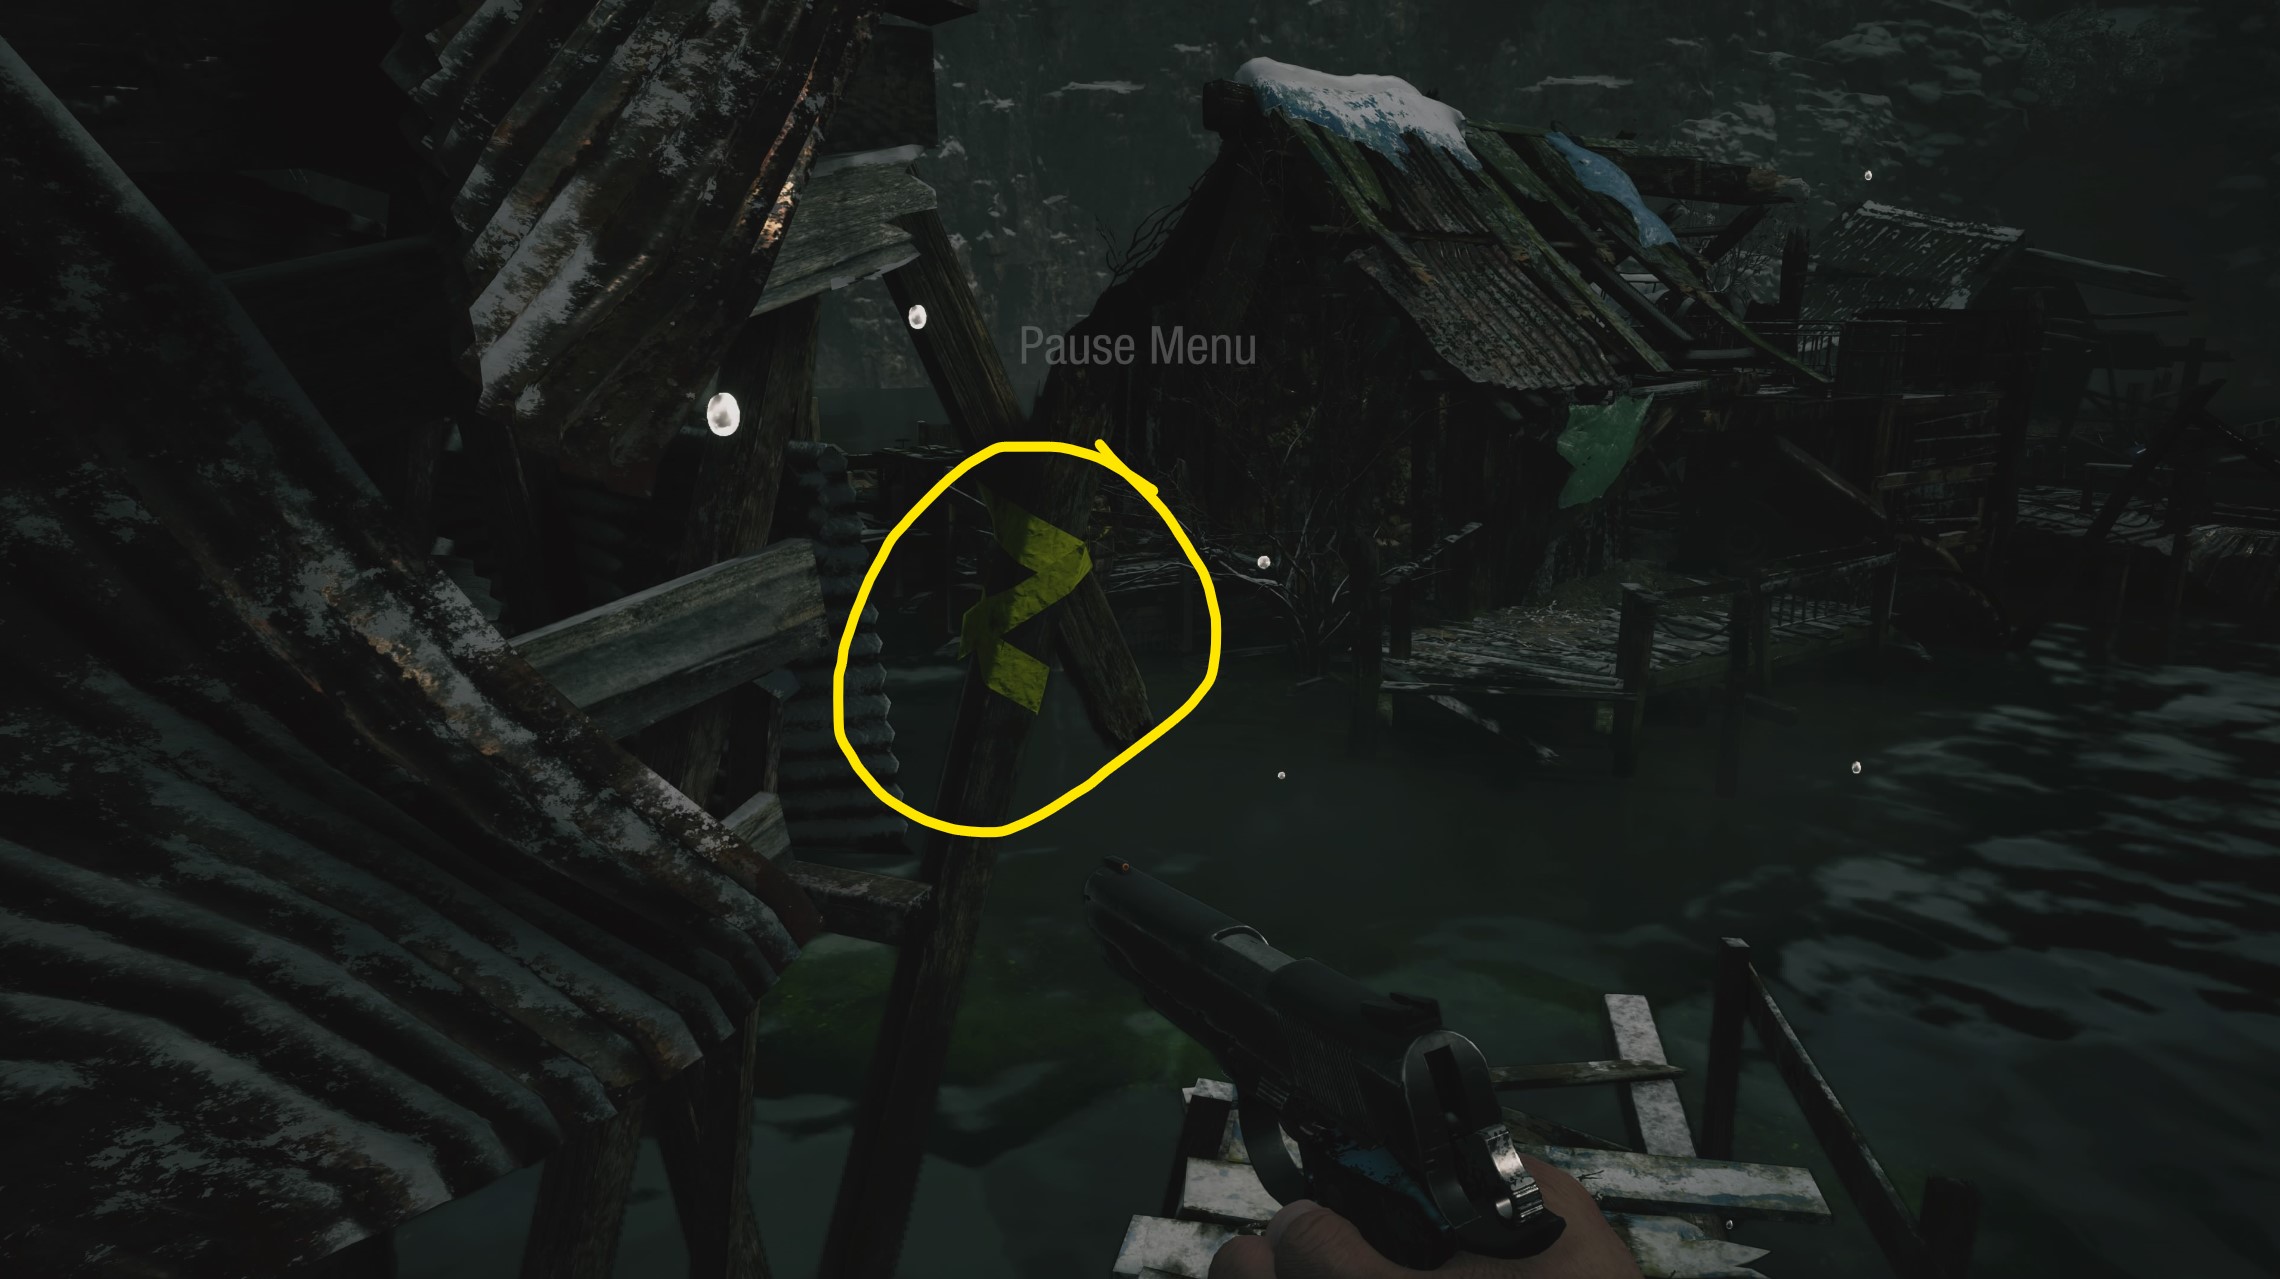
Go up and take a right at the top for some ammo, then go back to the left and examine the yellow-marked beams to advance. Shoot the beams, then walk across the planks and climb down the yellow ladder.
At the bottom, break the barrel, then go over to the light on the left. In this clearing, you’ll see the mine shack where the key is, guarded by Lycans. You’re safe to assume that they’re not going to invite you to tea and start the party with a headshot - there’s two to deal with. At the end of the pier is some ammo and some more in the upturned boat, but you want to search the shack, where you’ll find the boat key. However, when you go inside, you’ll be ambushed by one of the armoured lycans again, and you’ll need to dump some serious ordinance into him to take him out.
Not only that, but he’s joined by at least 4 other lycans, in what is a massive fight compared to anything outside of a boss you’ve faced so far. A couple of cheeky grenade shells will sort the armoured fella out, but this test will likely deplete your reserve of shotgun shells too. Make use of the shelving inside the boat house to create a barricade across the door and approach them methodically if you’re overwhelmed.
With them dealt with, return to the boat outside, where you’ll now find lycans guarding the jetty. Defeat the two of them, then hop in the boat and set sail straight forward into the cave ahead.
On the other side, bear right into the side path, disembark, then make your way forward into the shanty.
Before you enter, look to your right and there’s a side cave.
Wade down here and there are two catfish which give you 2 fish each when killed. Now return to the shack.
Power the Windmill
After the scene, run along the jetty in front of you, then after you jump to land, drop down over the ledge and go right towards the gatehouse.
In here you can see that you have to drain the reservoir, but need to turn on the power first, and that the Duke has take up residence in a room behind you with a Save Point.
When you’re done, go out of the other side of the gatehouse. Immediately after you leave if you go right there’s an outhouse with chem fluid inside, but otherwise go up the hill in front of you.
When you reach the clapped out car, you’ll learn that the crank in the windmill in front of you is busted and that there’s another in windmill 2.
On your right are three chickens to kill for poultry, then some scrap and a crystal in a box. When you’ve collected that, continue forward to the dilapidated windmill. There’s some ammo on the left, then smash the barrel on the right for some more. Now examine the crank behind you, and it breaks as expected. Go further around the platform, then inside the windmill hut and down the ladder. At the bottom, you come out onto some submerged buildings you can walk across.
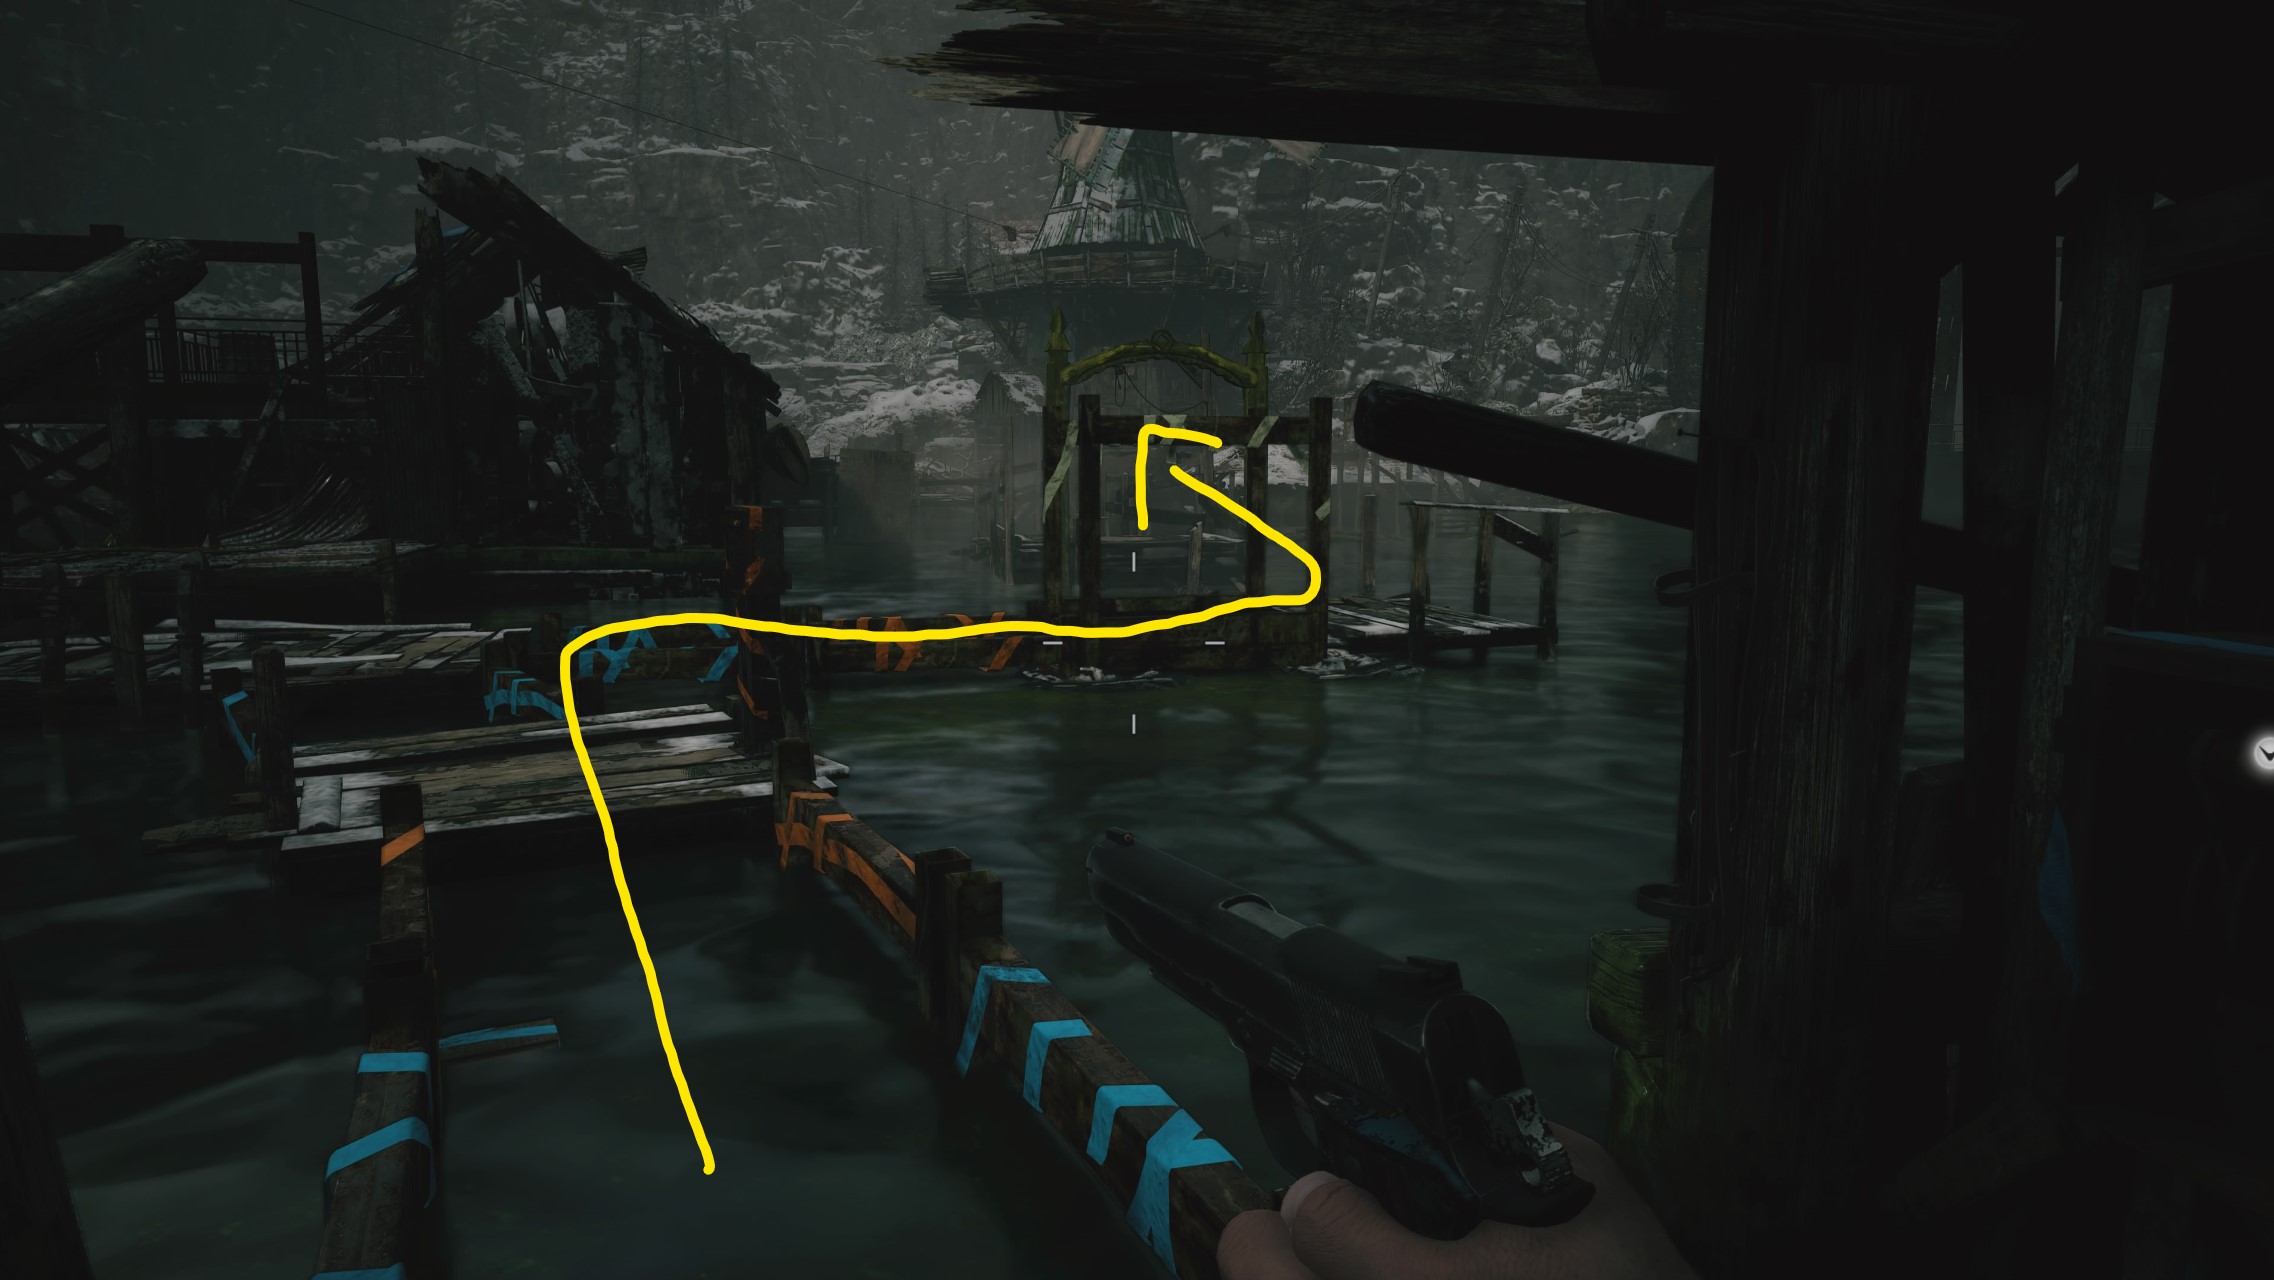
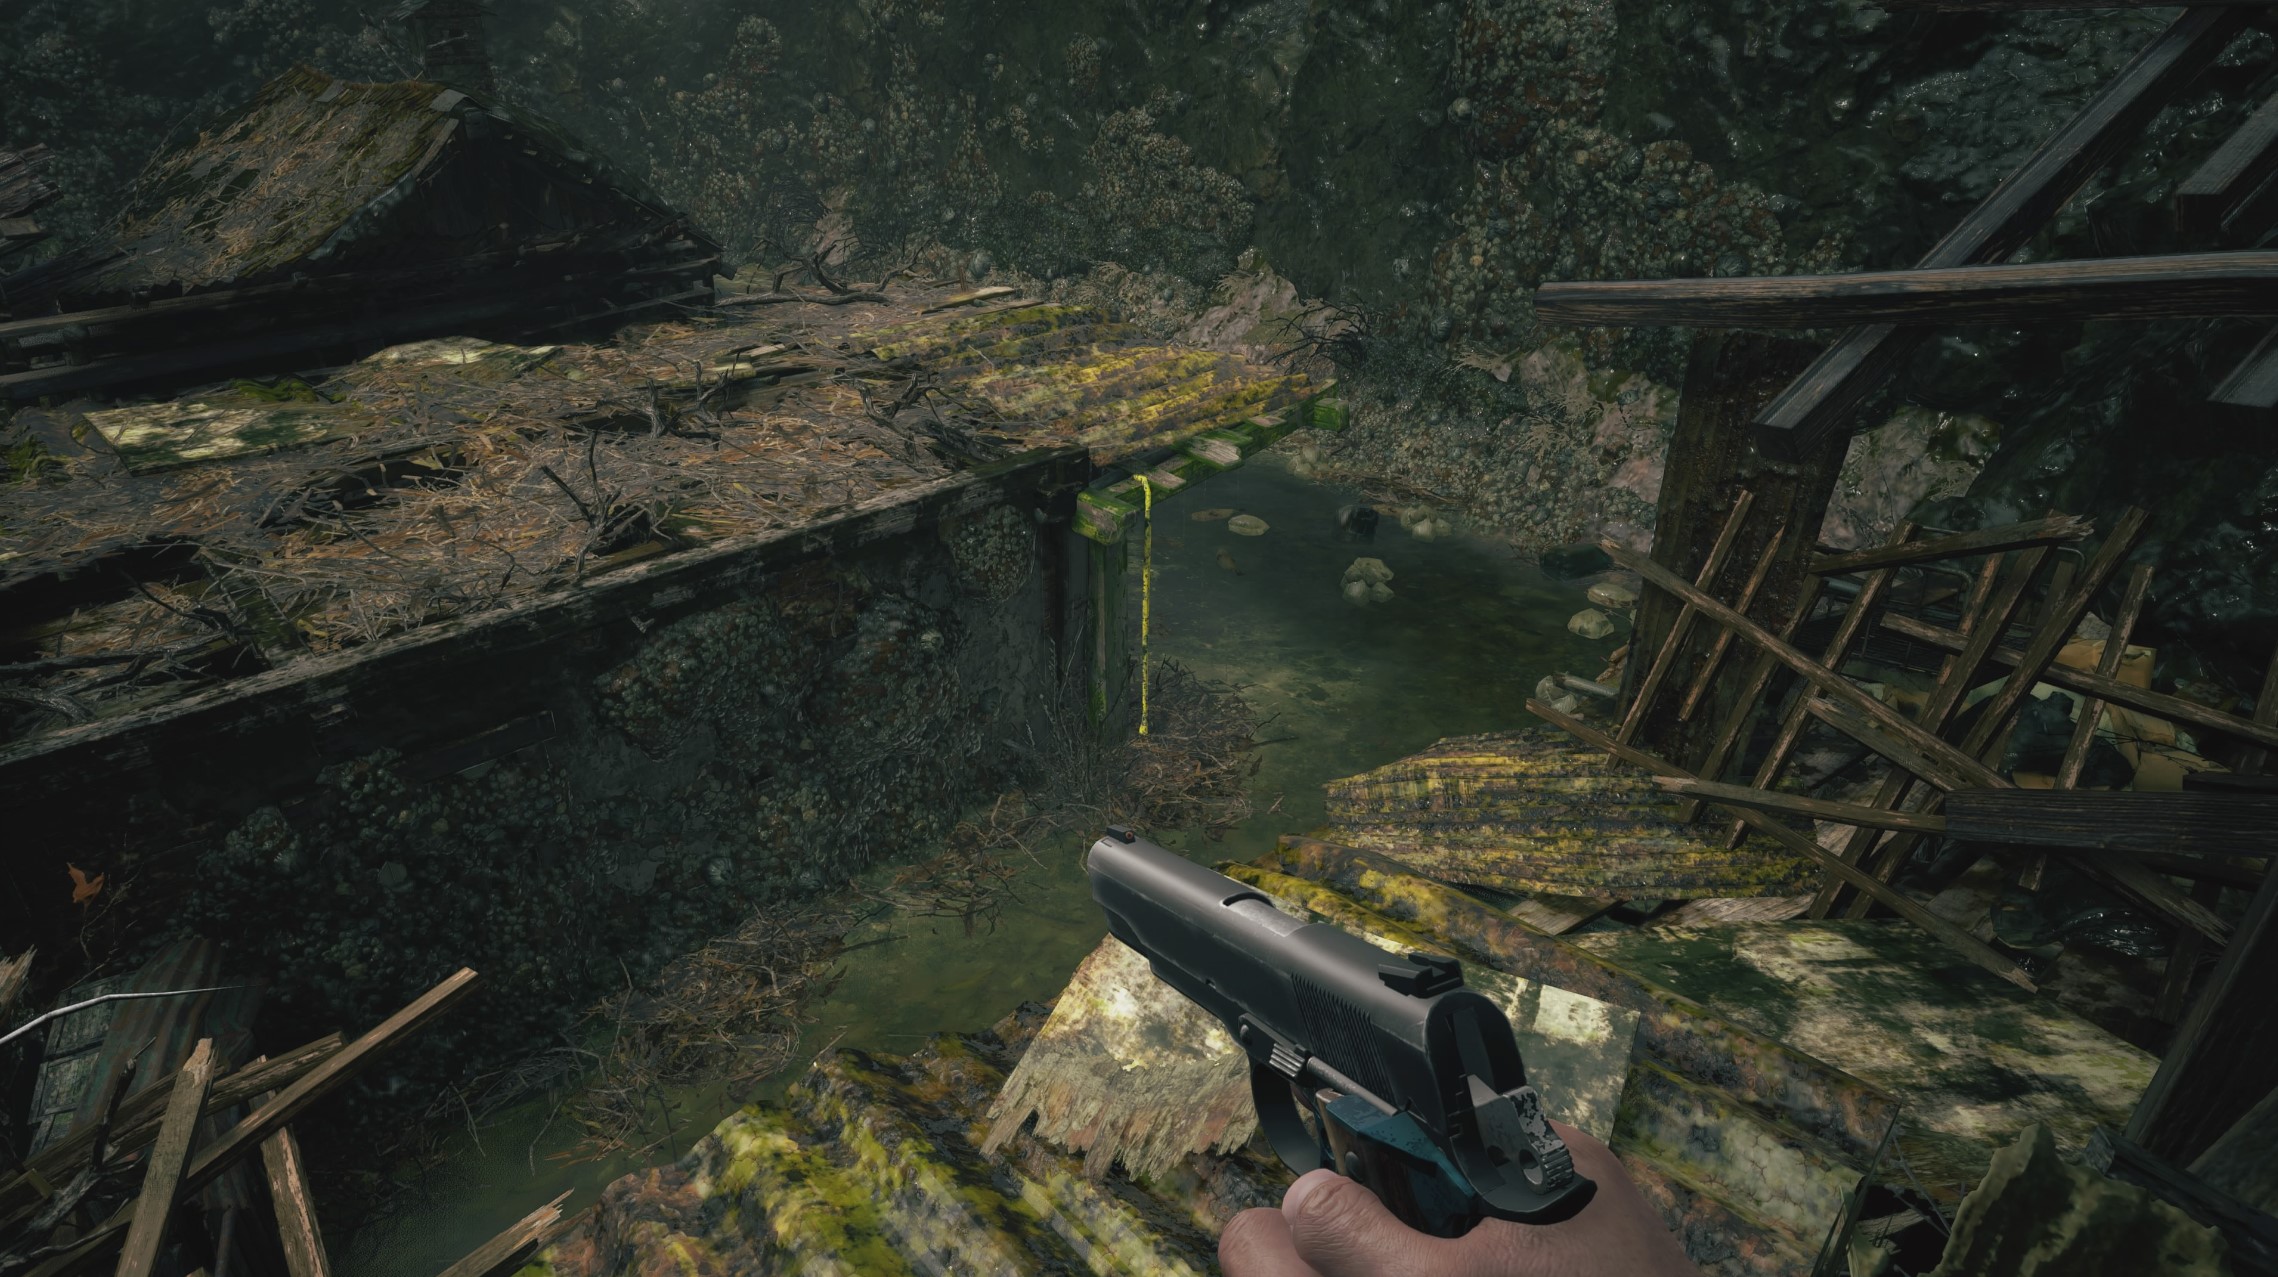
Go forward, then right, collecting the handgun ammo in front of you before shooting the yellow taped beam to drop a new path.
On the other side, go over the top of the angled roof, then shoot the yellow-taped beam on the left.
Run around to the other side of the now teetering tower and there’s another taped beam to shoot, which gives you a way forward.
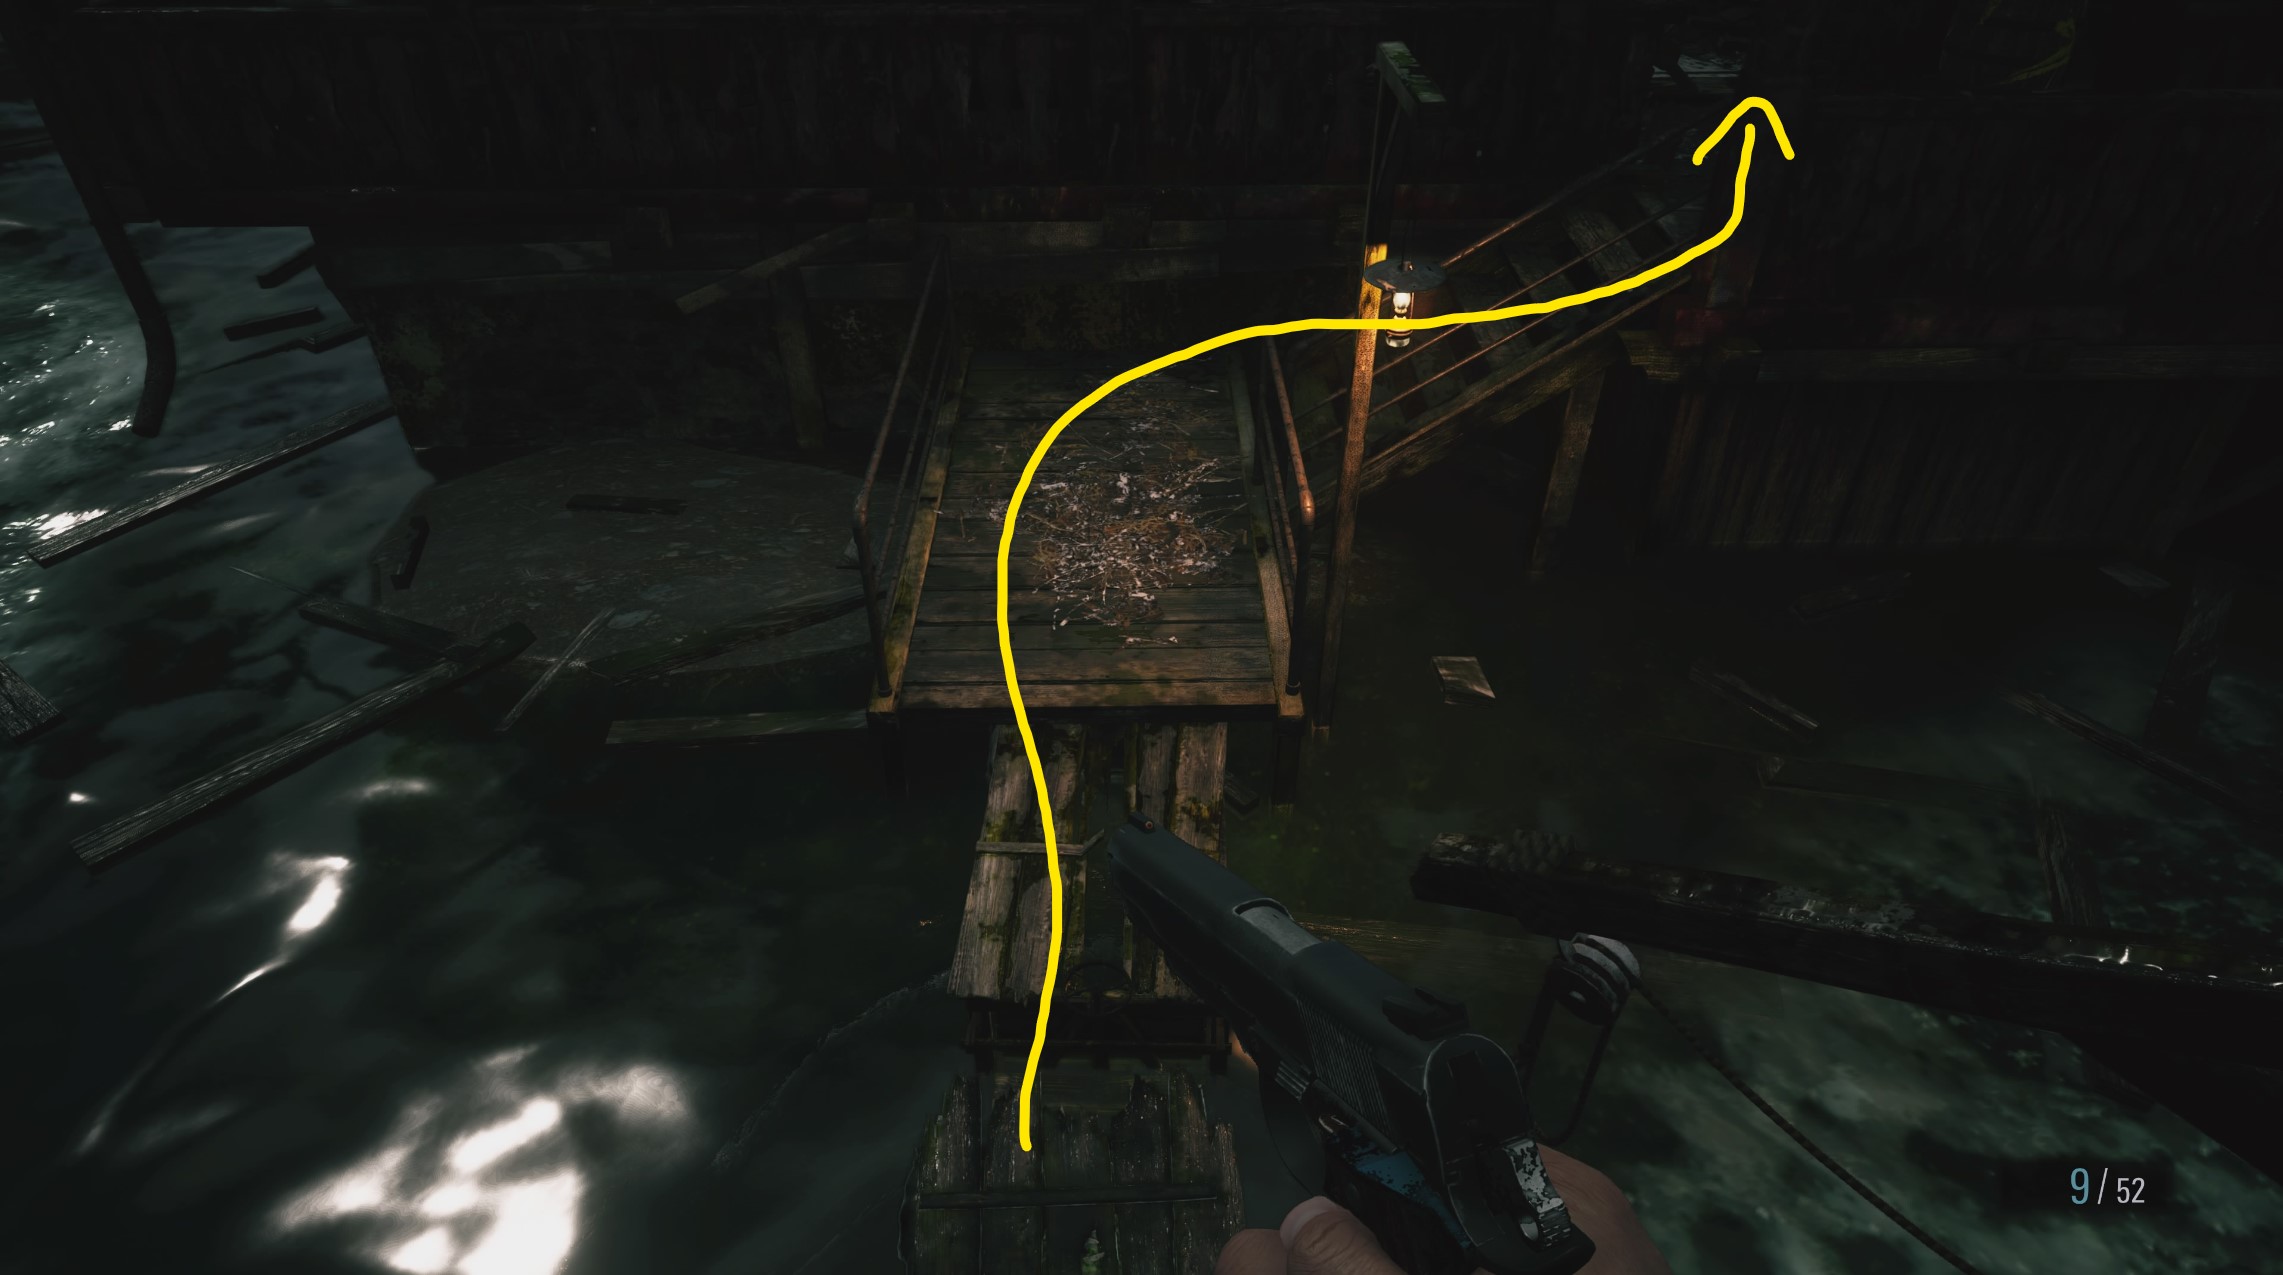
In the shack on the other side, look to the left for a breakable barrel, then go up the stairs and push the cart.
Now drop down to your left, open the box at the end of the pier and pull the lever.
Throughout this whole area, you have to pull levers to raise timed platforms to give you a way forward. Turn around and there’s a floating jetty behind you with another box and lever to pull.
Pull this, and other platform raises with a third lever to pull, then a fourth and a fifth. If you dawdle for too long you’ll fall in the water and die, so move quickly. On the right after the fifth lever, there’s another one to pull, then a final on behind you inside the shack next to a breakable box. With all six levers pulled, you can now double back on yourself, back around to where you pushed the cart.
Again beware that these levers are timed, and the platforms will fall after a short time. So if any have fallen down, just re-pull the levers around you until you can run across. On the way back around there’s a barrel to break, as well as another cart to push to complete the circuit.
Re-push the first cart, then drop down and run across.
Go up the steps to the ruined house in front of you, then smash the barrel for some handgun ammo. Use this to shoot the goo that blocks your path. Now climb the ladder on the left, then pull the lever on your right. You can now drop down onto the boat below and run through the cabin, shooting the goo in your way, and into the second windmill tower.
Go around the central mechanism, then look up to shoot the lock off the ladder to climb up. Go outside, smash the barrel for more ammo, then pick up the crank on the left.
Examine the mechanism behind it, then use your newly acquired crank to turn the windmill. Around the other side, a yellow-painted ladder has lowered. Use it then go around the side and interact with the zip line.
Use the crank on the gears in front of you, then go back to the gatehouse with the Duke.
Sluice Gate Puzzle
Out the front, there’s now power to the sluice gate console. To solve the colour puzzle, make it look like this:
Orange squares diagonally from the bottom left to the top right, two blue squares in the bottom centre and right, black square middle right, then one last blue square in the top left, with white squares middle left and centre top. Now pull the handle and it will drain the reservoir. Go through the door on your right, and you’ll see that you can now access the drowned houses. Go around the right side of the windmill and break the barrel, then circle around into the bottom of the drained water way. Break the barrel on your left, then go through the ruined house around to the right, reading the notes in the drawer and grabbing the high-capacity mag for your pistol on the way past. On the other side, drop down and look to the right for a yellow rope. Look further around to the right and there’s a barrel with some ammo, some chem fluid and some scrap.
Moreau Boss Fight
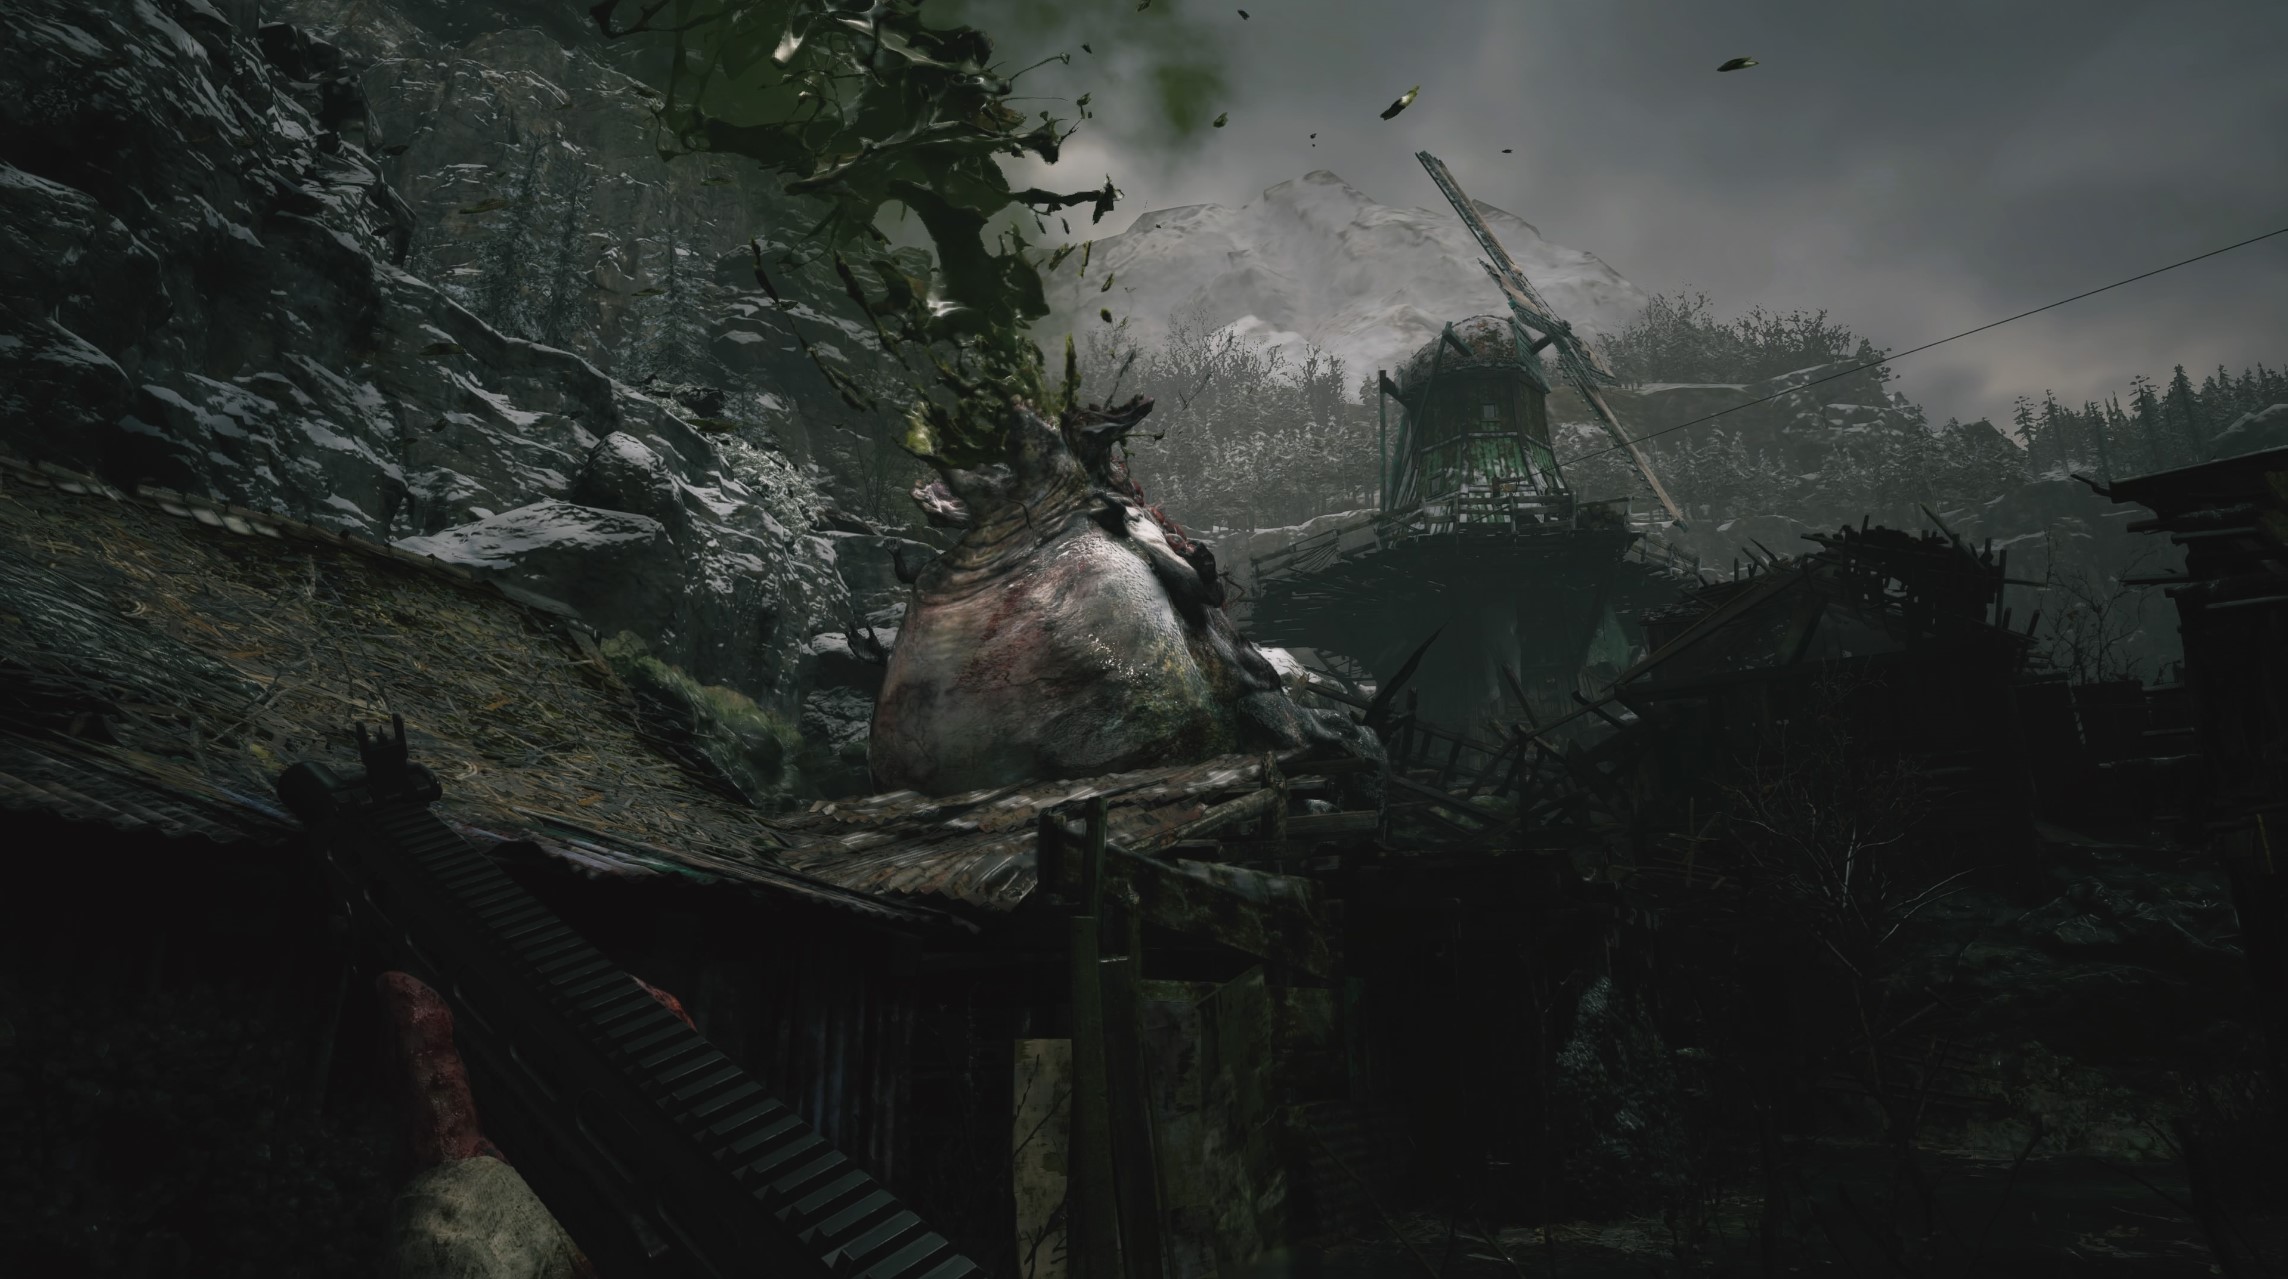
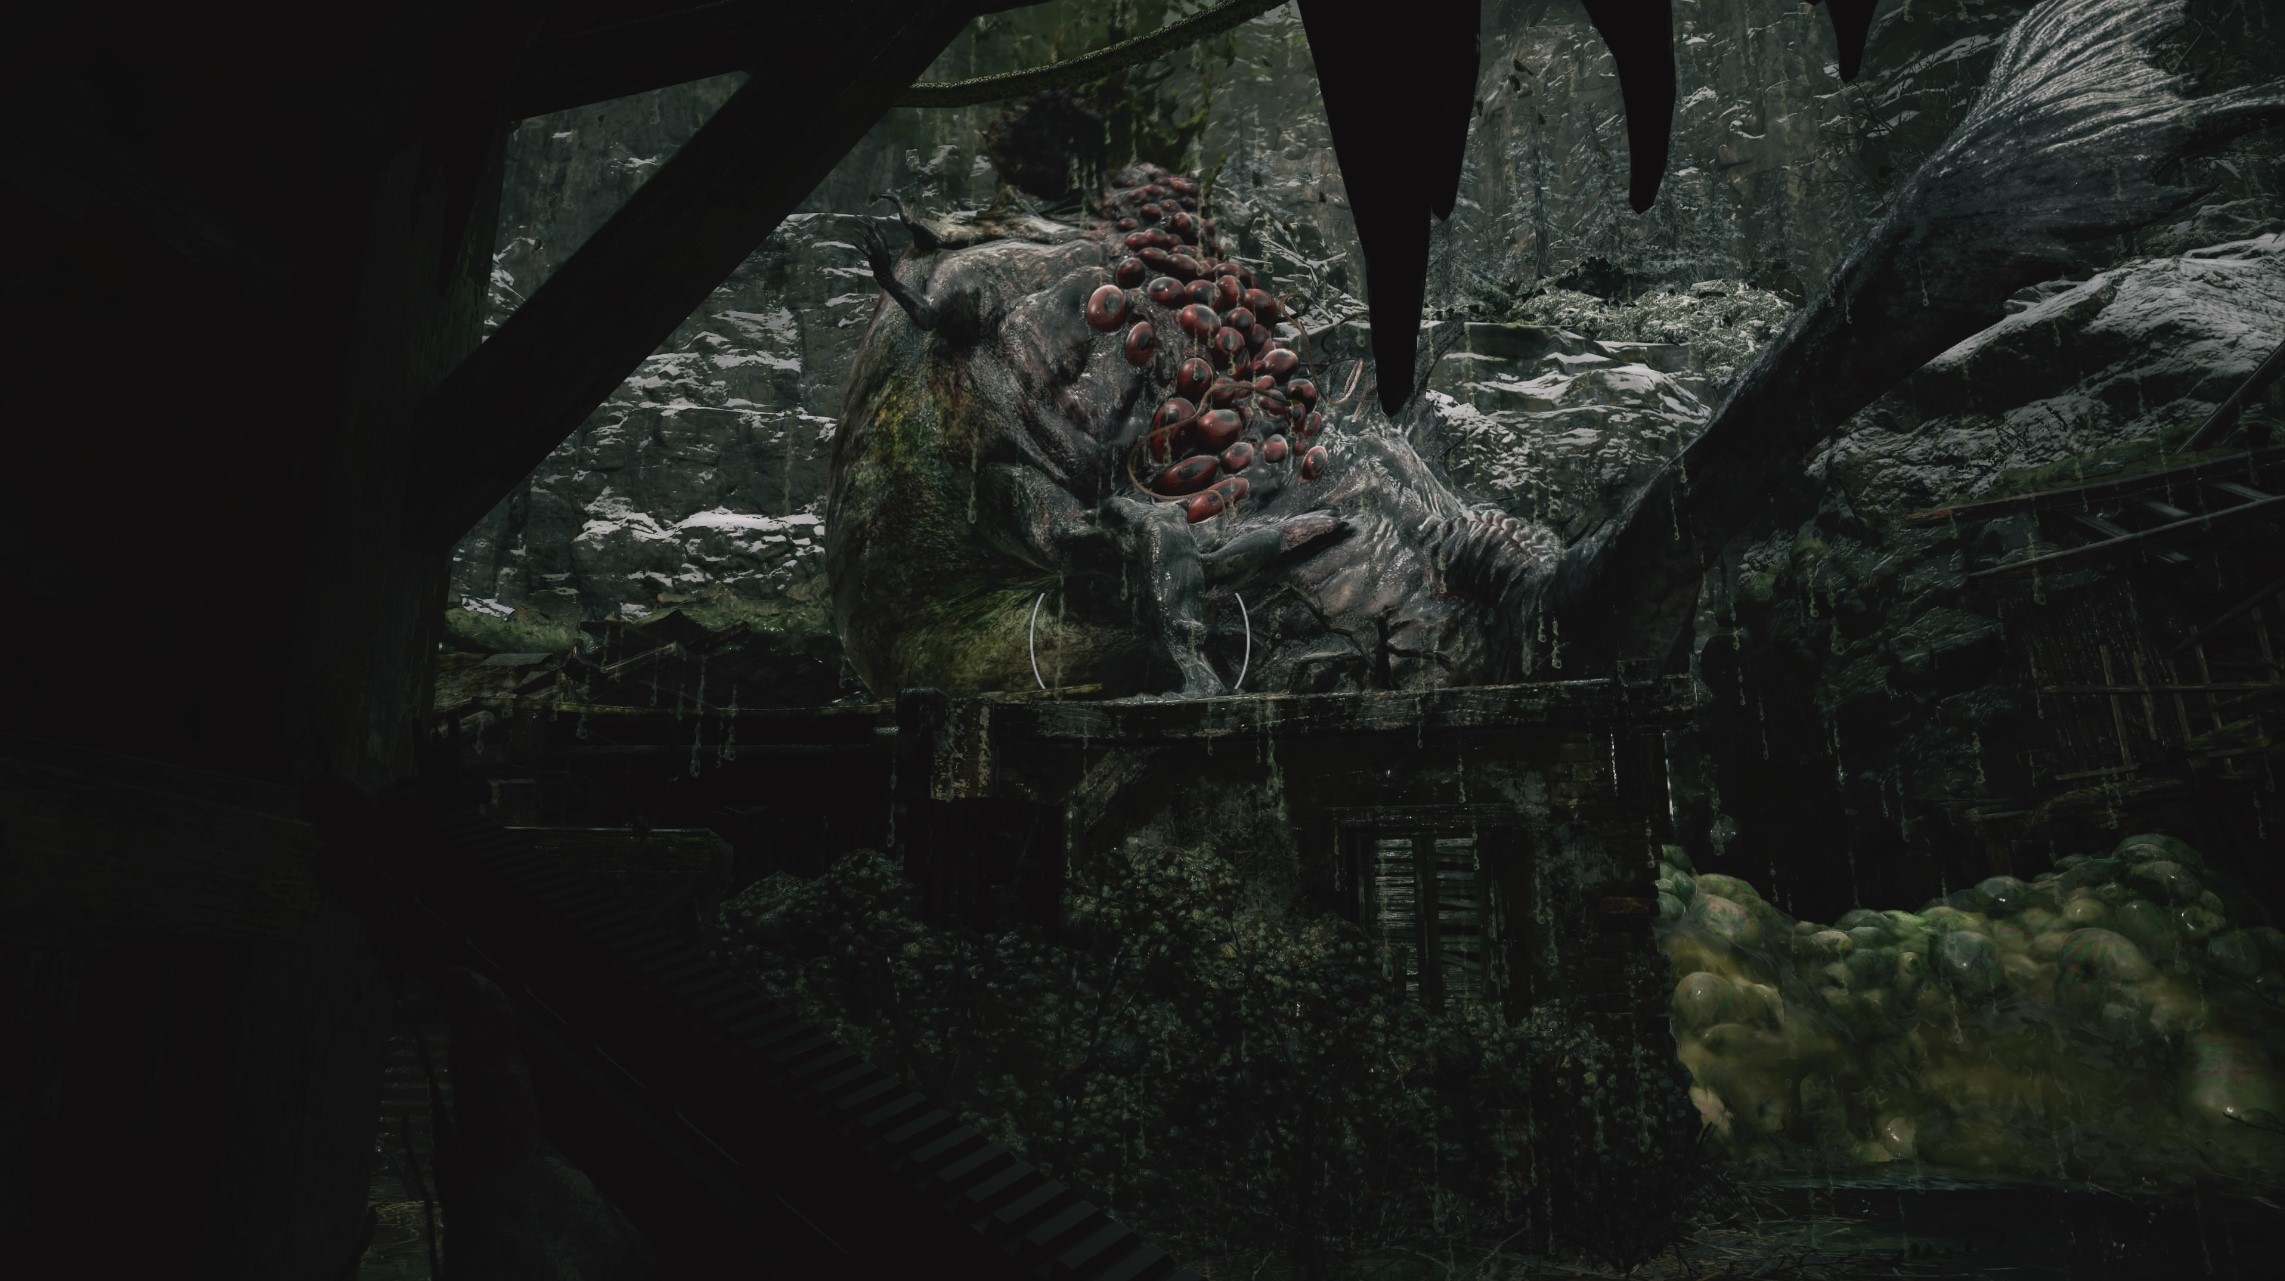
As you walk forward, Moreau will re-emerge for a chat. Shoot his body when it emerges from the mouth, while also trying to retain enough mobility to avoid his corrosive vomit by stepping to either side.
He’ll push you back around the corner to where you dropped into this area, but in doing so, will open up more of the sunken village for you to run around in. There are plenty of barrels to loot here with mines, explosives and ammo. And thanks to the extra space you should be able to easily sprint out of his range, and shoot when he pops out. In the barrels, there’s loads of shotgun ammo and a few mines, so you can probably guess what it’s best to use in this fight. Lay some mines at your feet, then lead him over the top of them for big damage. When you hit him with a mine, he’ll be extra exposed for a longer period of time. After you’ve got off a few shots, he’ll leap onto the rooftops around you.
When he does this, immediately run under the nearest cover you can find - usually where there the yellow barrels you collected ammo or mines from - because he’s about to do an acid rain attack that hits the whole area.
Shoot him and he’ll come down again, but some goo will be blocking your normal route. Shoot the goo to resume your running and shooting and mining and grenading.
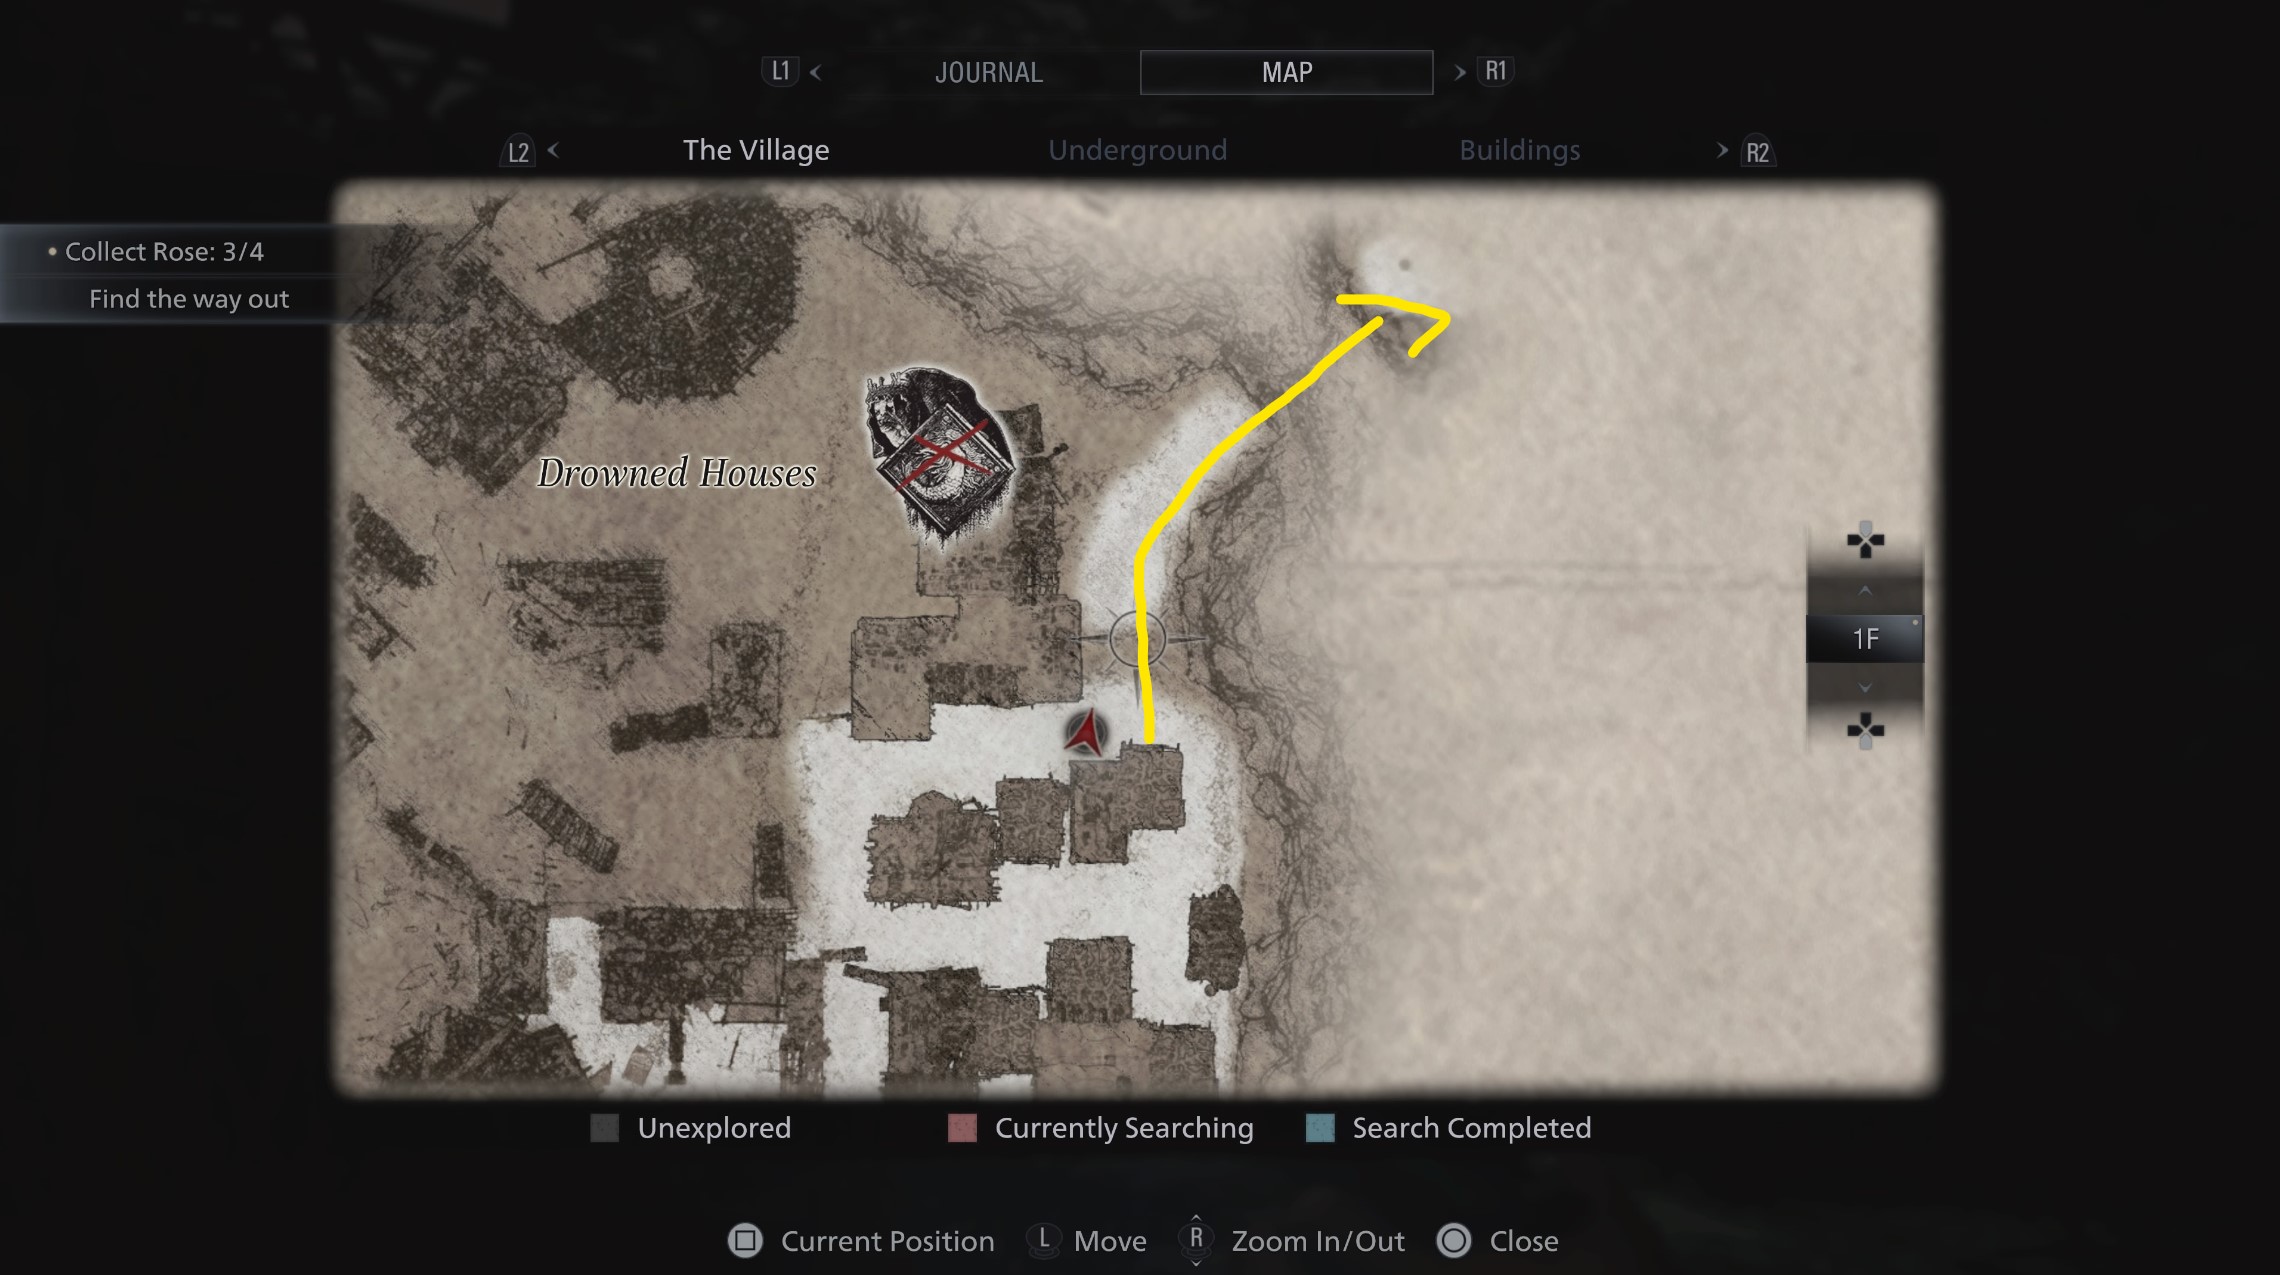
Eventually, after you’ve staggered him a few times, laid a few mines and shot a few grenades, he’ll go down, dropping the Crystal Moreau. Scour the boss area for any items you’ve missed, then leave out of the top-right corner.
At the end of the path is a herb barrel, then a mine shaft that you have to enter. When you reach the six-winged unborn door, take a left and you’ll be in Moreau’s TV room from when you first entered the area. There are some notes to find, as well as the wing key on the table. When you’ve combined it with your existing key, your objective will change to point you back towards the village and the graveyard next to the Maiden of War statue. But before you leave through the now openable six-wing door, go left and back out to the boathouse where you first got onto the reservoir and met Chris. With the water lowered, you can open the jewellery box here, then return to the elevator. Back in the first windmill area, you now have a crank for the mechanical door on the right.
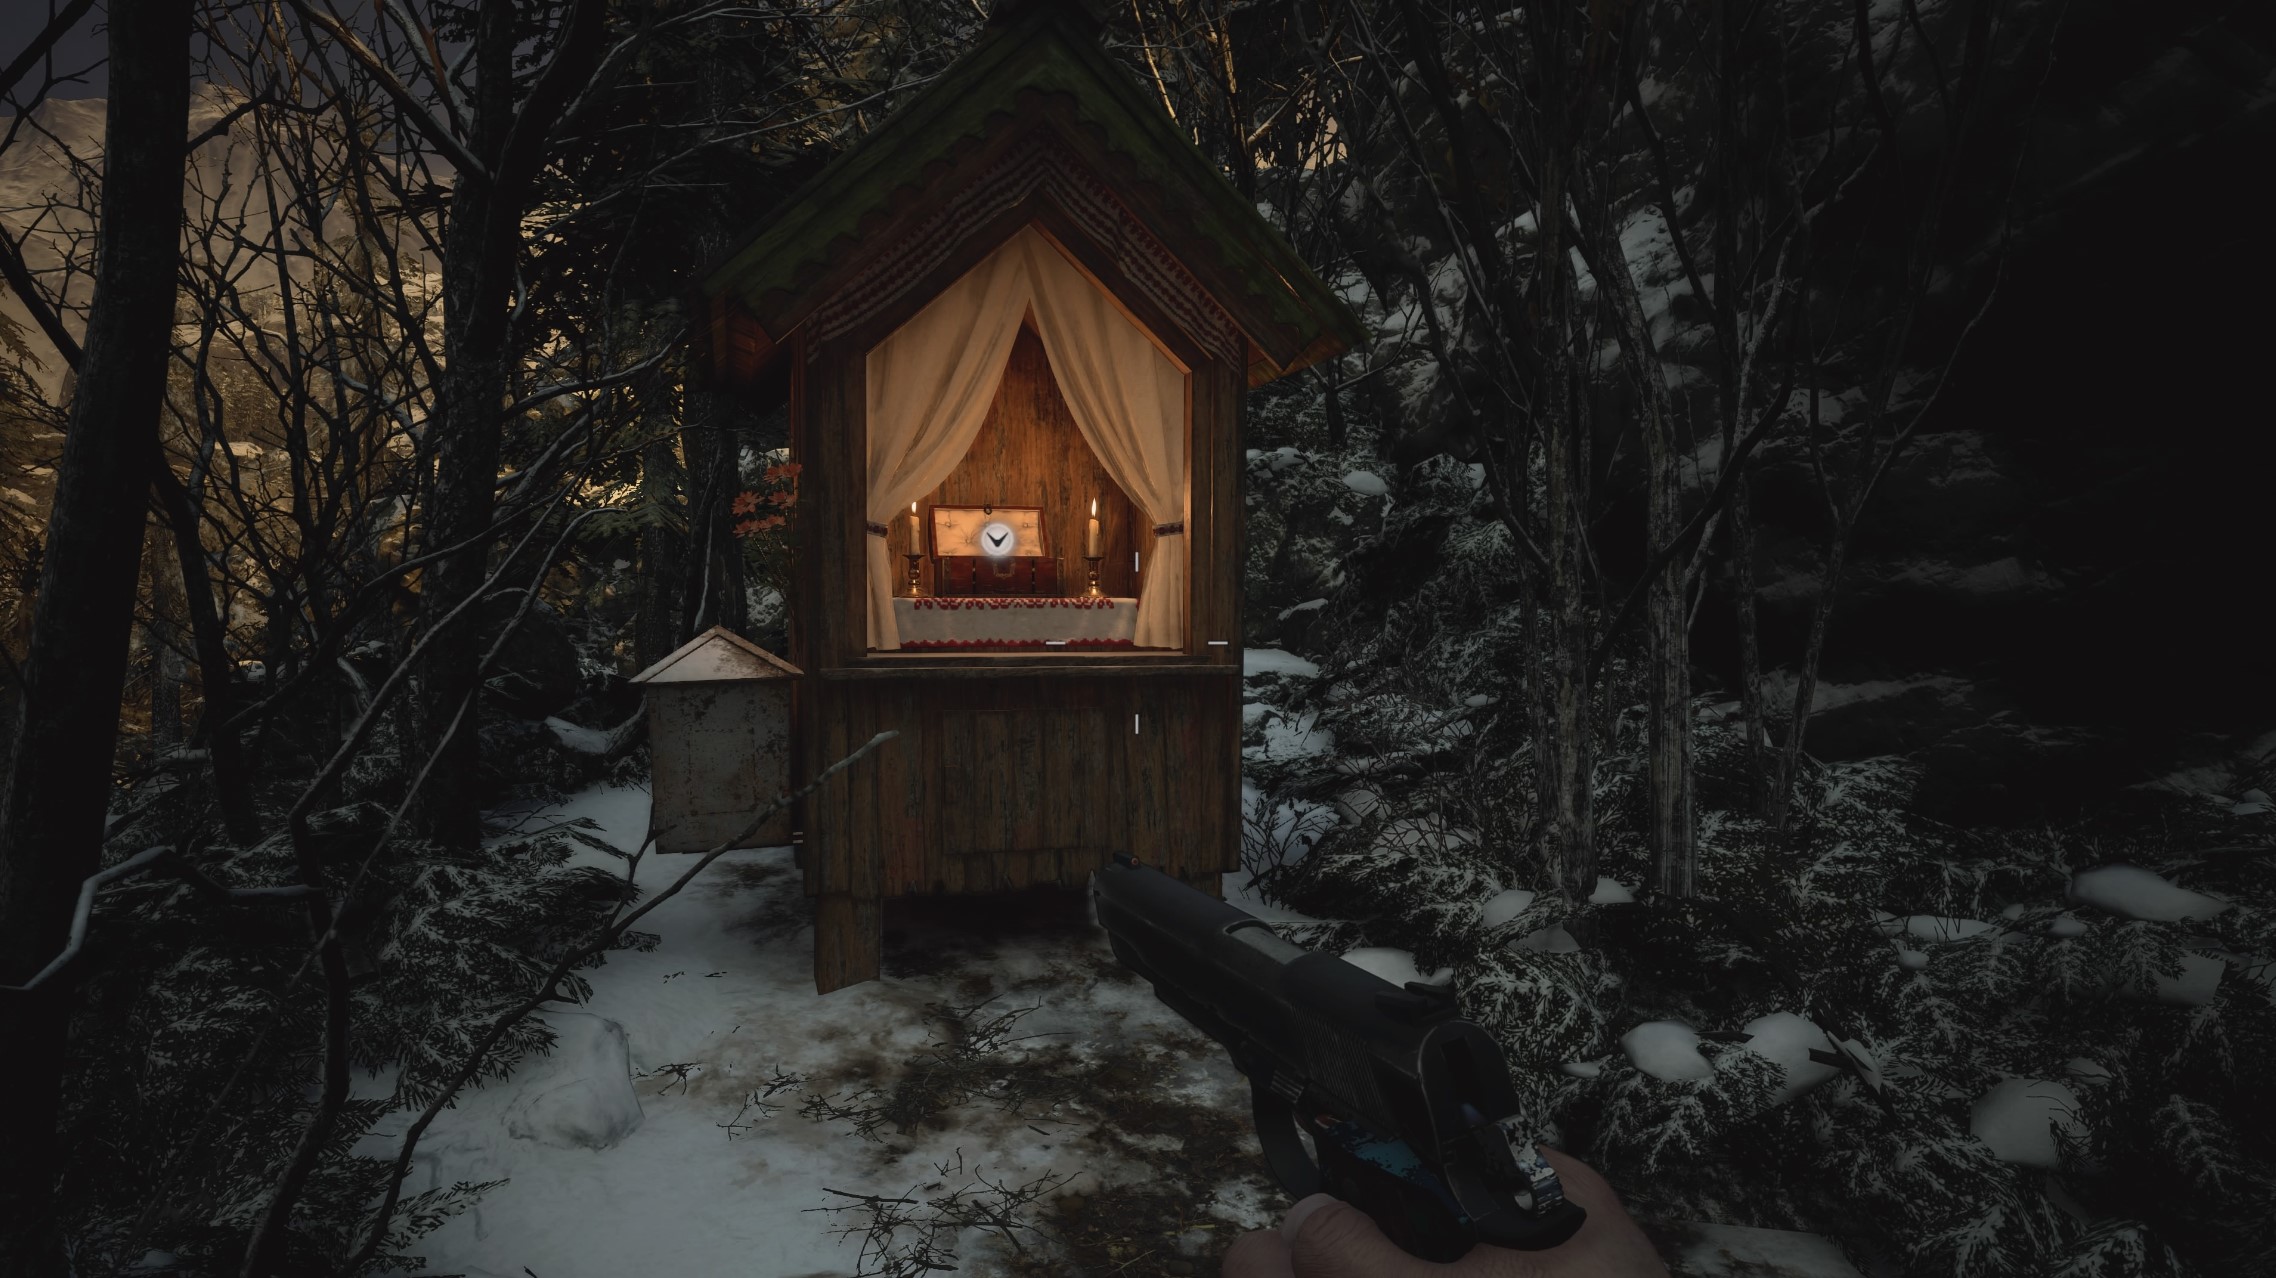
Use the crank on the door and climb the hill. At the fork, take the right-hand path and you’ll pass a crate and a shrine with the ball for the labyrinth puzzle behind the windmill: the Mermaid Ball.
Turn around and you’ll see a hut with some gargoyles circling. Start the party and shoot them before they have a chance to ambush you.
In the first hut, you’ll find some sniper ammo and lei guarded by a ghoul, then continue over to the right. In the second hut, you’ll find two ghouls, along with some handgun ammo. On the hill above the two huts you’ll find a herb and a zipwire down to another hut. Inside this third hut is the marker for the secret weapon. The front door is locked, but go around the back - collecting the scrap on the left-hand side - and there’s a hole you can squeeze through.
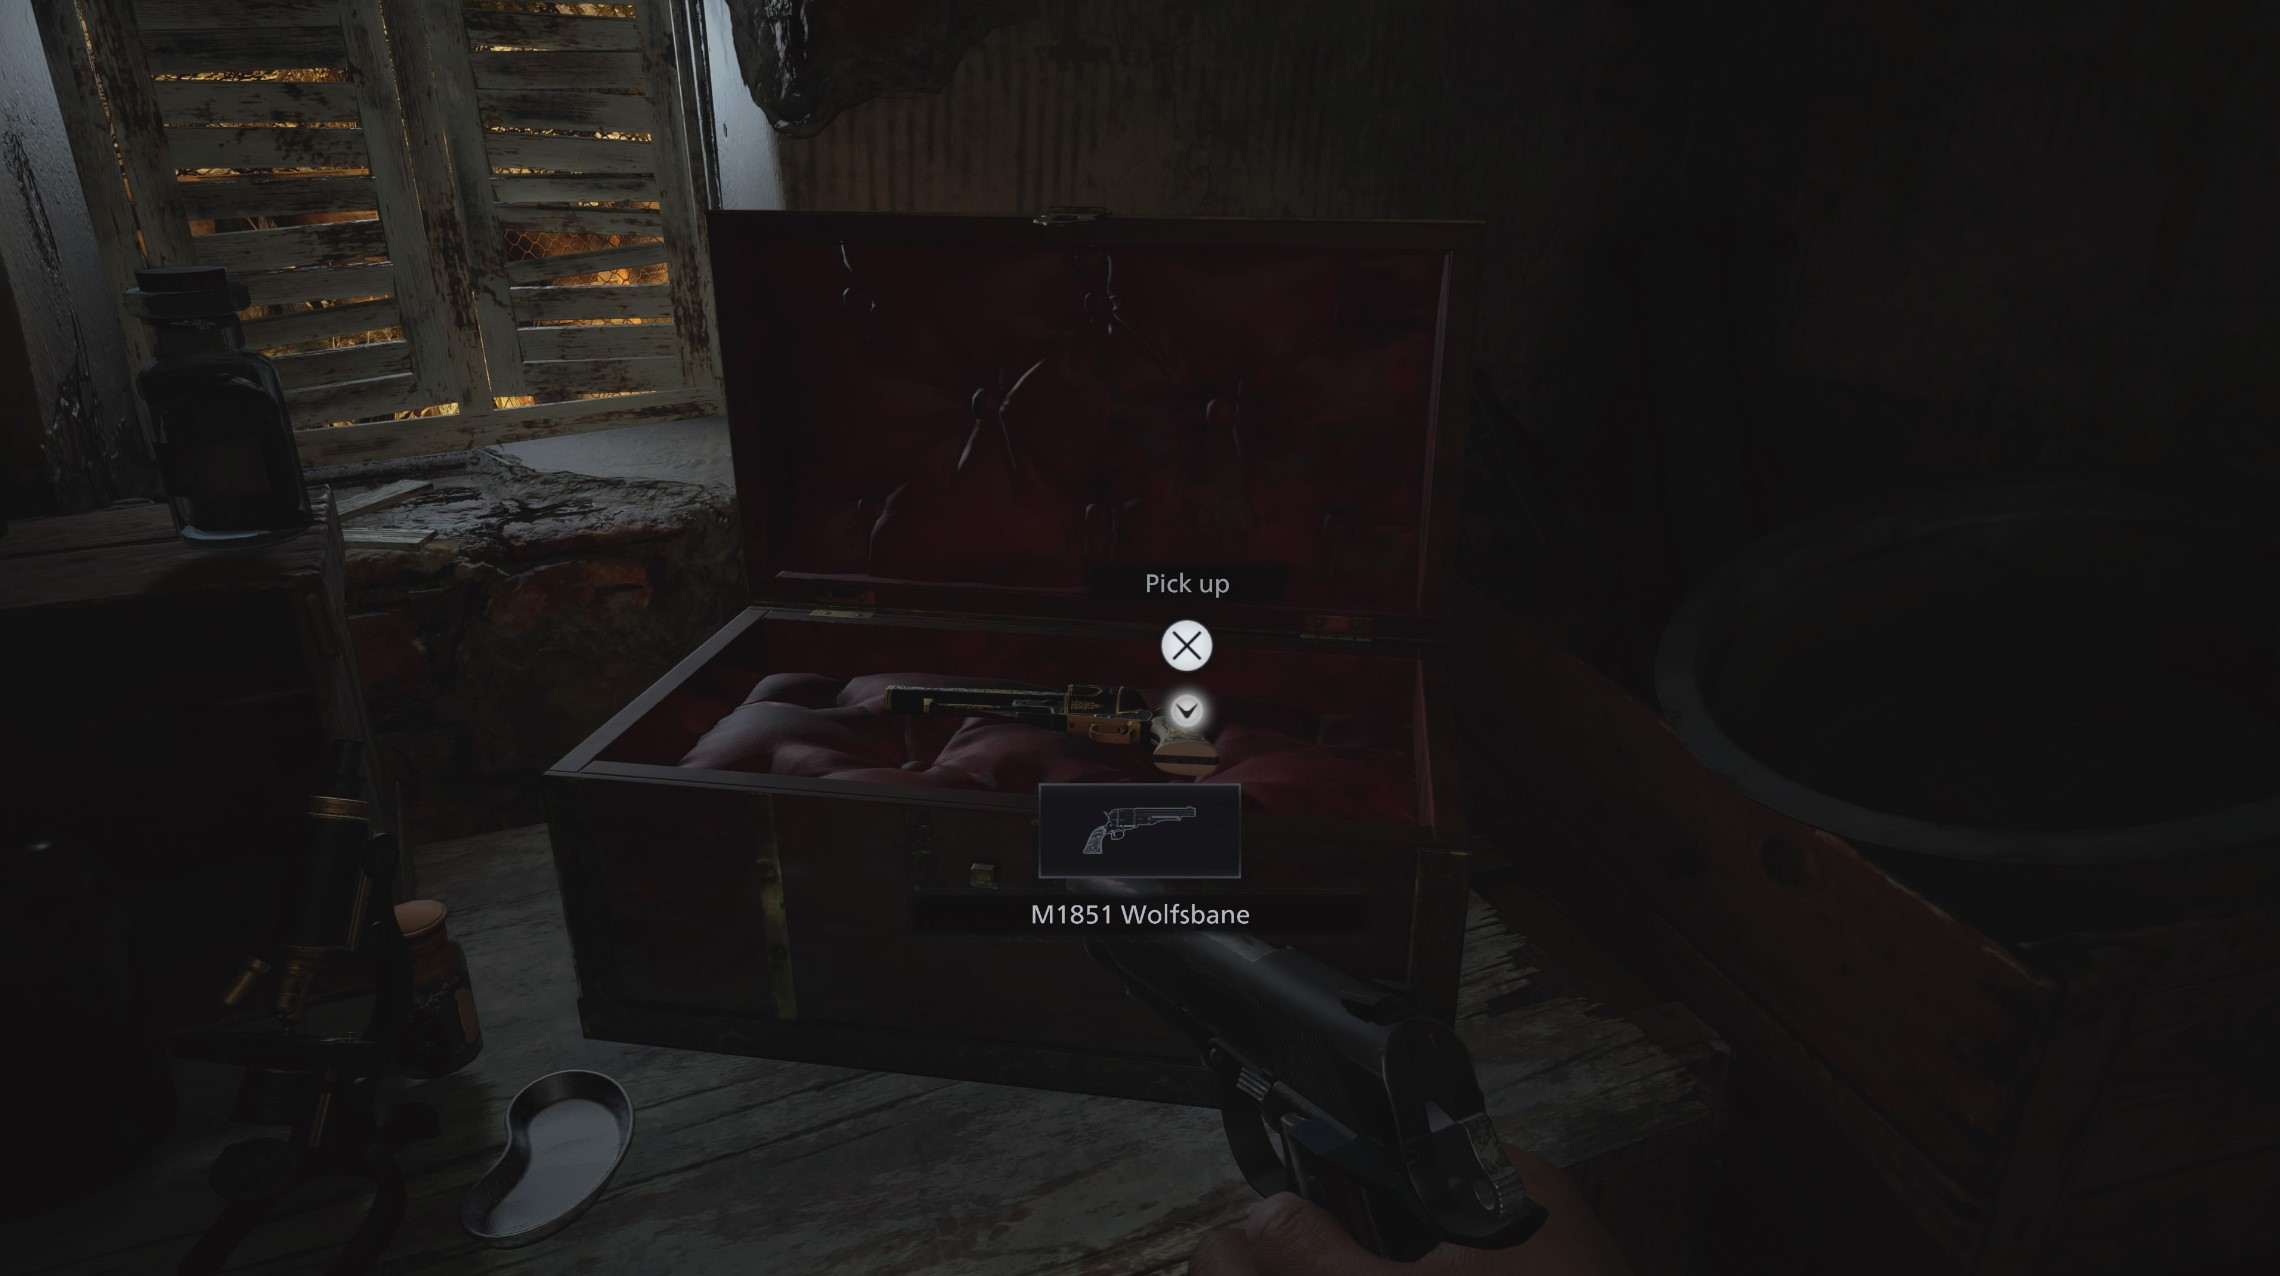
As you can tell from the horrendous noises, there’s a lycan inside, but he’s nothing a couple of shotgun shells can’t fix. On the lab table, there’s a chest, which contains the M1851 Wolfsbane Magnum.
Unlock the door behind you, and as a chance to test out your new toy, one of the uber-tough black lycan beasts that you fought earlier appears.
Use whatever means you like to defeat it, and it’ll drop another Crystal Beast. Before you leave this area, there’s another path around the back of the lab with a well. It contains three flashbang rounds for your grenade launcher. With that, return to the windmill and complete the labyrinth game - which yields the Chartreuse Skull - then make your way back to the Duke’s altar via the east village.
Remember, there’s a mechanical door with some chickens to harvest in the corner on your way back as well.
In this chicken corner, there’s a ladder. At the top of the ladder go left and there’s a rooftop with a chest on top you can drop onto.
In the box is the pigeon blood ruby. You can slot this into the necklace with two holes as a step towards completing it. Sell your items and buy your upgrades from Duke, you’ll need them as we take on Heisenberg in the next part!


