Completing a Braindance will help you analyse a situation, hunt for clues and reveal information you might not have found otherwise. It’s a bit of a trippy experience and those who live with epilepsy should be wary when using it due to extreme flashing lights. You’ll receive a Braindance tutorial from Judy during The Information questline and the devices’ instructions remain on screen while using it, so it’s pretty straightforward.
How to Braindance in Cyberpunk 2077?
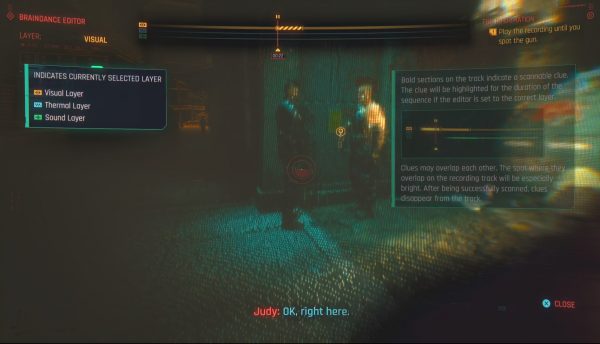
The majority of Braindance uses are linked to the main quest, so follow any prompts to use it. There’s a bar at the top that represents the length of the video and you’ll see time stamps. There are also three layers which you’ll utilise to find evidence: Sound, Visual and Thermal.
Once in use, the best plan is to watch the event unfold in Playback Mode and watch the top bar for blocks appearing in any of the layers. If a block appears, like in the block in the Visual layer in the image above, it means clues can be found. They’ll glow the same colour as the later - for Visual, that’s orange - and will be identified by a magnifying glass icon. Switch to Braindance Editor Mode and move the reticle over the object and wait for it to scan and register, and then the block in the layer should disappear from the top bar. You can rewind and fast forward as many times as you like and there’s no time limit on how long you can spend in a Braindance, so take your time finding everything. In short: follow the onscreen instructions to rewind, fast forward, restart and play/pause the Braindance at your leisure, as well as switch between layers and toggle playback and editing modes.
Another top tip is to fast forward all the way to the end of the Braindance to highlight all the points of interest in each layer quickly, meaning you’ll spend less time waiting for things to appear. Then all you need to do is rewind a bit and scan in the appropriate layer.
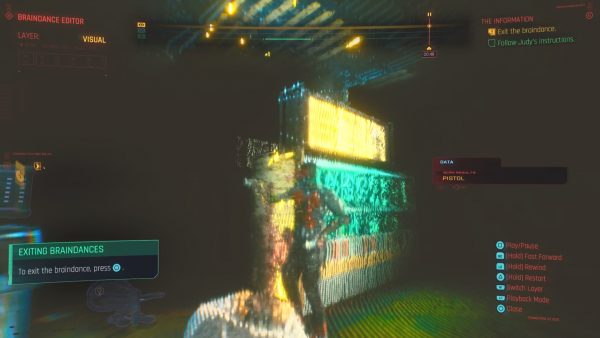
How to exit a Braindance in Cyberpunk 2077?
Once you’re done, you can exit the Braindance by pressing circle on PlayStation controllers, B on Xbox Gamepads and X on your keyboard. If you’re just getting started in Night City, you can check out our guides on which Lifepaths and Attributes you should choose, where to find your pre-order items, how to solve hacking puzzles and what the best weapons are. You can also check out our guides on The Pickup and The Information questlines here.

