If you’ve been struggling with ULP Intelligence, we’ve written up this step-by-step walkthrough for the mission so you can get around some of the tougher parts. This includes where to find all the FIB hardware, fuse box locations, and how to avoid detection in the FIB offices.
How to start the new Criminal Enterprises mission ULP Intelligence - Where is the apartment computer? Where is the hardware in the FIB office? Where is the hardware in the FIB Warehouse?
How to start the new Criminal Enterprises mission
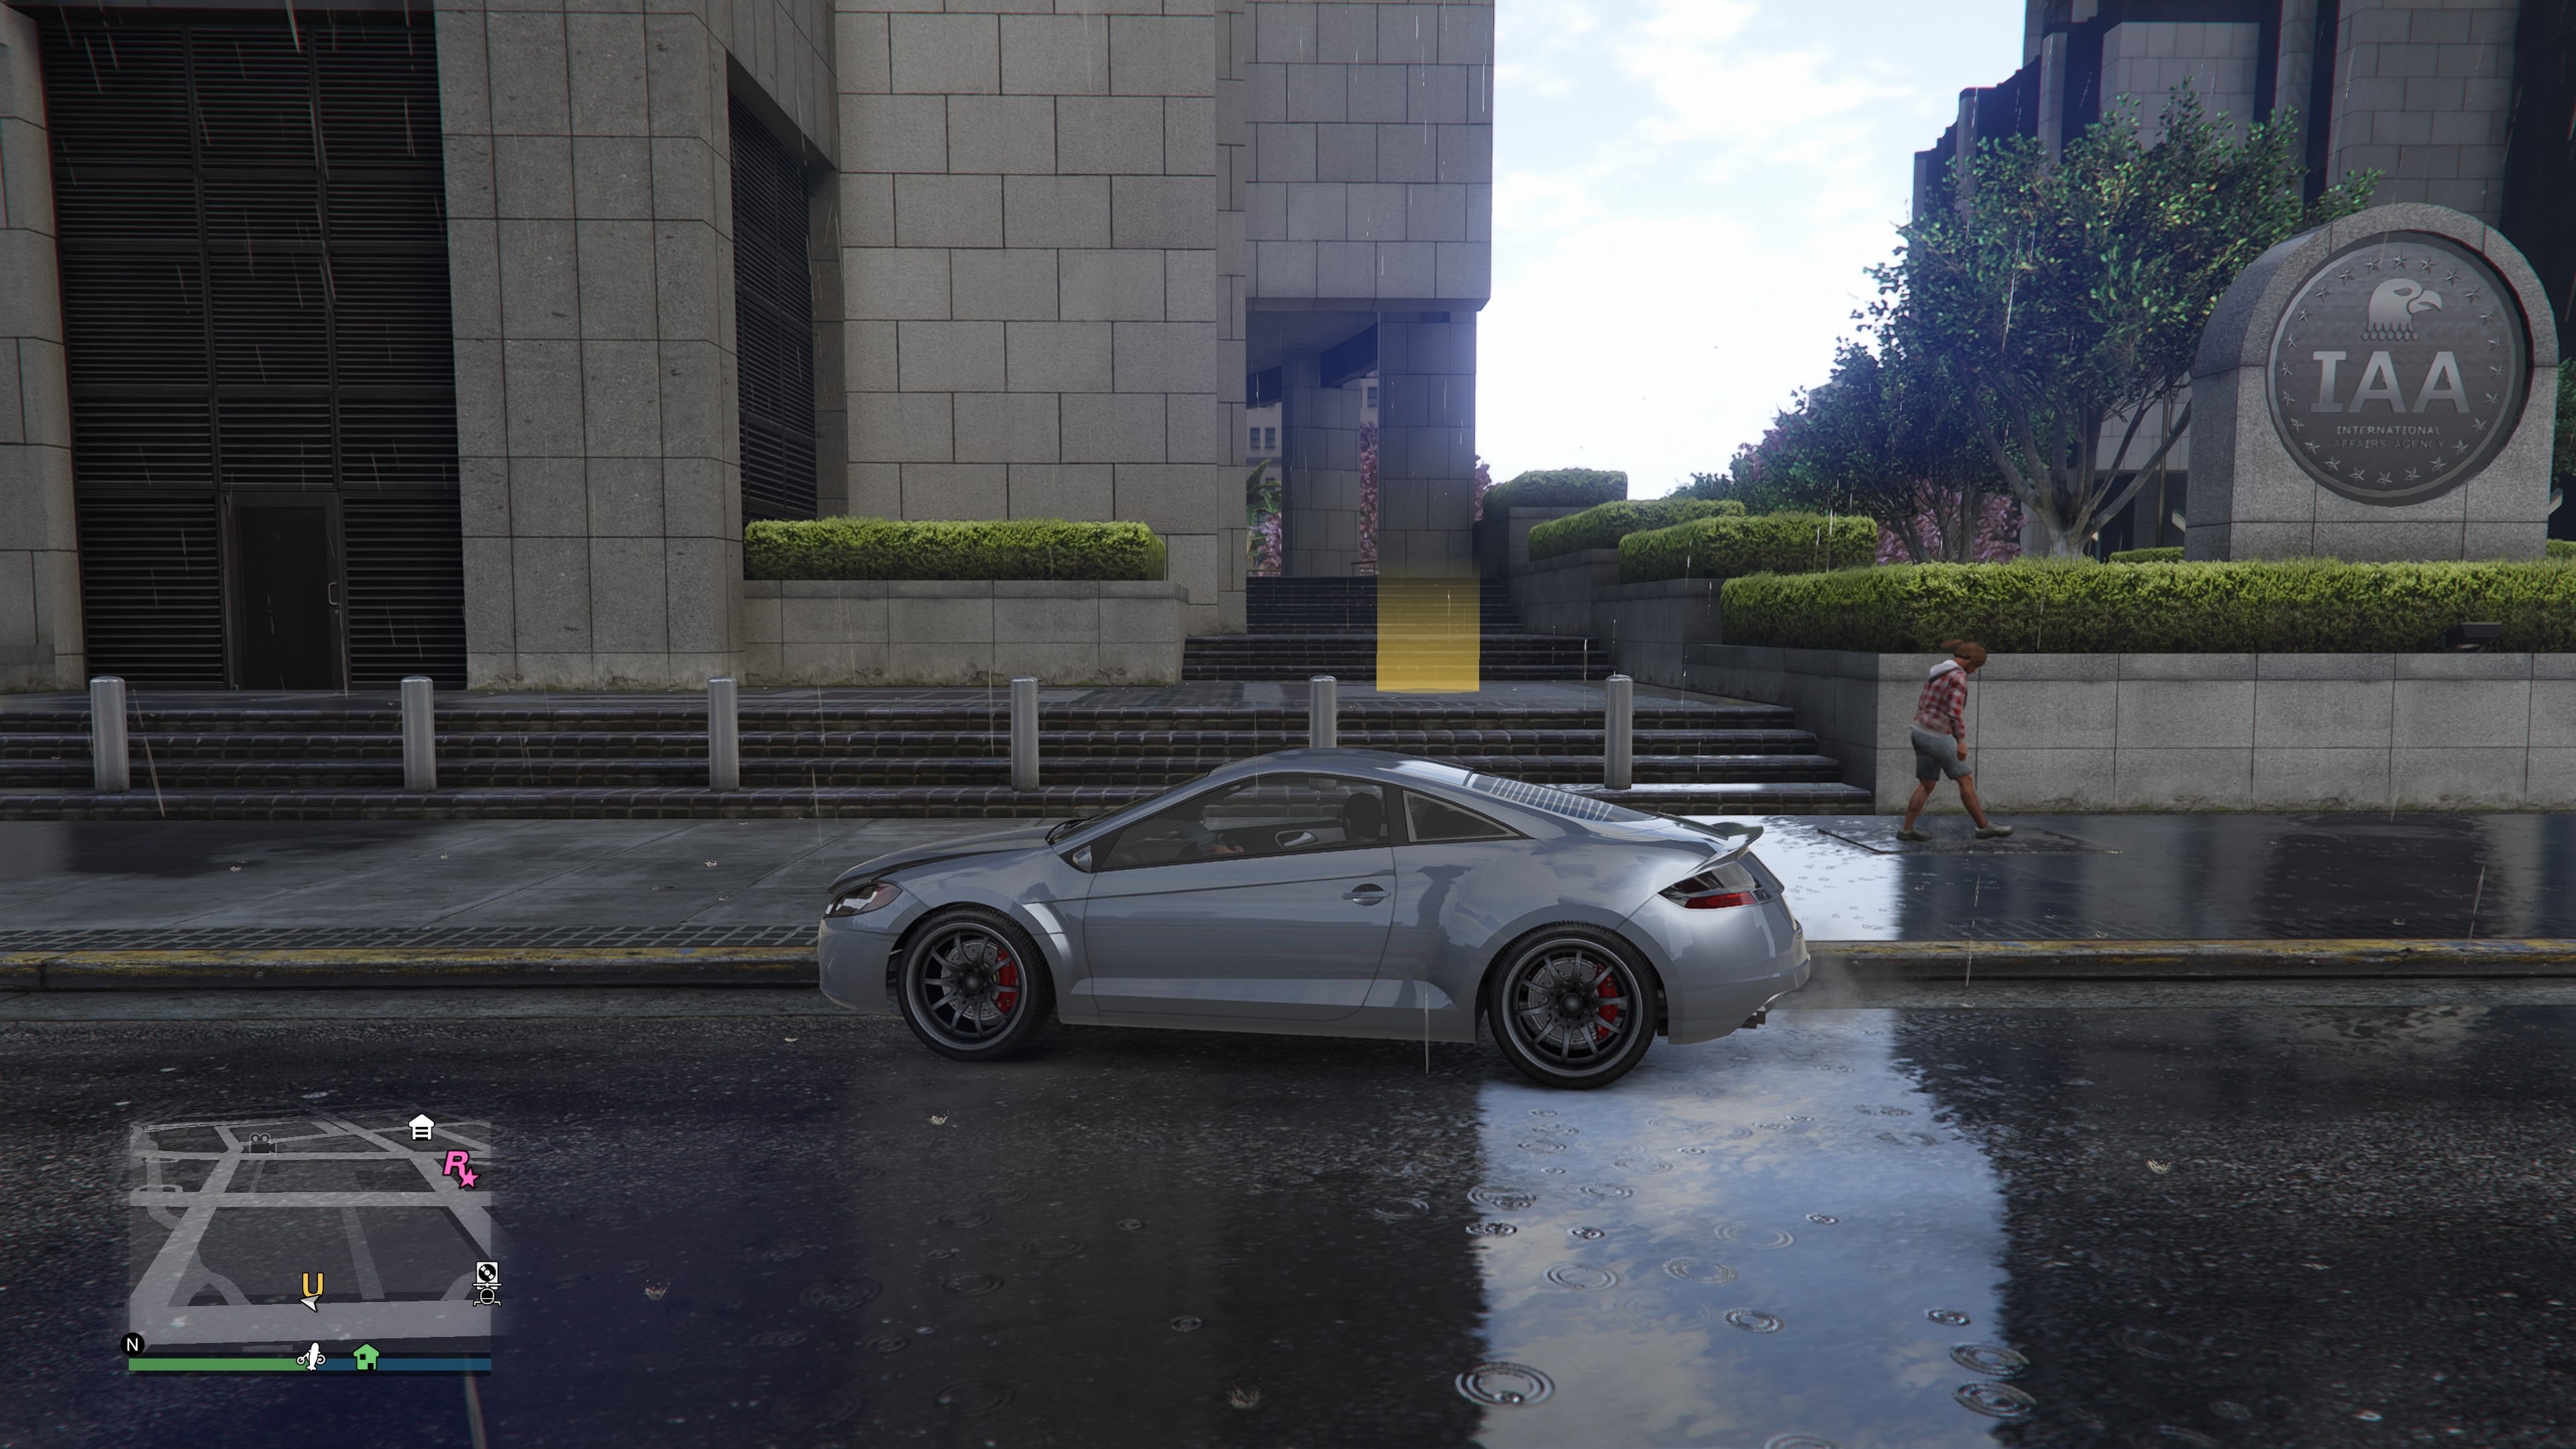
As soon as you boot up GTA Online with the Criminal Enterprises update, you’ll get a call from Agent ULP. Pick up the phone and listen to them talk for a while, and you’ll get a new mission symbol (U) in the centre of Downtown Los Santos.
ULP Intelligence - Where is the apartment computer?
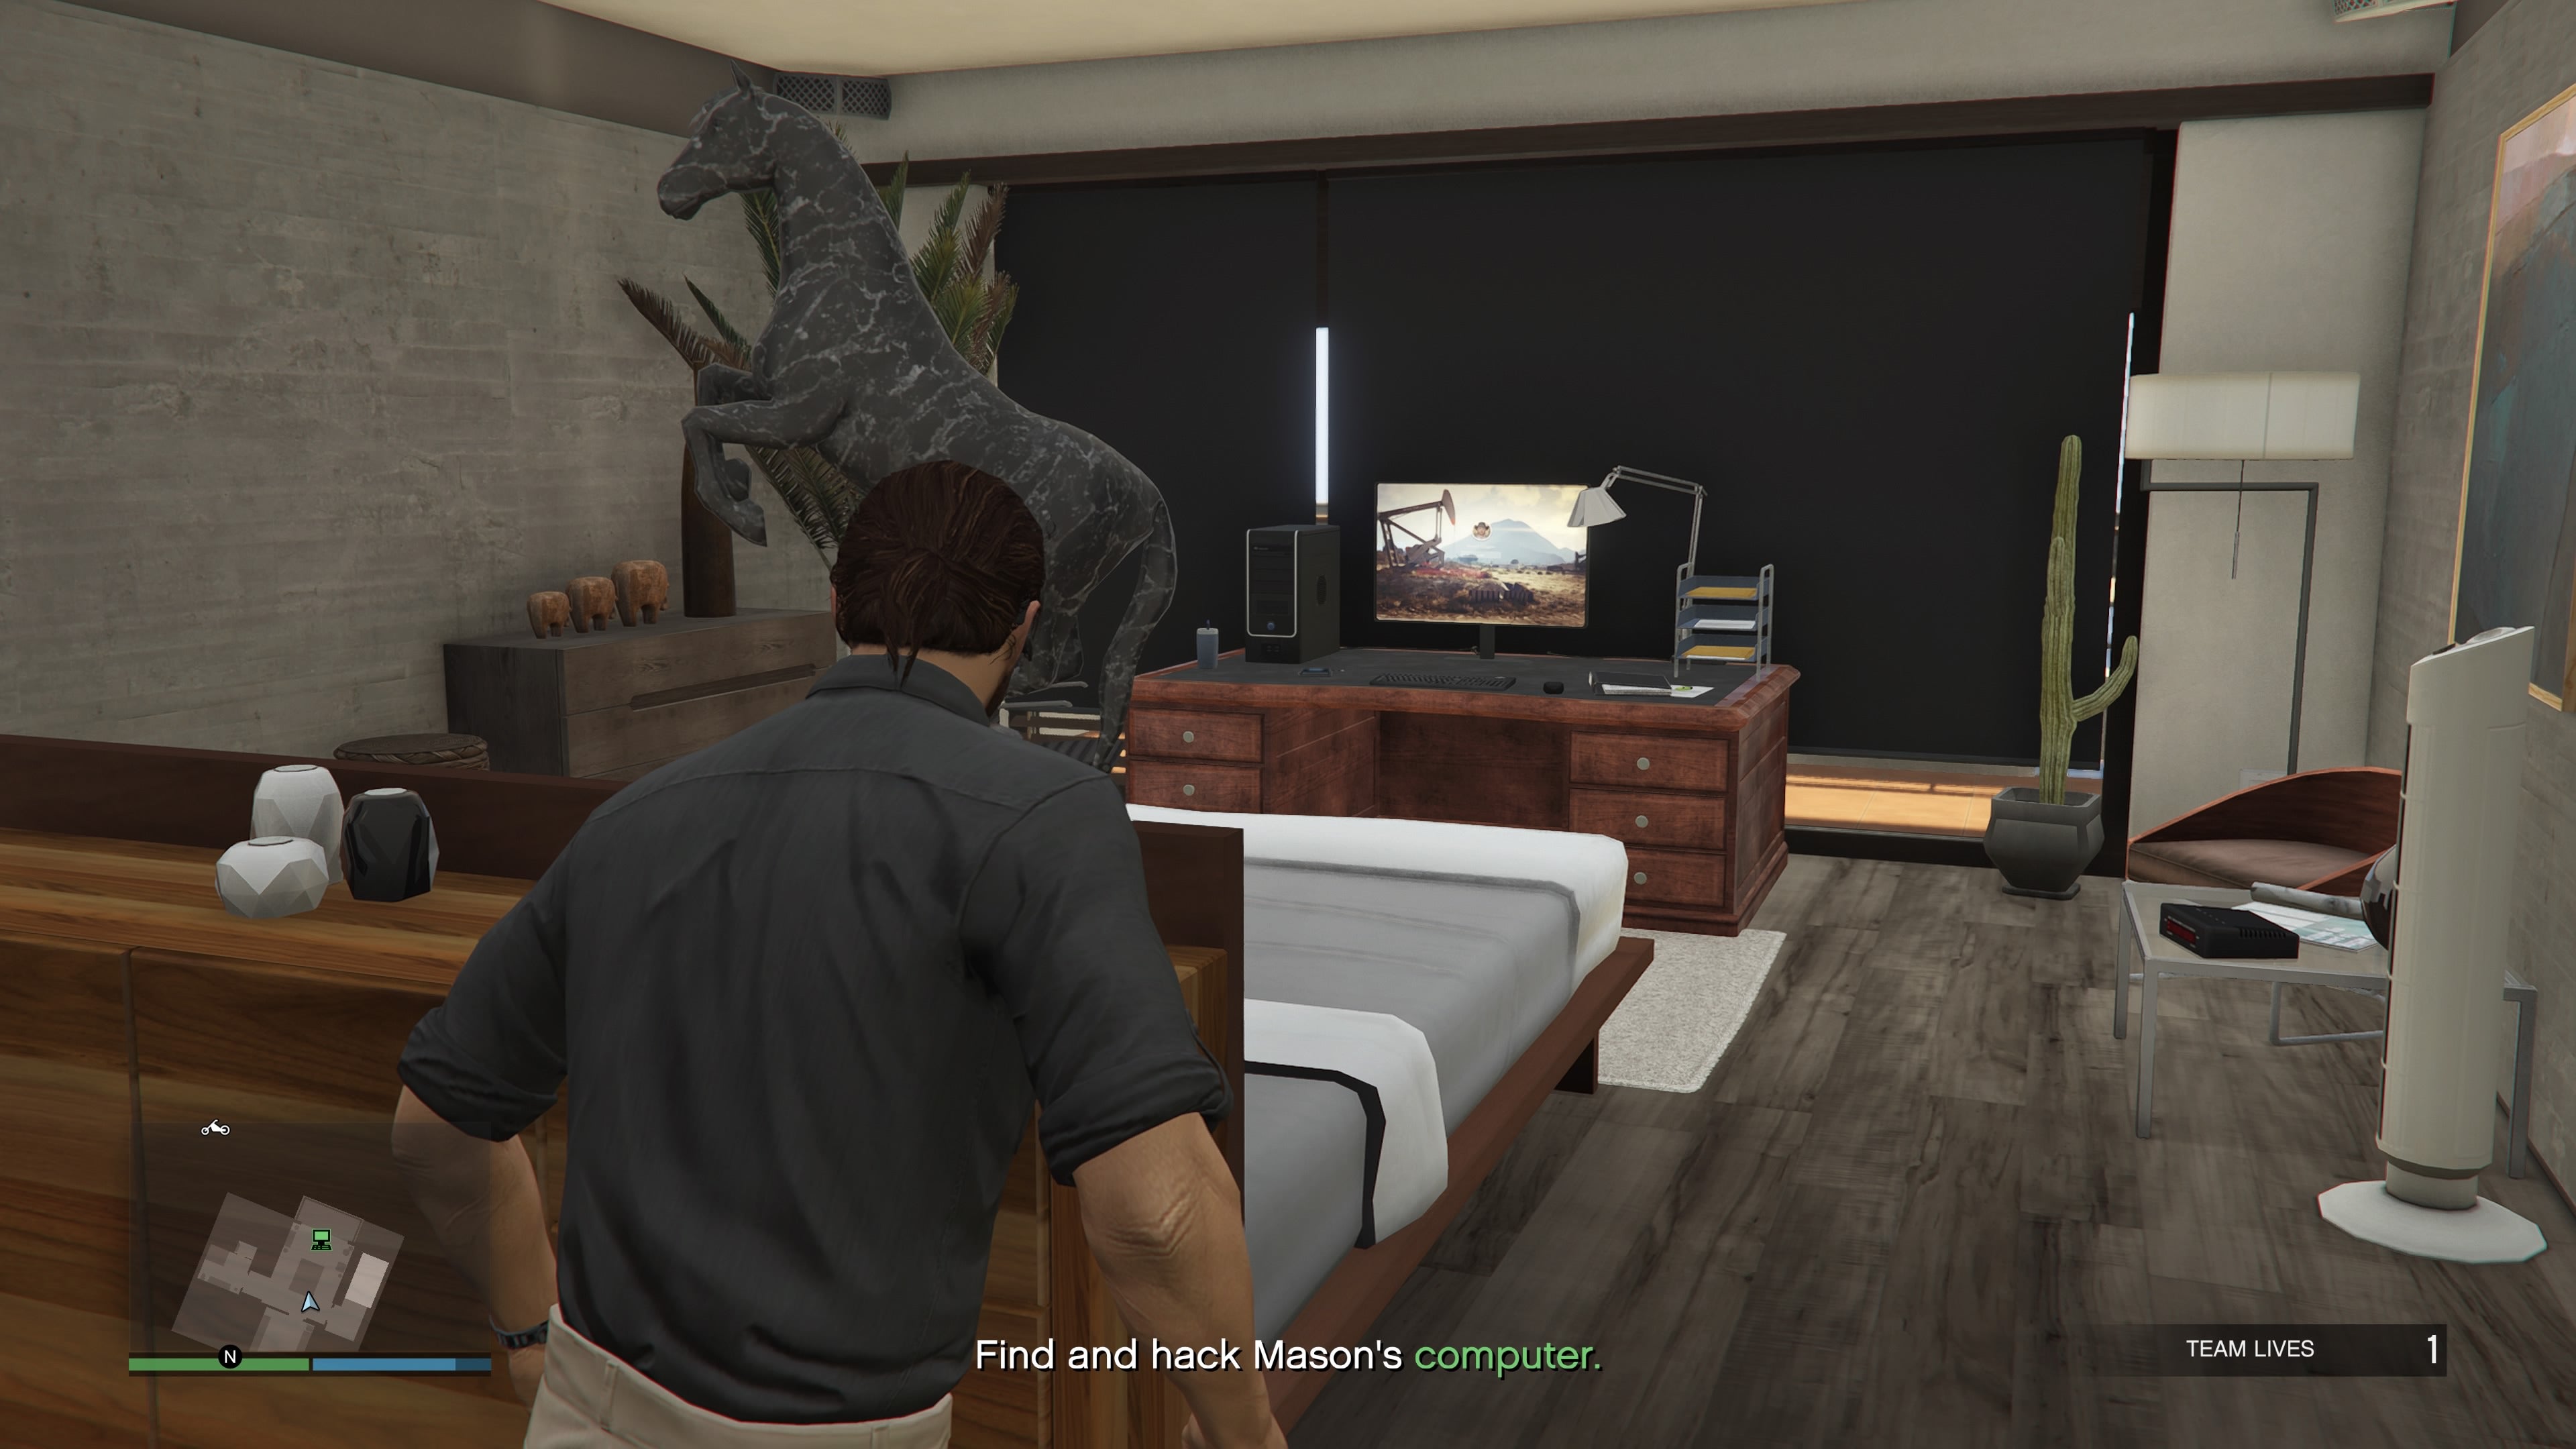
The first step of this mission has you sneak into a house and hack a computer. Entering the apartment is no problem, all you have to do is enter the front door. However, you might be struggling to find the PC once inside. Head upstairs to the 2nd floor. You can find the staircase in the open living room straight ahead of you as you enter the building. Once you climb the stairs, head through the door to your right to enter the main bedroom. You can find the computer in this room, by the window. Once hacked, you’ll be sent to two locations to collect four pieces of FIB hardware. The first is the FIB office near the mission start point, and the second is an FIB storehouse.
Where is the hardware in the FIB office?
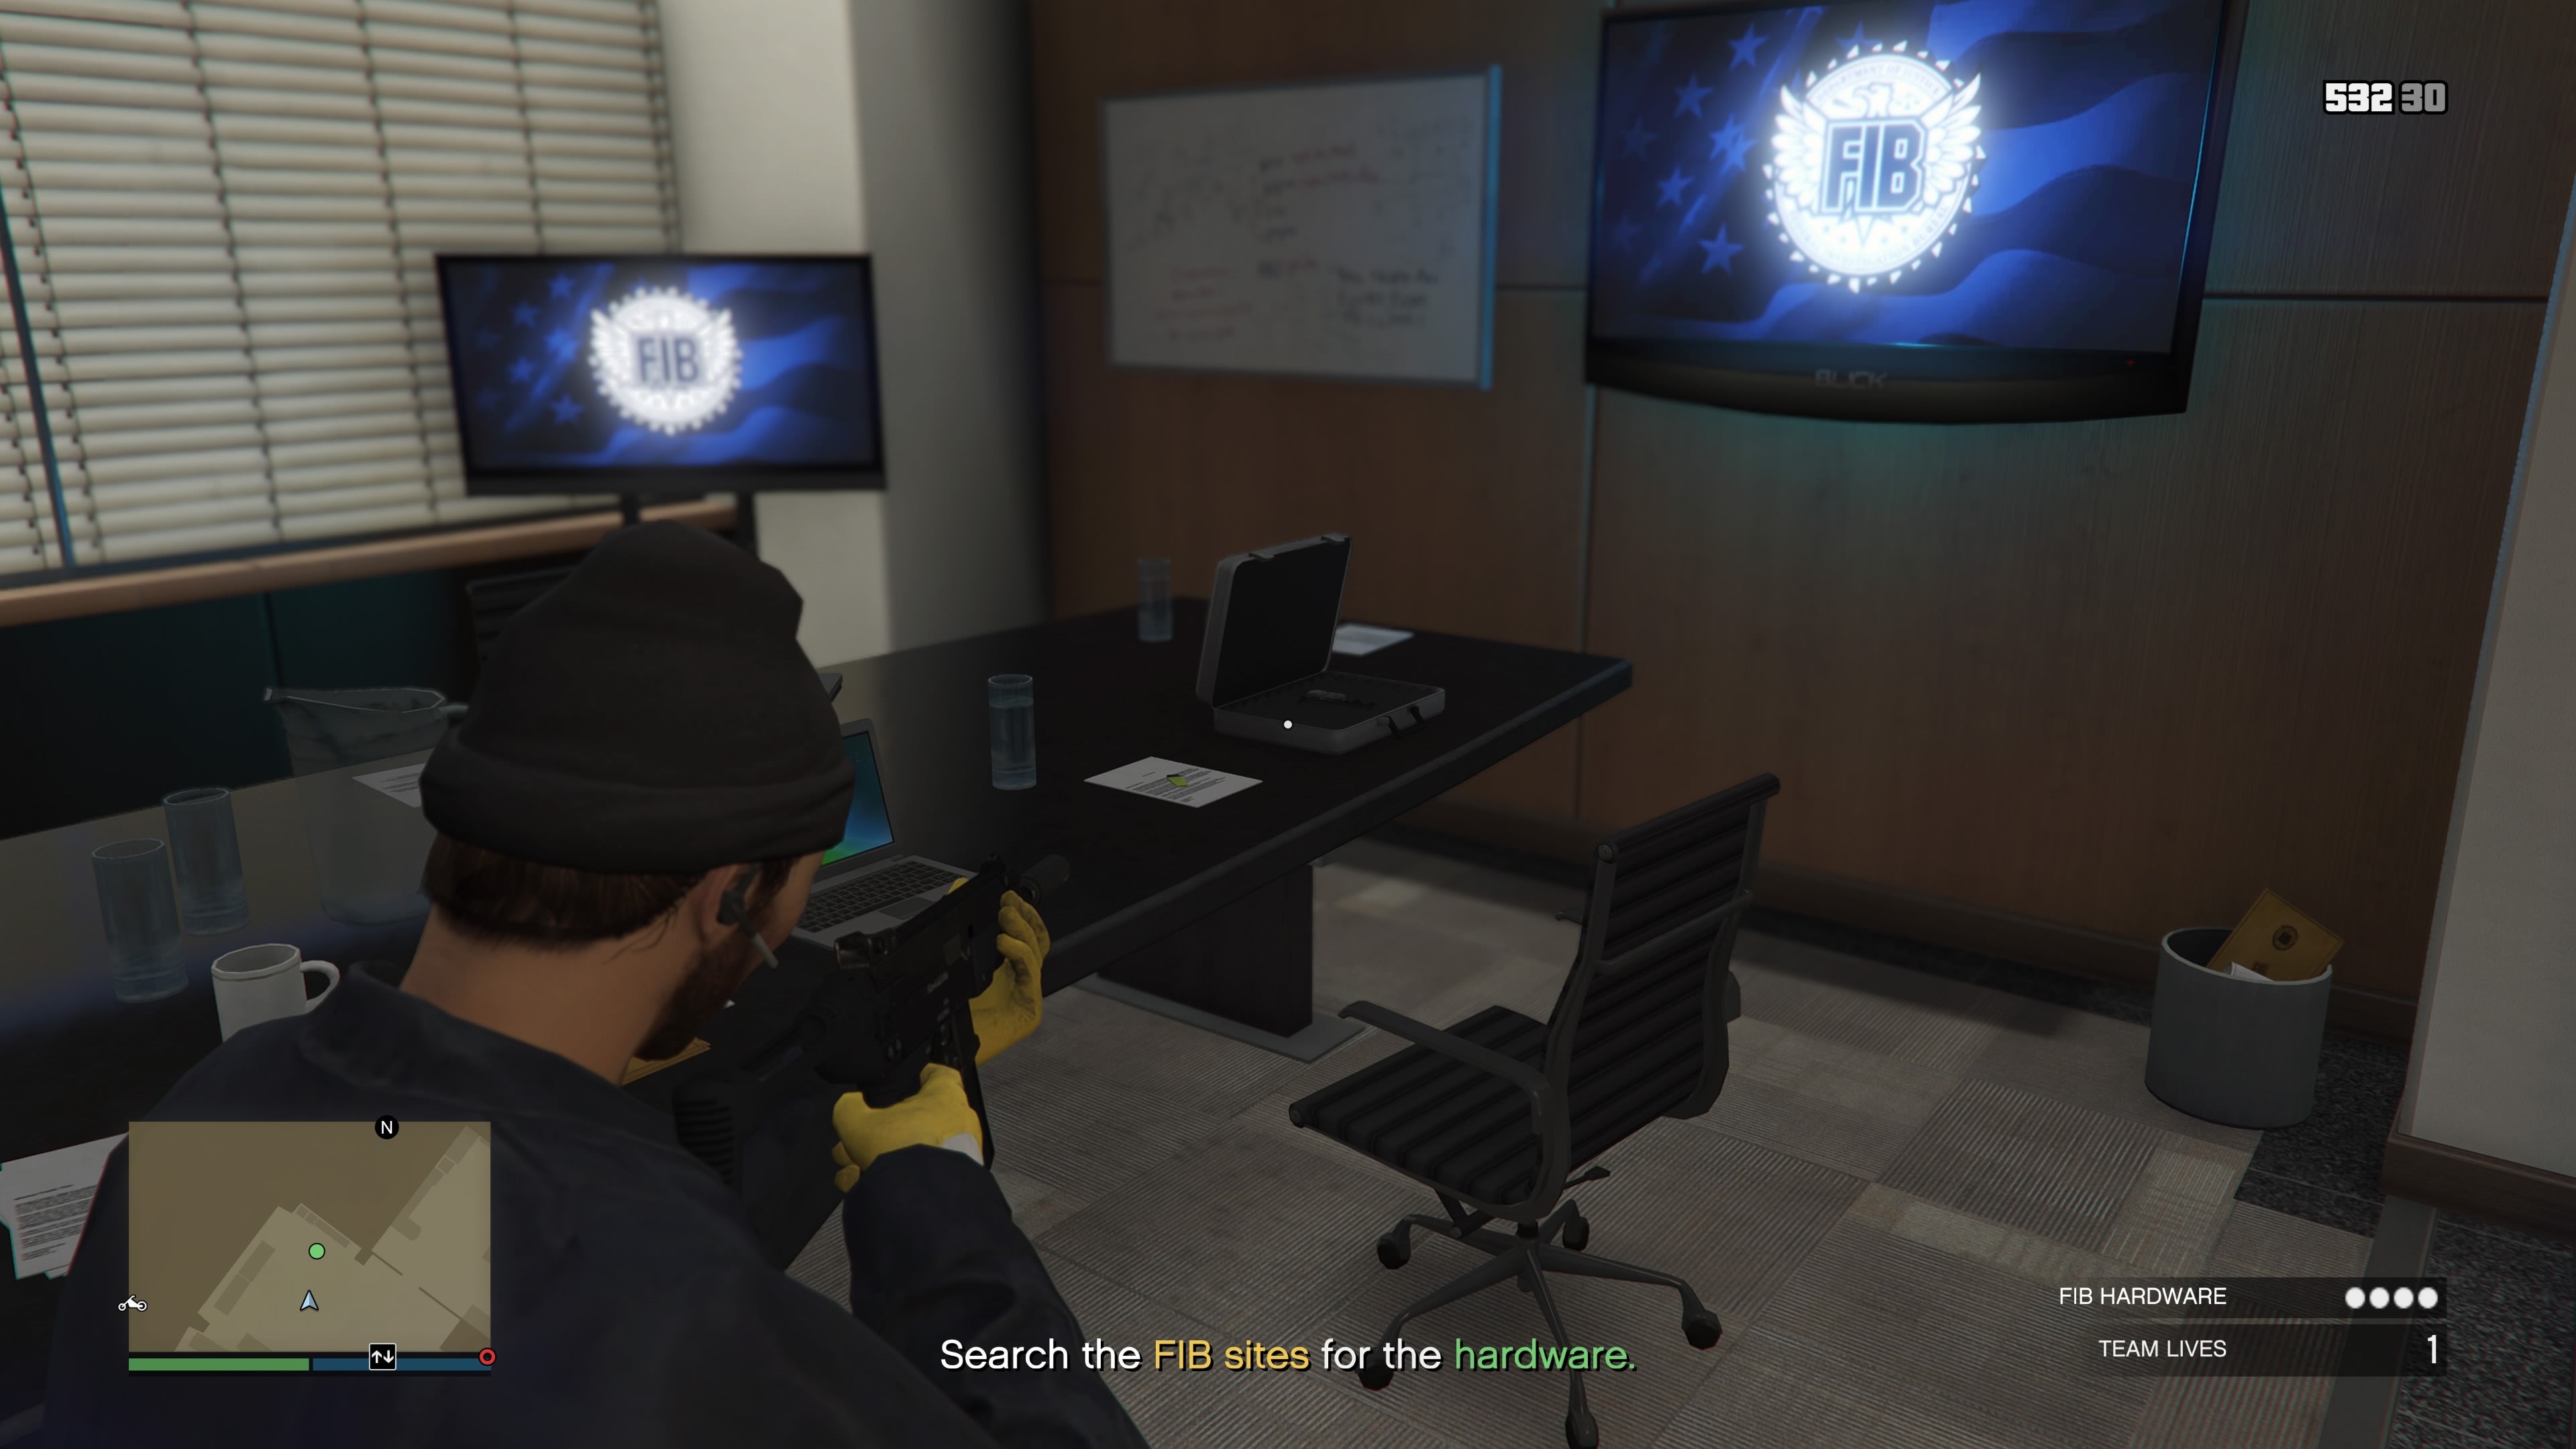
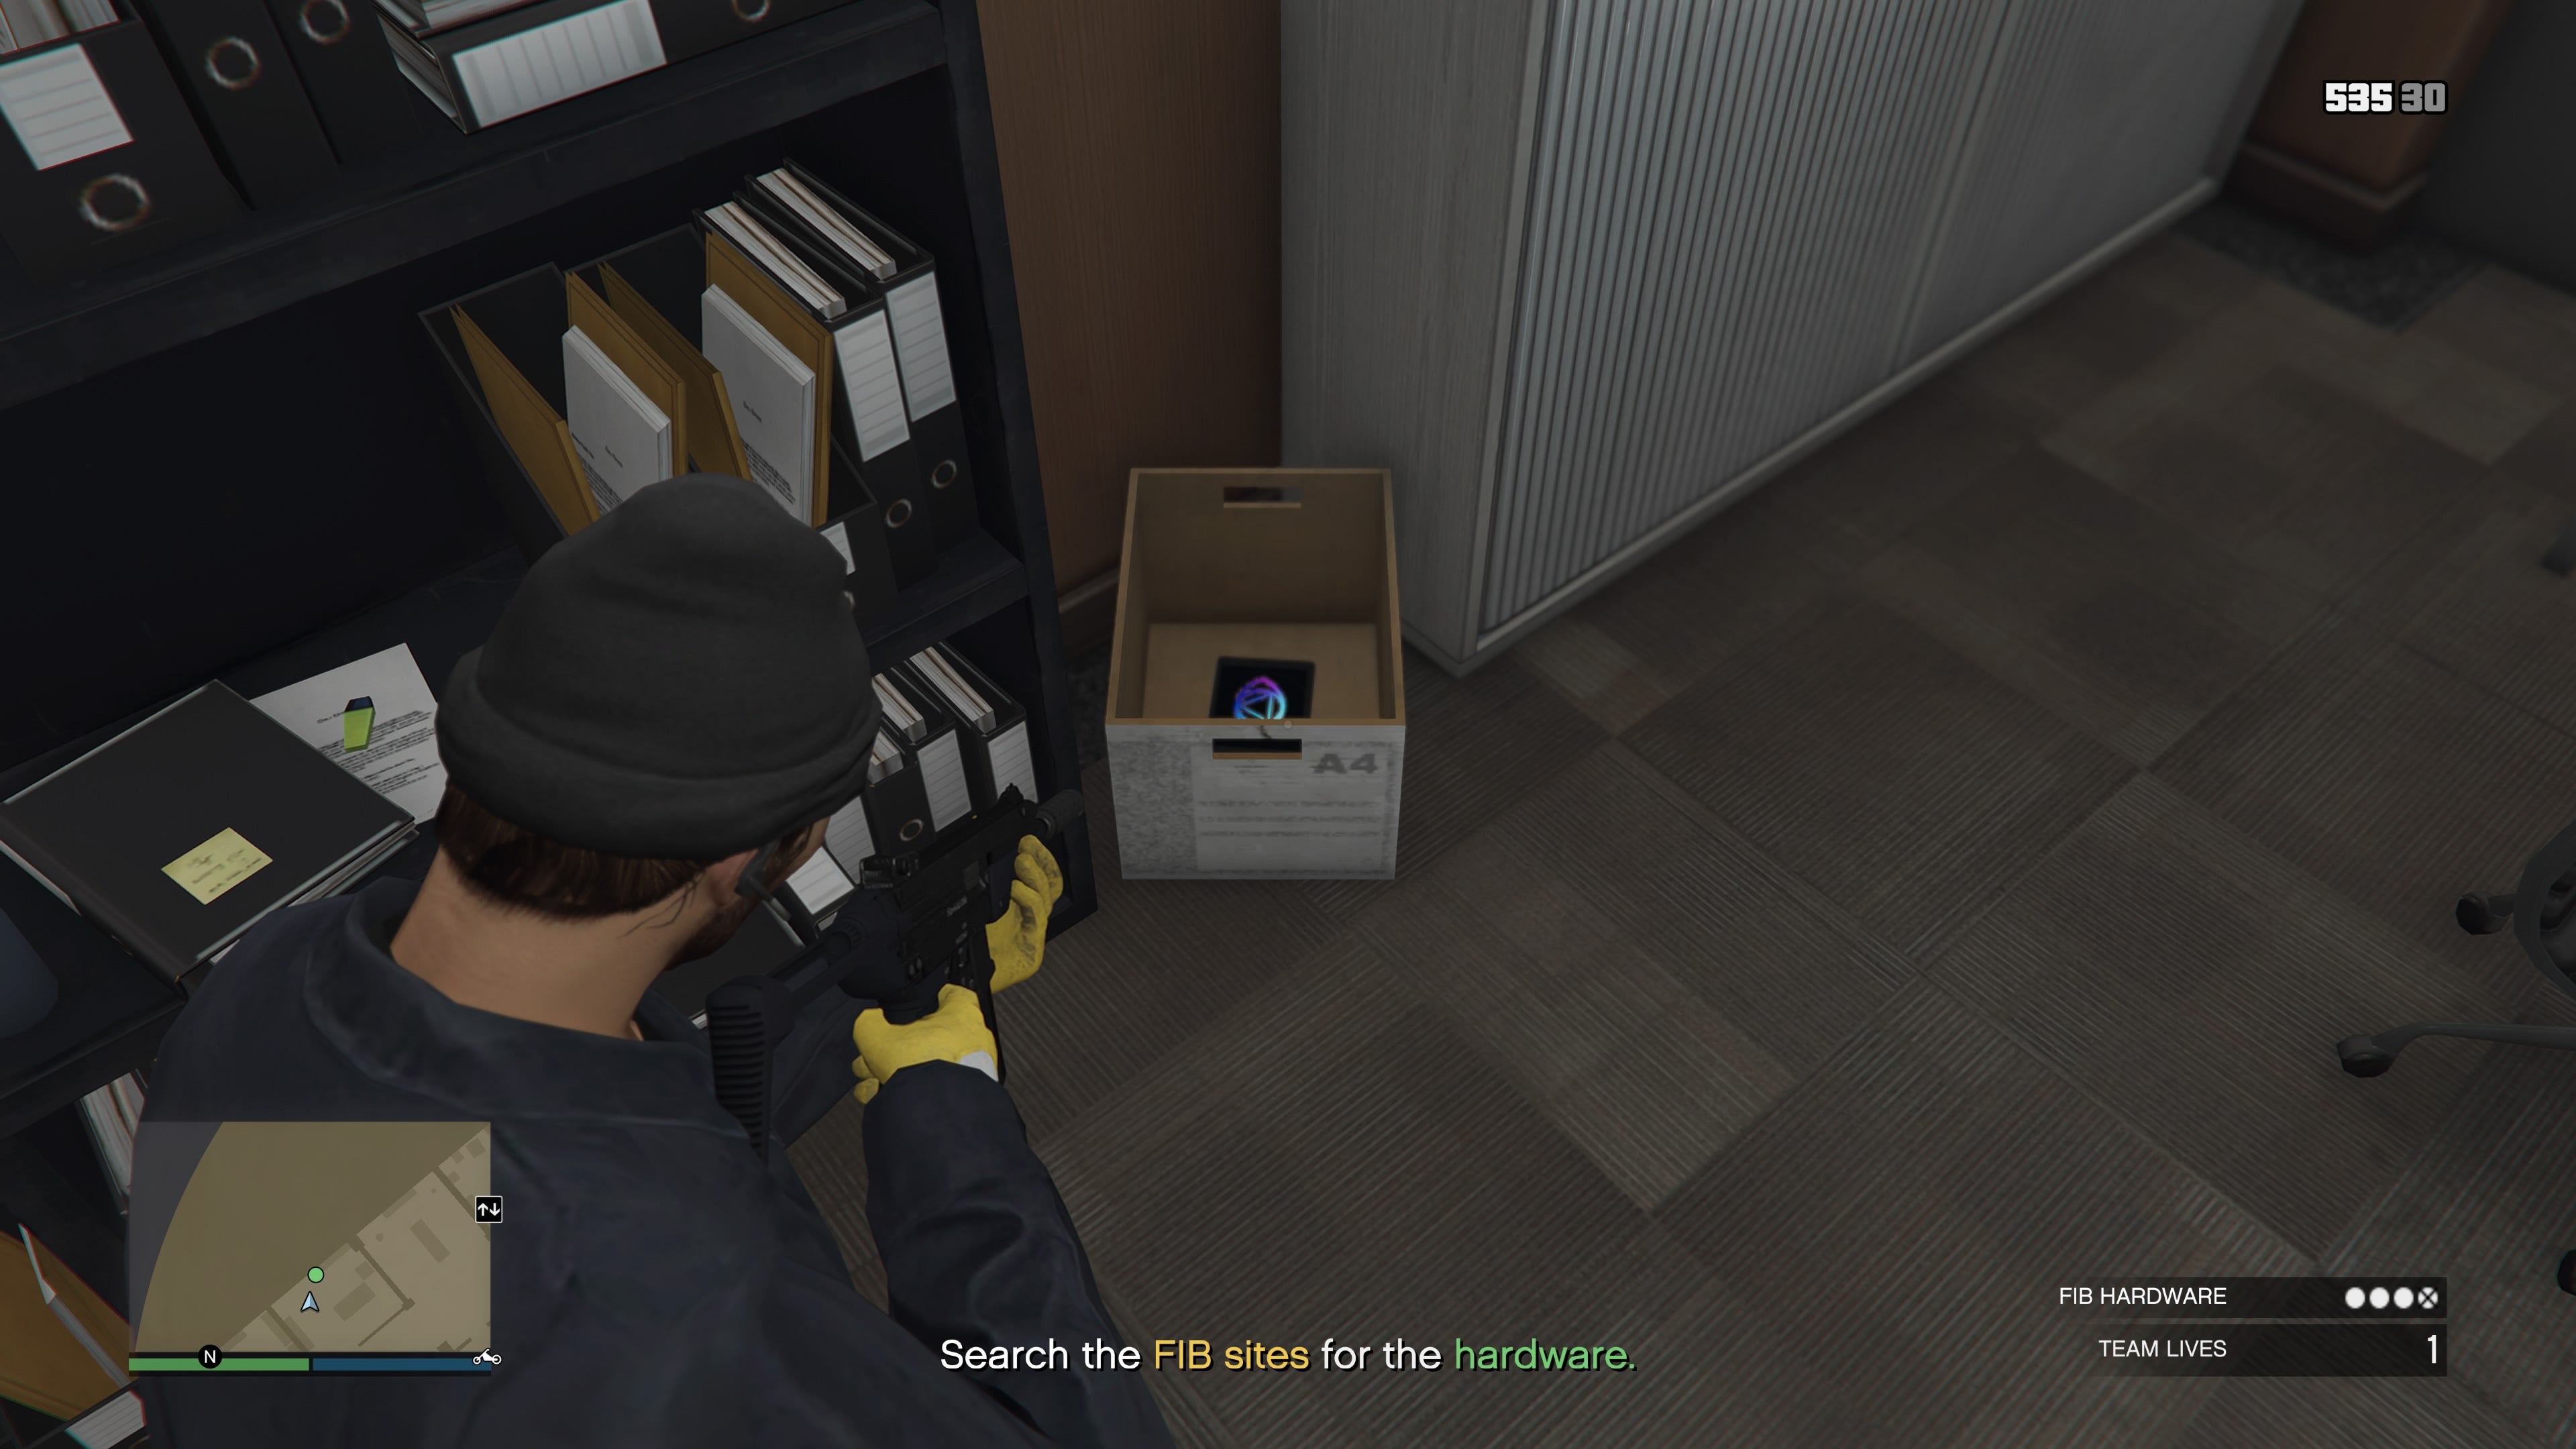
The FIB Office is the most troublesome of the two, as it requires you to stealthily collect two pieces of FIB hardware while avoiding detection from multiple guards. Be sure to bring a silenced weapon to this, as you’ll need to silently take out several FIB agents to traverse the space. Before you head inside, pick up a construction worker disguise across the bridge from the offices. This will be marked on your map as you get closer, so just drive over to the open mini-van at the construction site and get geared up! Once you’ve walked inside, equip your silenced weapon and start clearing out the floor. You’ll realistically need to kill every guard here, so it’s best you do it first before spending time sweeping each and every room. Be careful for pairs of guards standing next to each other. While solo, you’ll need to be quick about taking them both out in succession. Also, one or two guards do small patrols, so keep an eye out for wandering security. Once you wipe out all the guards, you can collect your FIB hardware. The first can be found in the open plan offices left of the elevator you arrive in. Make your way to the far end of the room past all the guards, and enter the large office left of the pair of guards standing by the back on the space by the server room. Inside, on the table, you’ll find the first piece of evidence on the table inside a case. The second piece of evidence can be found at the totally opposite side of the floor, to the right of the elevator you came in on. You can find it next to two guards guarding the north hallway. Once you’ve killed them, head right into a small office and you’ll find the datapad inside a box on the floor. Once you have both pieces of FIB hardware, get rid of your weapon and go barehanded, then descend down the elevator and walk out problem free! Obviously, if you tripped the alarm or got spotted, you’ll have to fight your way out. Not a huge problem for a full team of four, but if you’re solo this could be a disaster.
Where is the hardware in the FIB Warehouse?
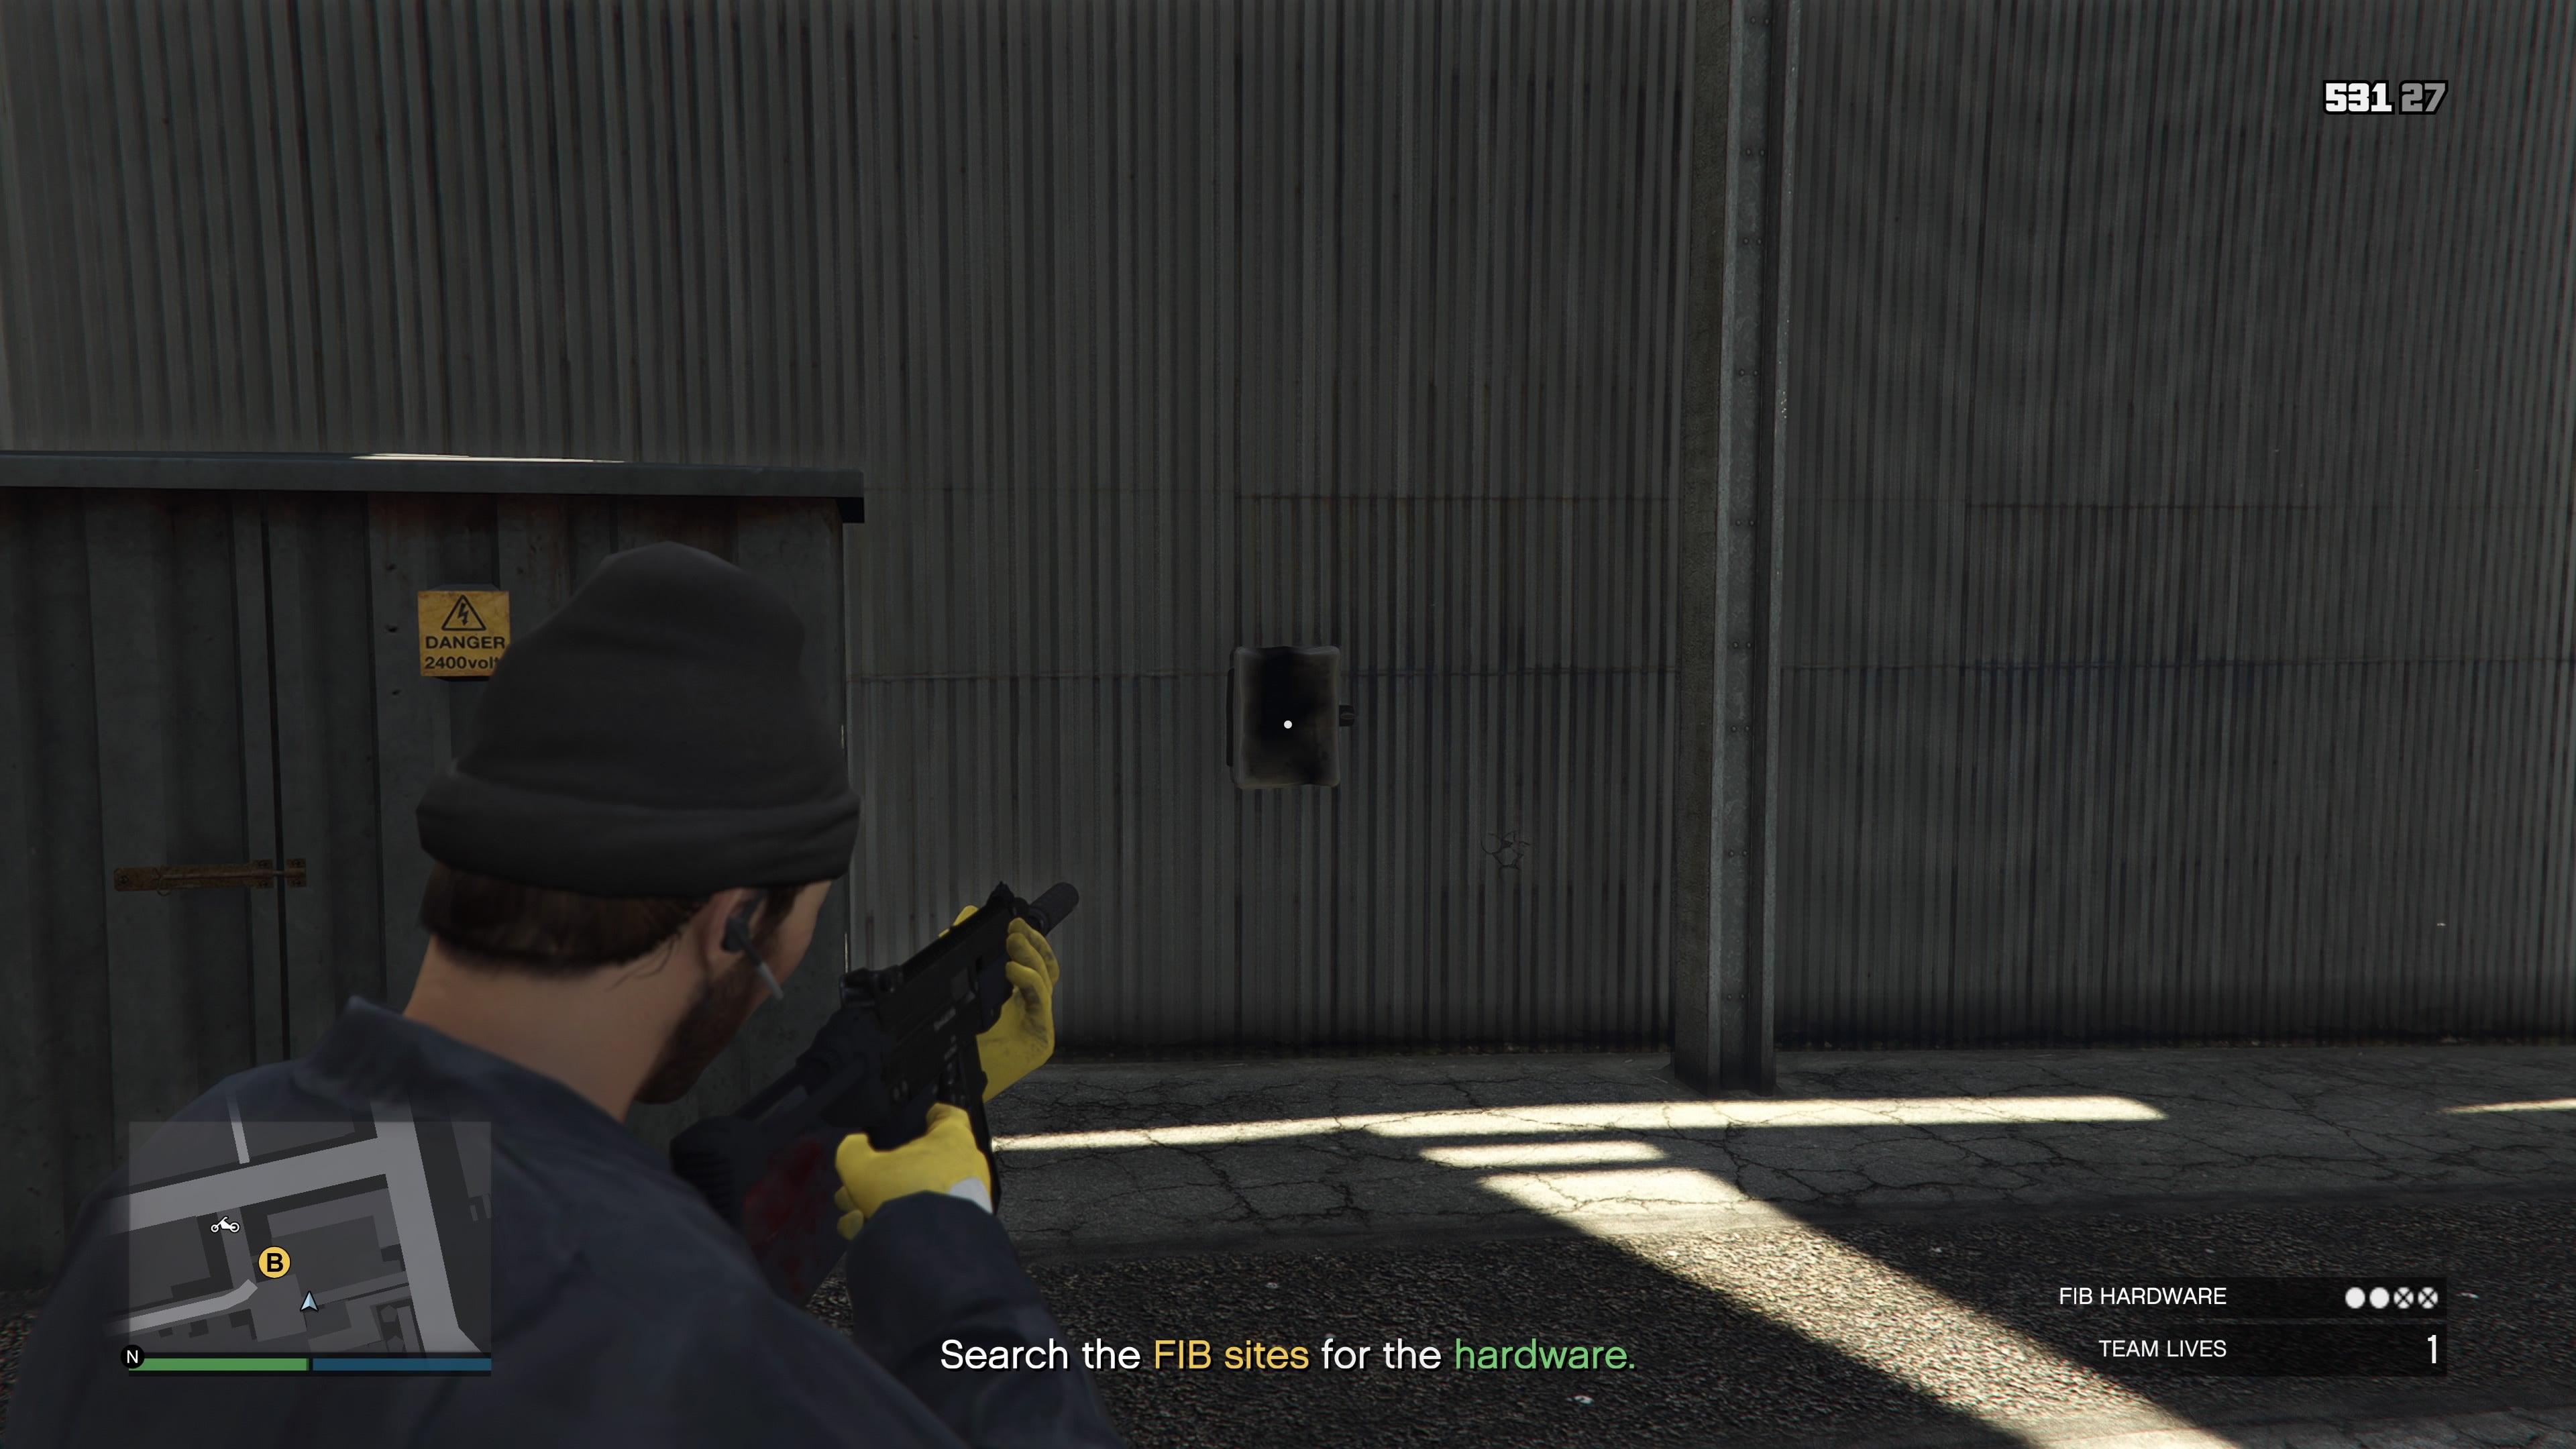
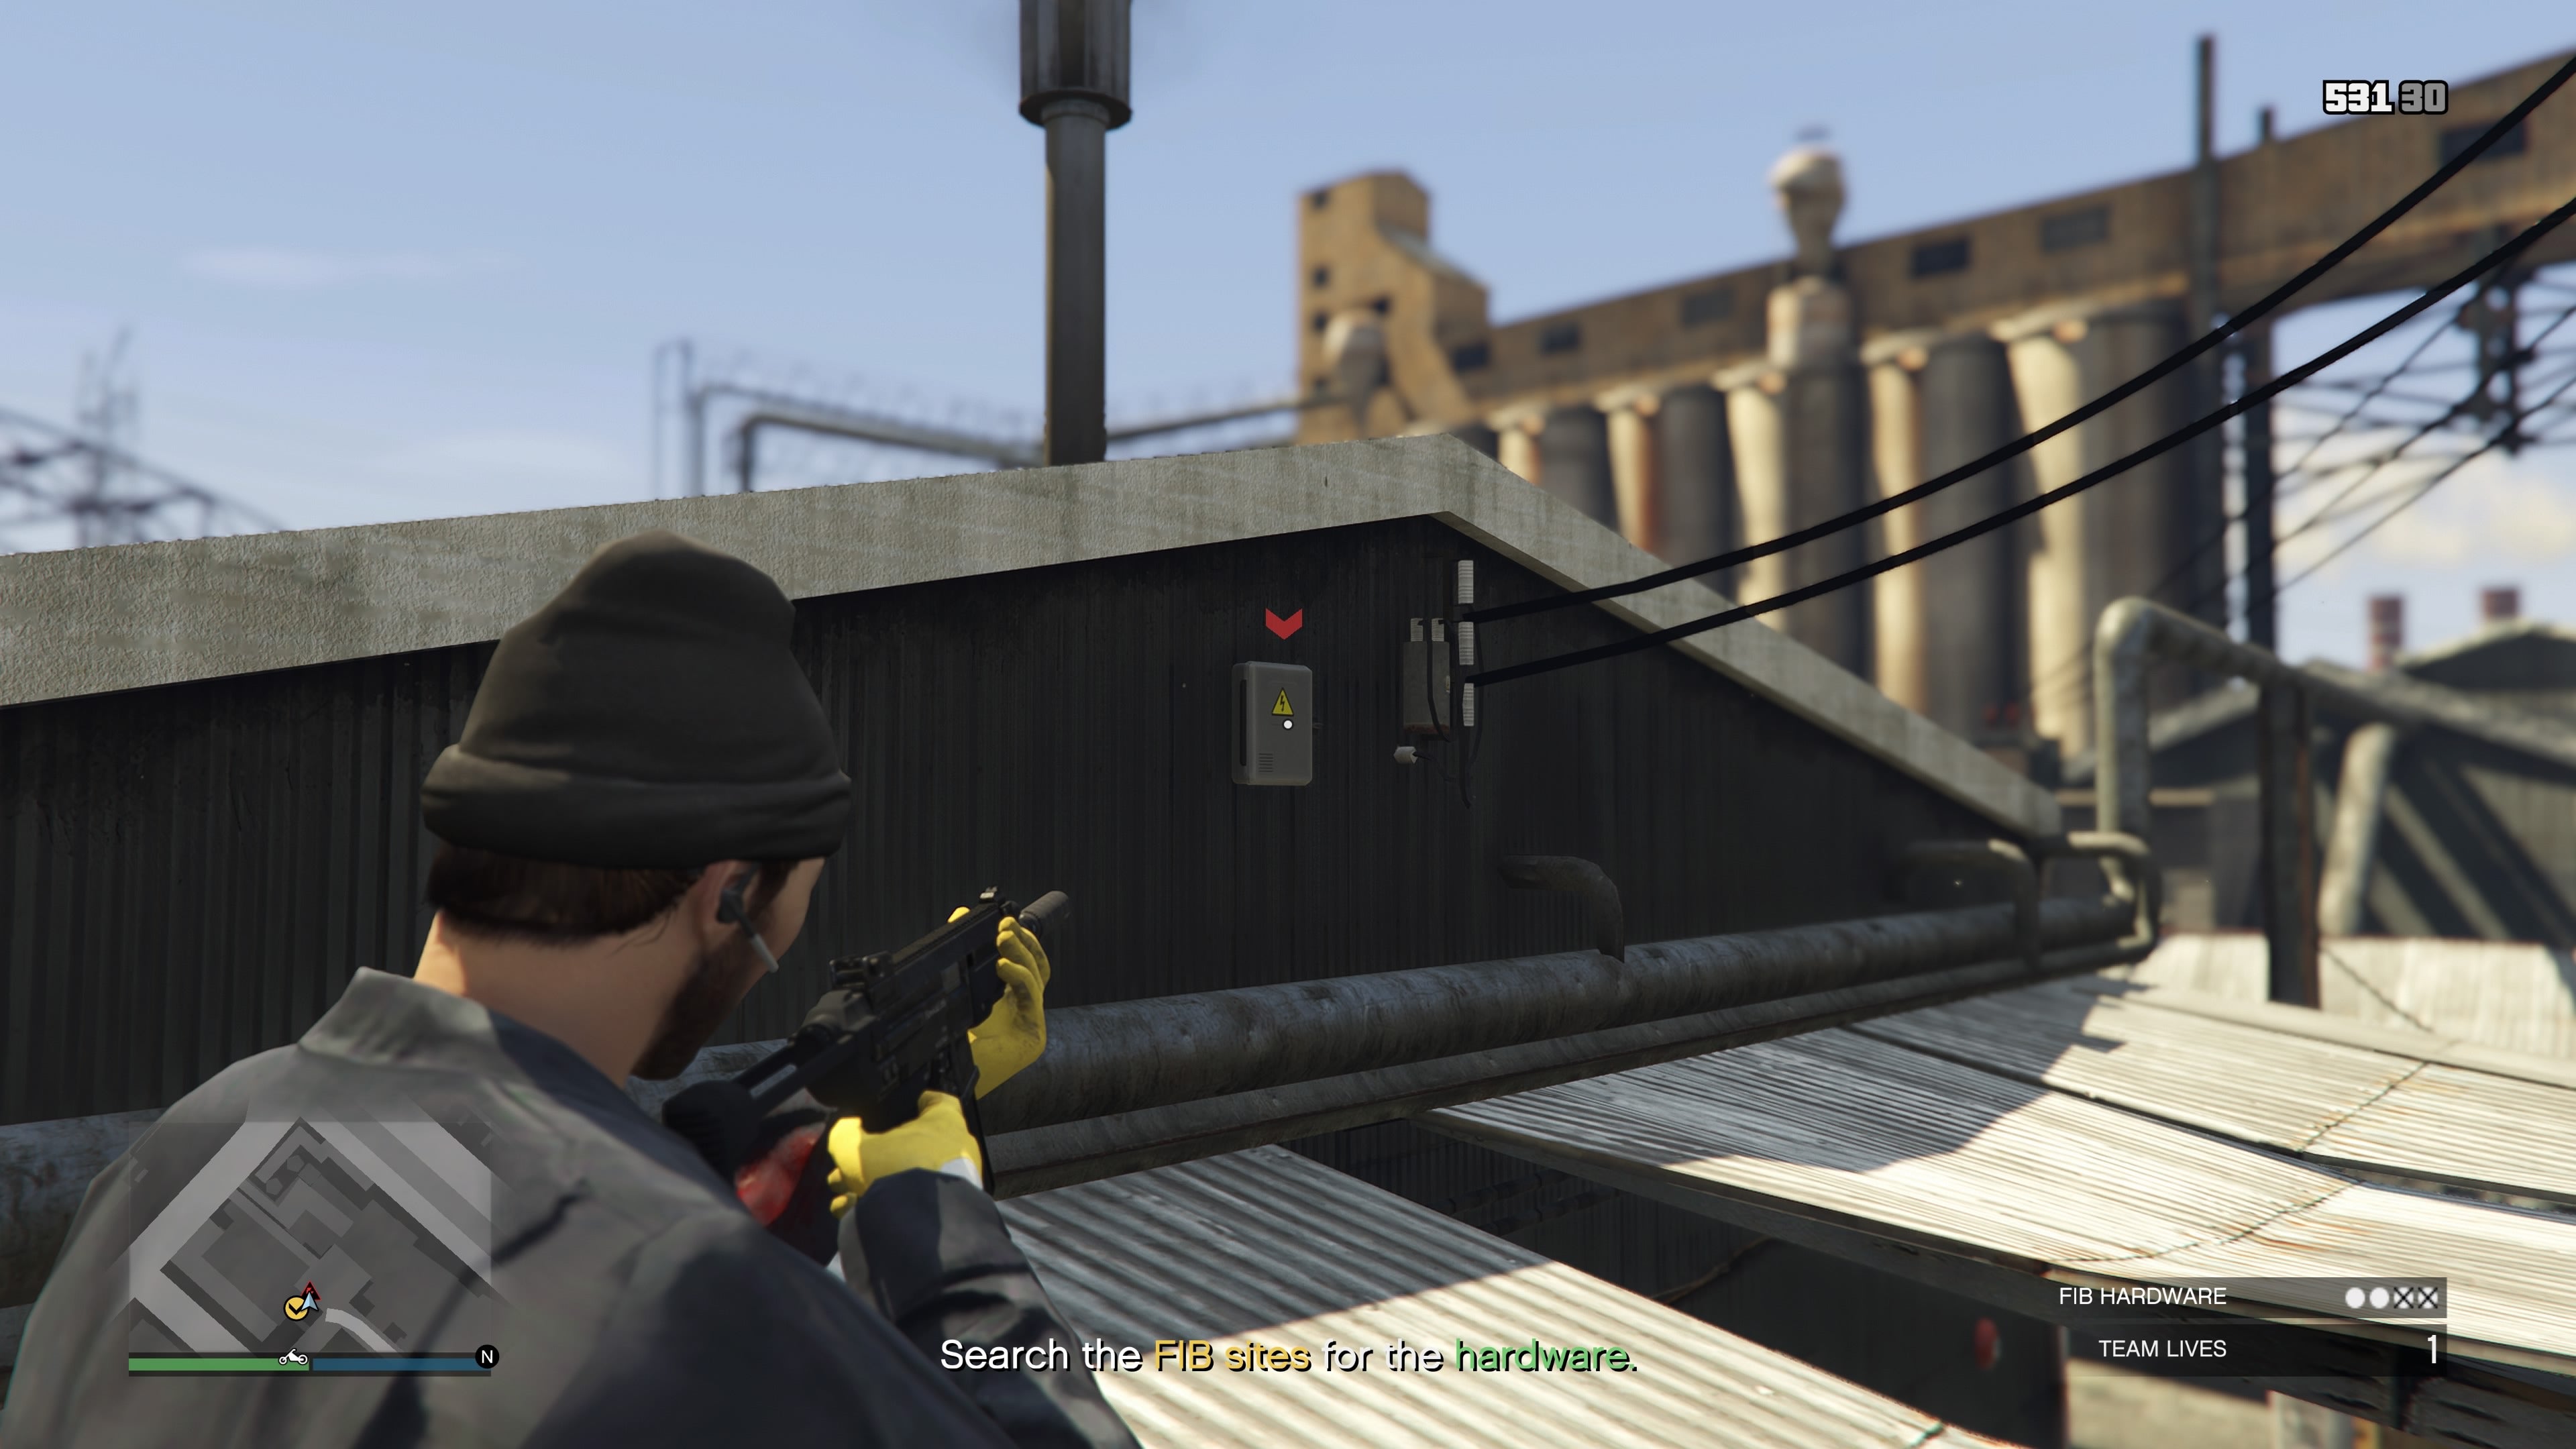
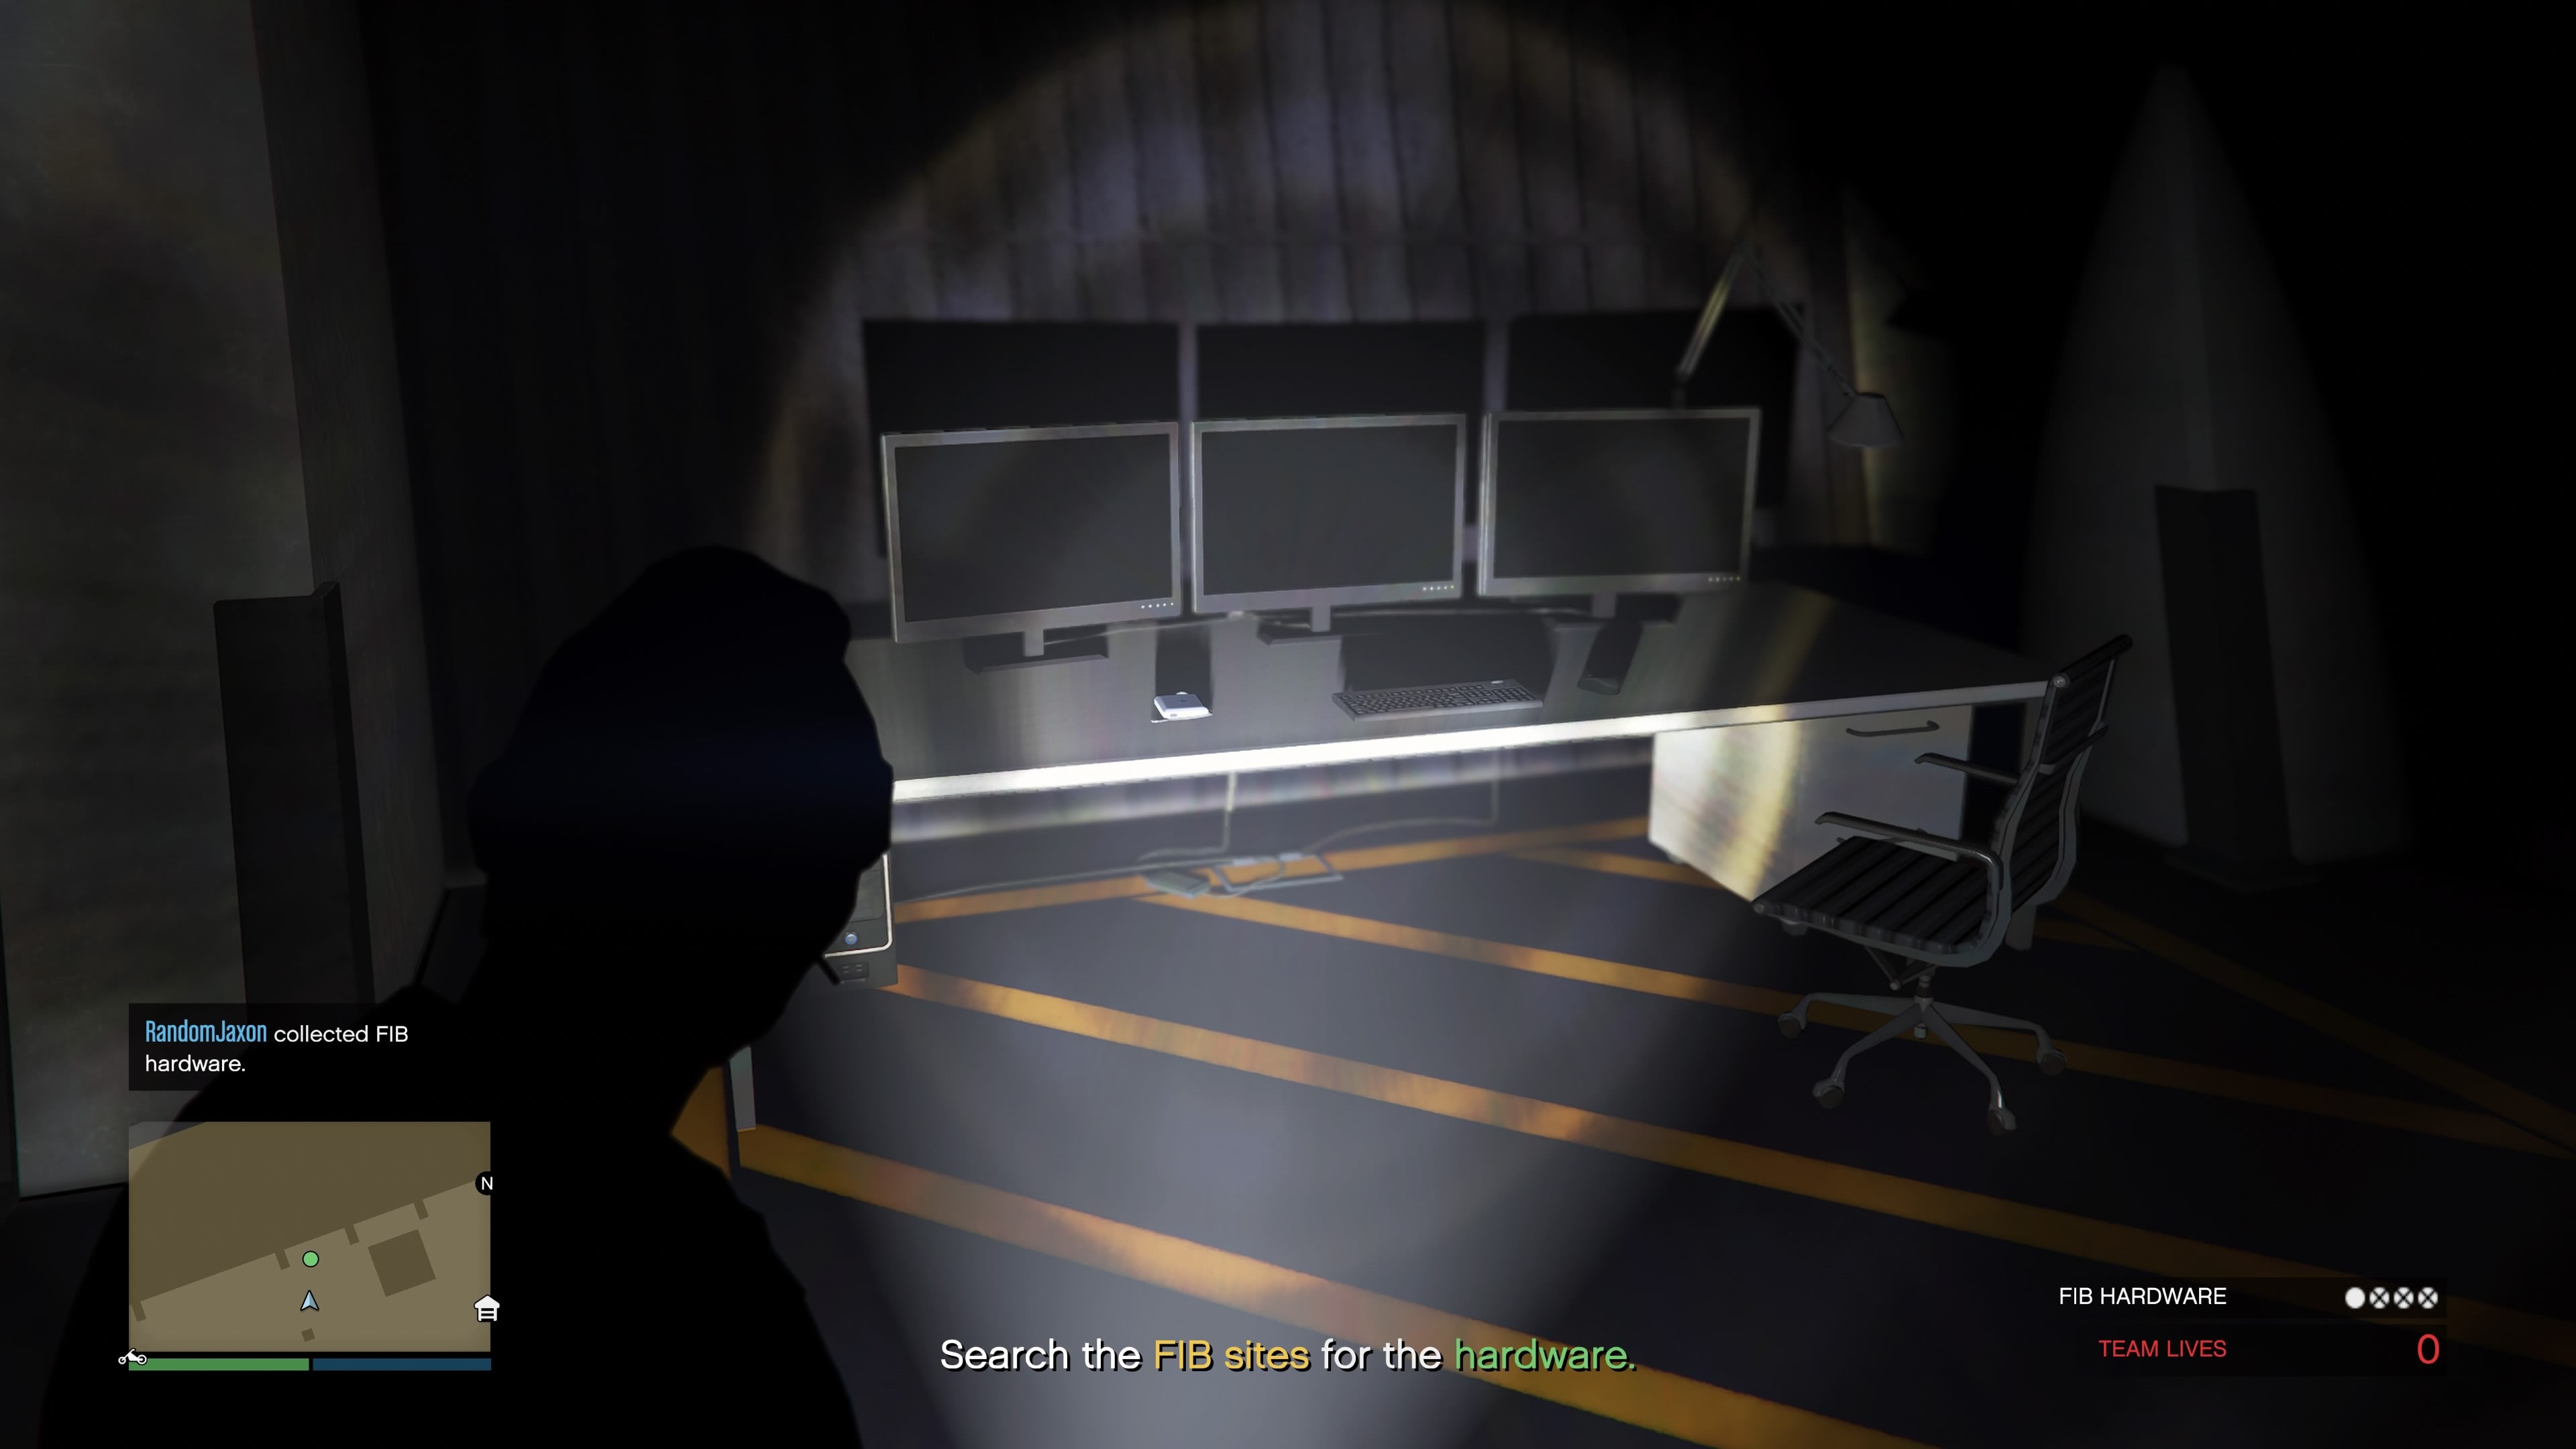
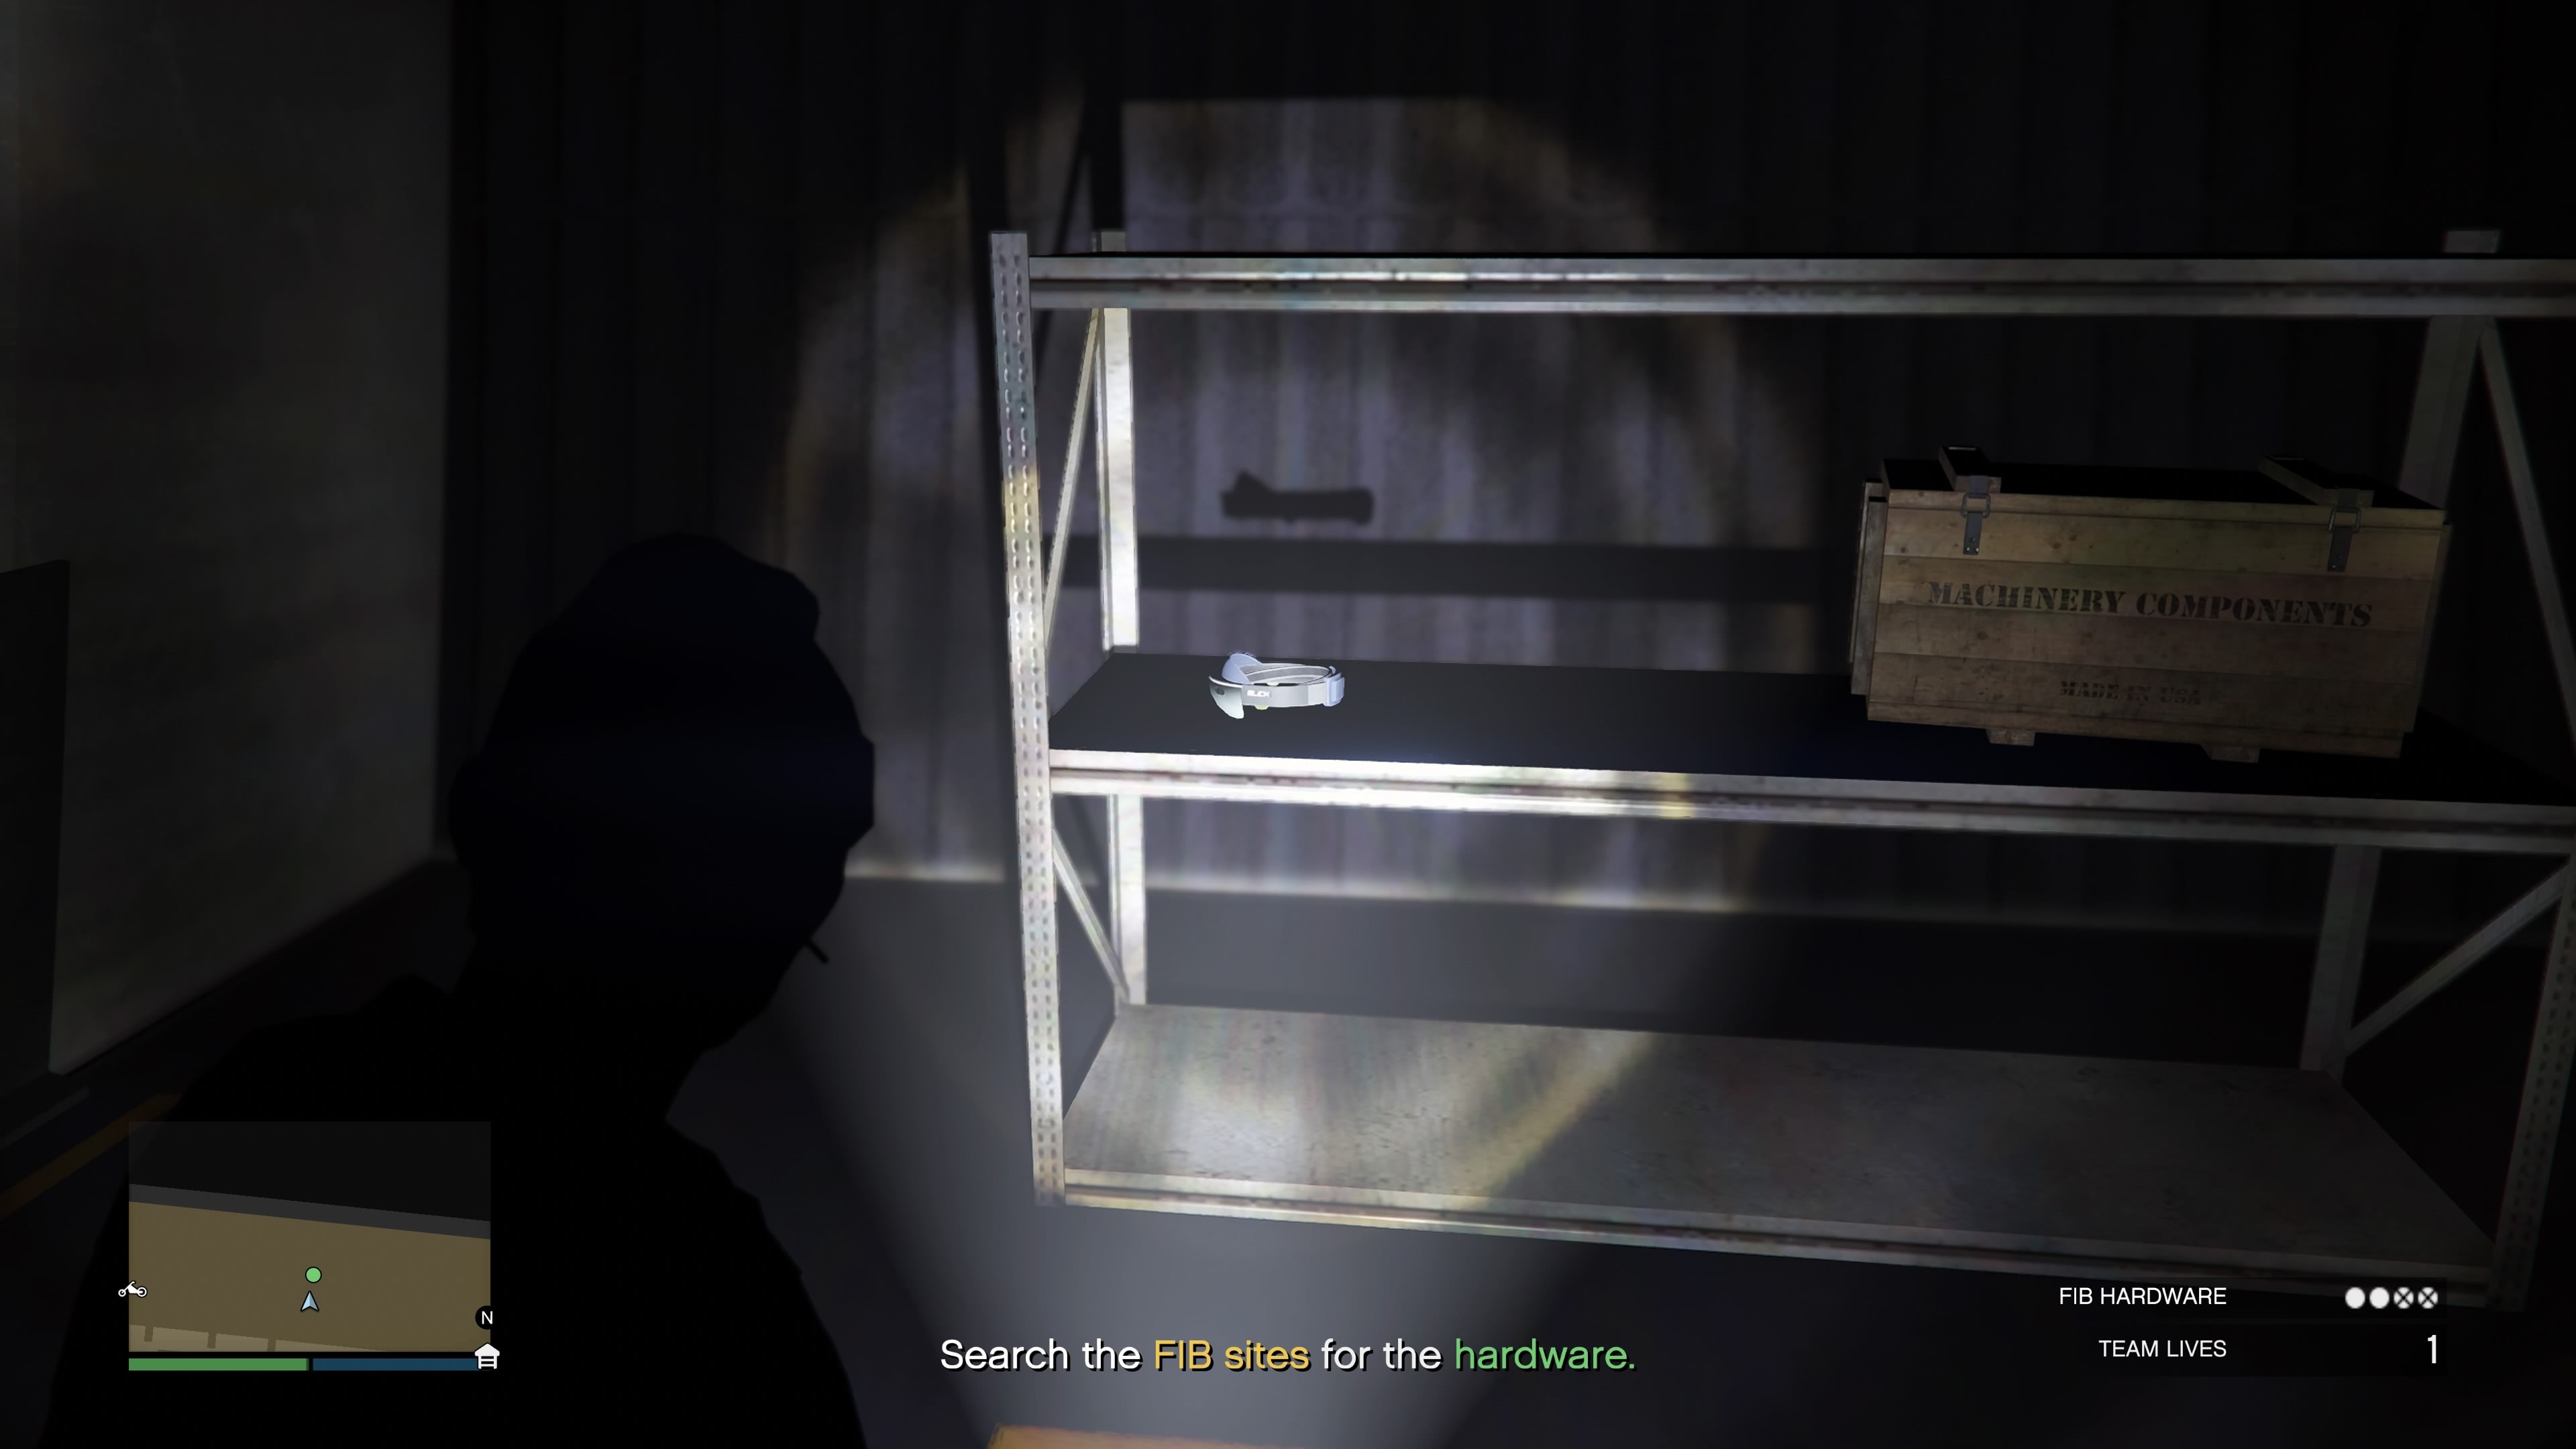
The FIB Warehouse is far easier than the offices, and requires you to enter a warehouse and find the two remaining FIB hardware pieces. Before you enter, you’ll want to destroy two fuse boxes so you don’t trip an alarm. To find the first one, start at the entrance and walk around the right side of the building. In an alleyway on the right side of the building, you’ll find the first fuse box on ground level attached to the building exterior. The second box requires some parkour. Head to the back of the building and you’ll find a ladder. Climb up, and make your way to the roof overlooking the front of the building. You’ll see an overhang a short drop below. Be careful not to drop too far onto the ground, and land on this overhang. Turn around, and you’ll find the final fuse box on the building exterior! Once you’ve destroyed two fuse boxes, you’ll be free to enter the building problem free! Once inside, you’ll need to track down two special items in the dark. Thankfully, you have a flashlight! Stick to the right side of the room, and walk forward. On a desk next to the wall, you’ll first find an external hard drive which counts as one of your mission objectives. Following that, walk behind a van into a small area filled with shelving. Next to a wooden box, you’ll see a VR headset that counts as the final piece of FIB hardware! It’s worth noting that on repeat playthroughs of this mission, the locations of these two pieces of hardware can change! However, the VR Headset will always be on some shelves, while the external hard drive will always be on a computer desk. As such, by searching along the perimeter of the room, you’ll eventually find both mission objectives! With both of these collected, head outside and drive to your final destination by the docks. Once you make it there, you’ll automatically hand in all the evidence and earn yourself $40,000! If you’re looking for a guide on the next mission in Operation Paper Trail, check out our walkthrough guide for ULP: Counter Intelligence here! With that, we’ve concluded our guide on ULP Intelligence! For more guides, check out our piece on how to get all 18 new Criminal Enterprises vehicles, as well as this month’s GTA + rewards.