Thankfully, this guide takes you through each and every step, including what to bring, how to easily take out jammers, how to capture the van and how to drive the van to the dropoff harm free. If you’re struggling with any aspect of this mission, there’s something for you here.
ULP Asset Seizure: What to bring ULP Asset Seizure: How do I destroy the jammers? ULP Asset Seizure: How do I steal the van? ULP Asset Seizure: How do I drop off the van without getting murdered?
ULP Asset Seizure: What to bring
Max out on snacks! This mission is combat heavy, so you’ll want plenty of food to chow down on as you progress. Before you start the mission, head to a shop or your favourite source of junk food and stock up. Also, bring a sniper rifle with a decent scope. While not all jammers can be cheesed out with a long ranged snipe, it’s always handy to be able to take out armed guards from afar. You’ll also want a decent assault rifle that you’re comfortable using to take out helicopter pilots. Or an RPG, if you know you can hit those shots consistently.
ULP Asset Seizure: How do I destroy the jammers?
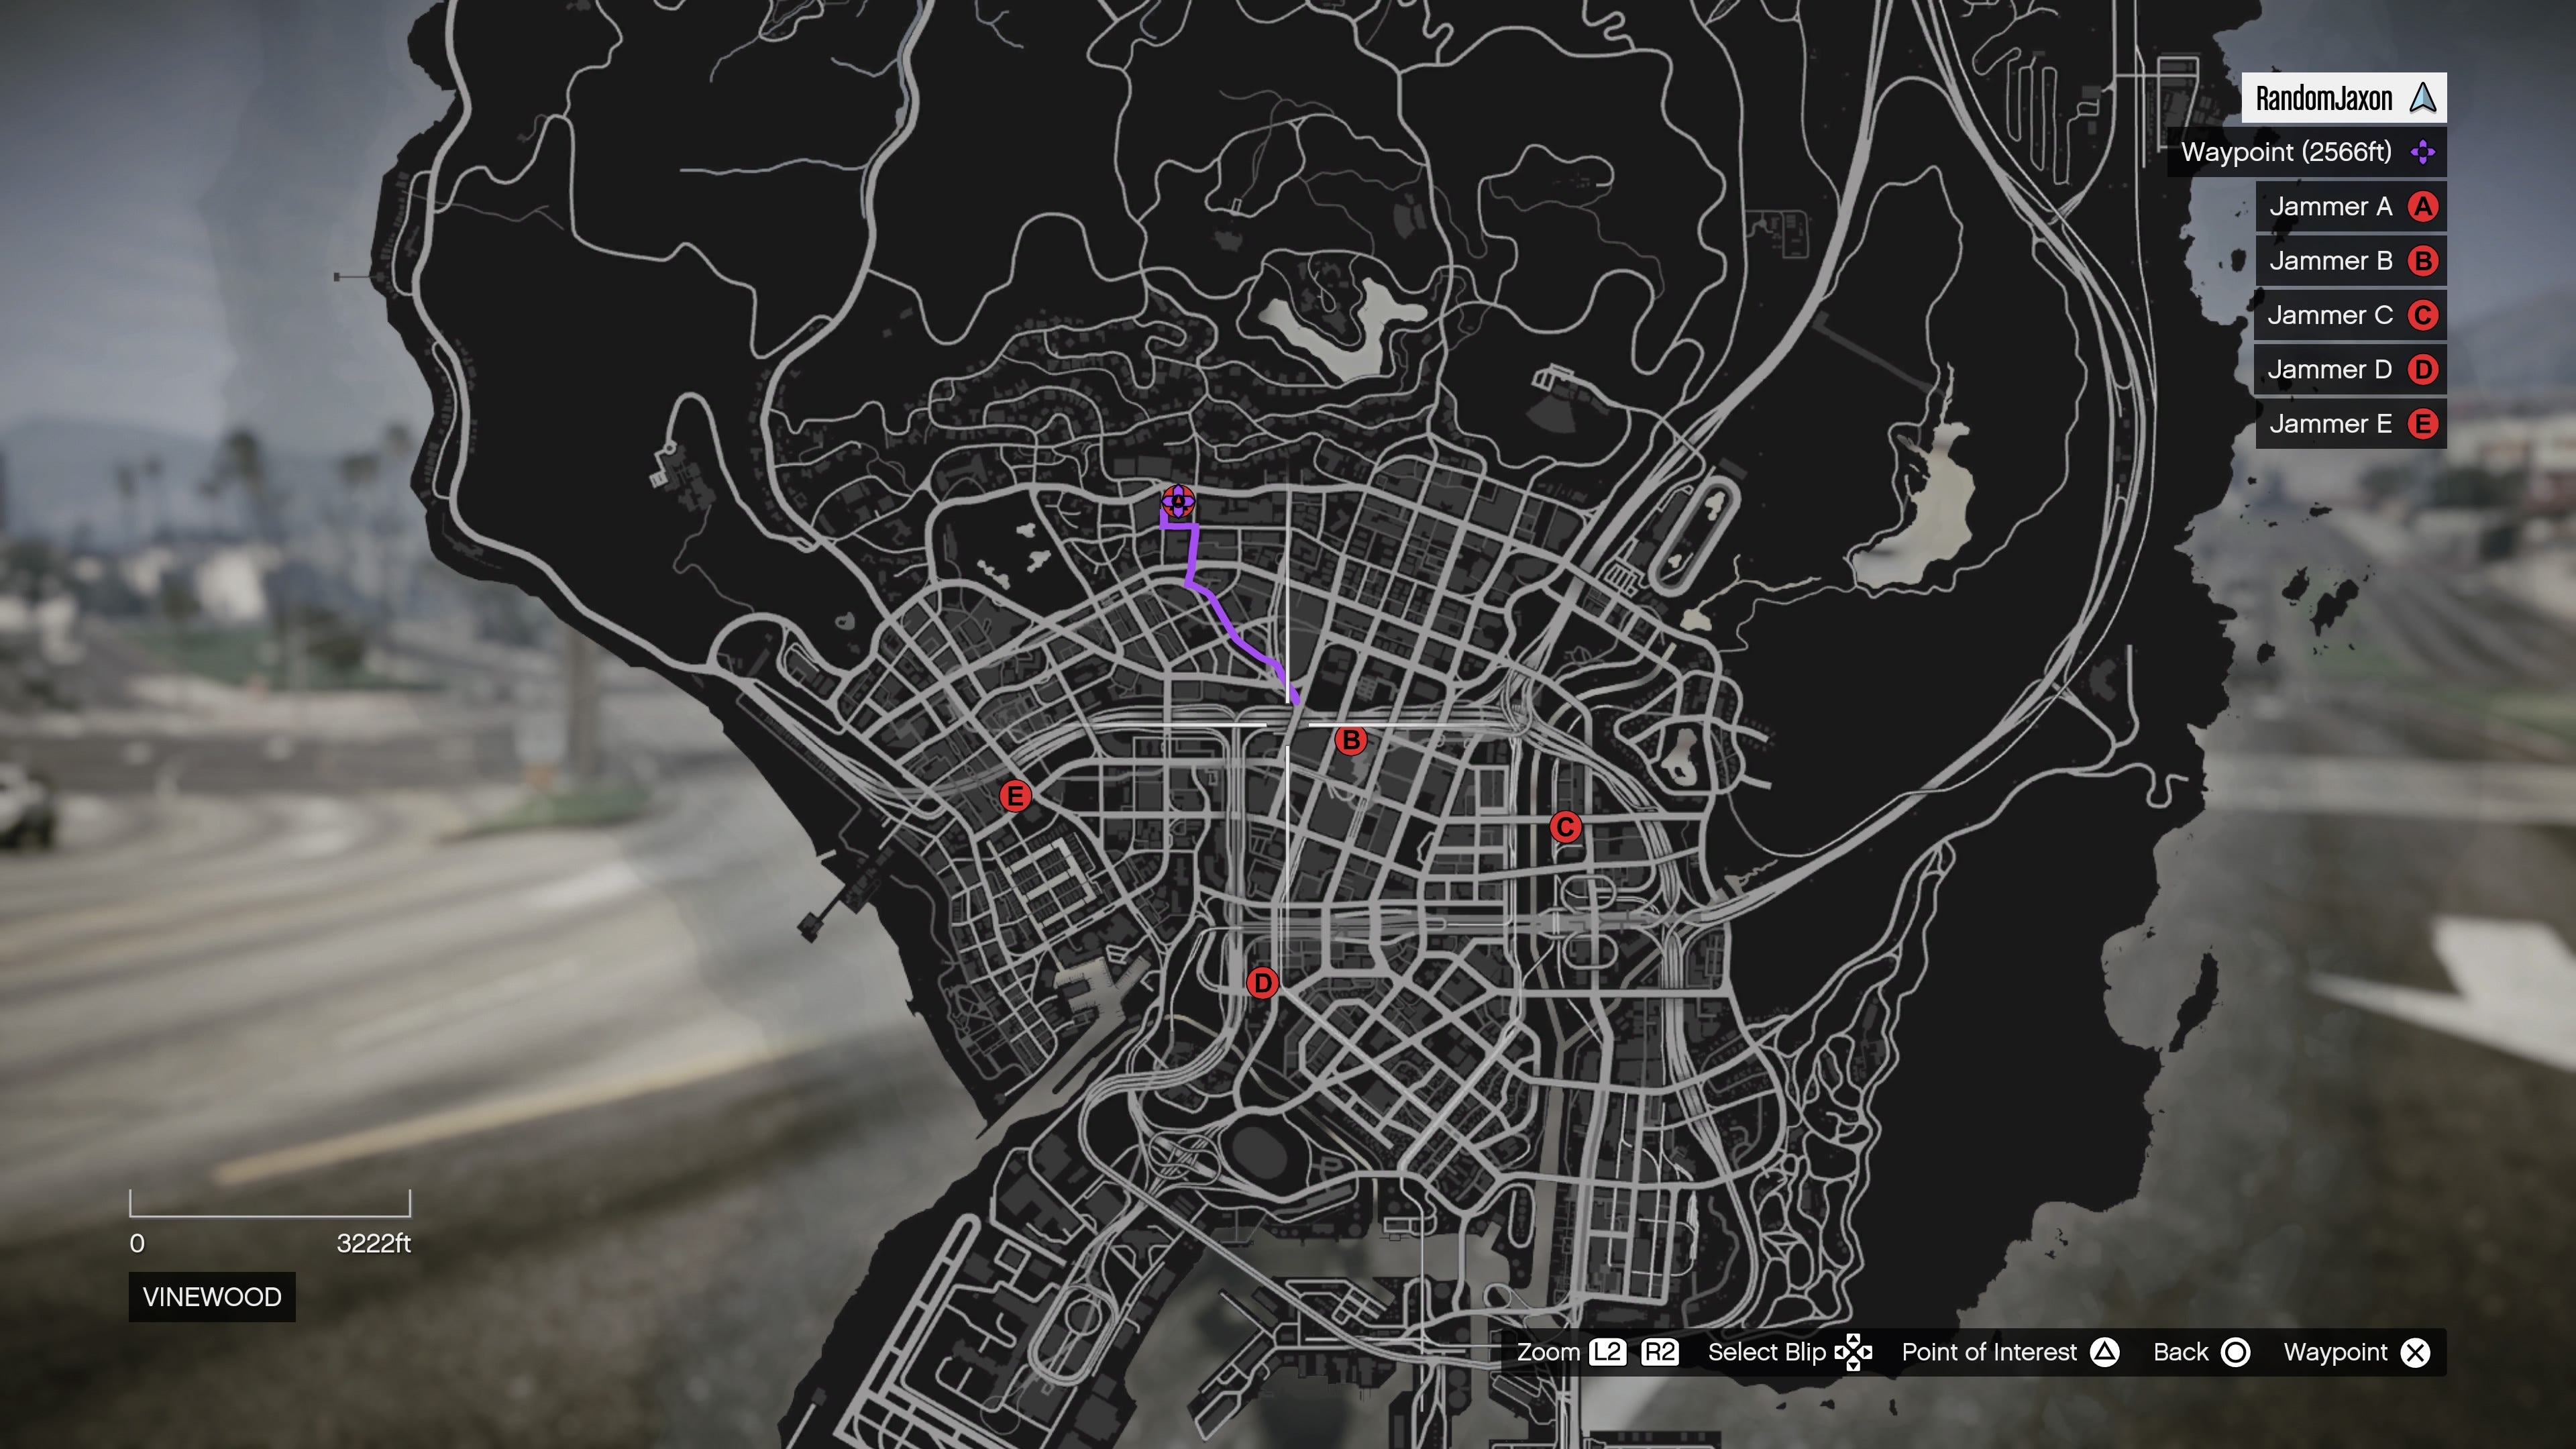
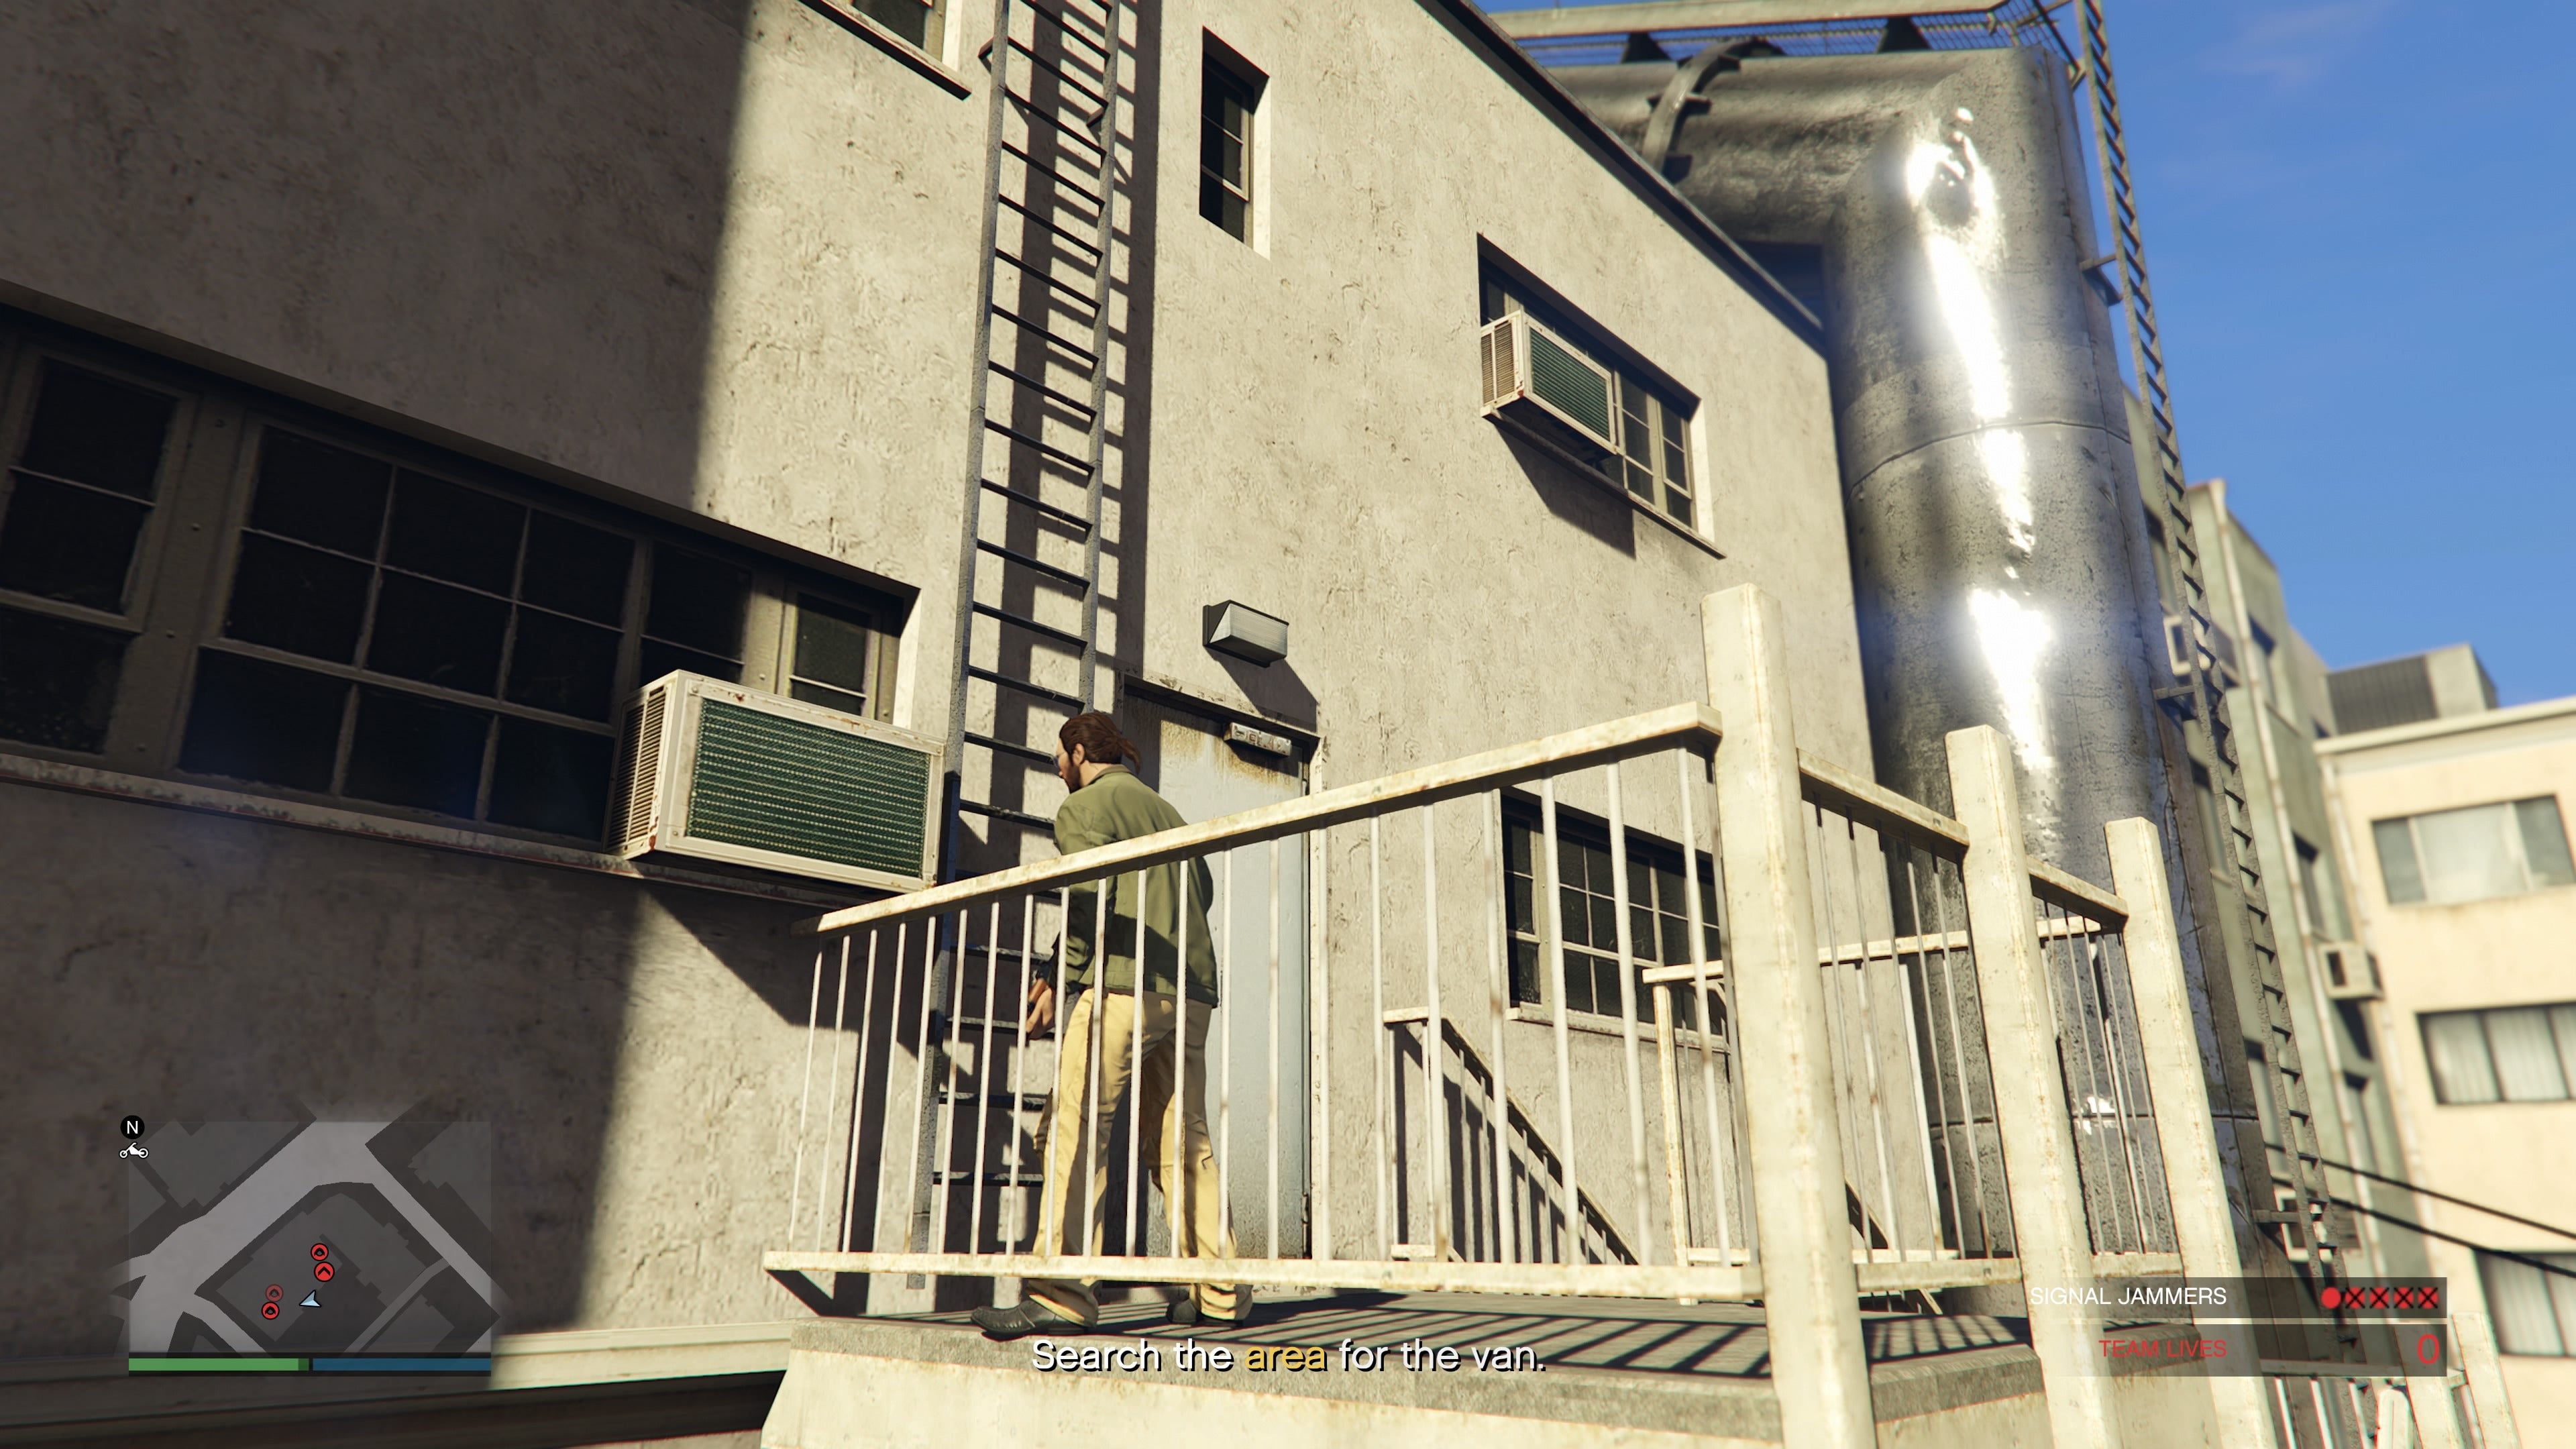
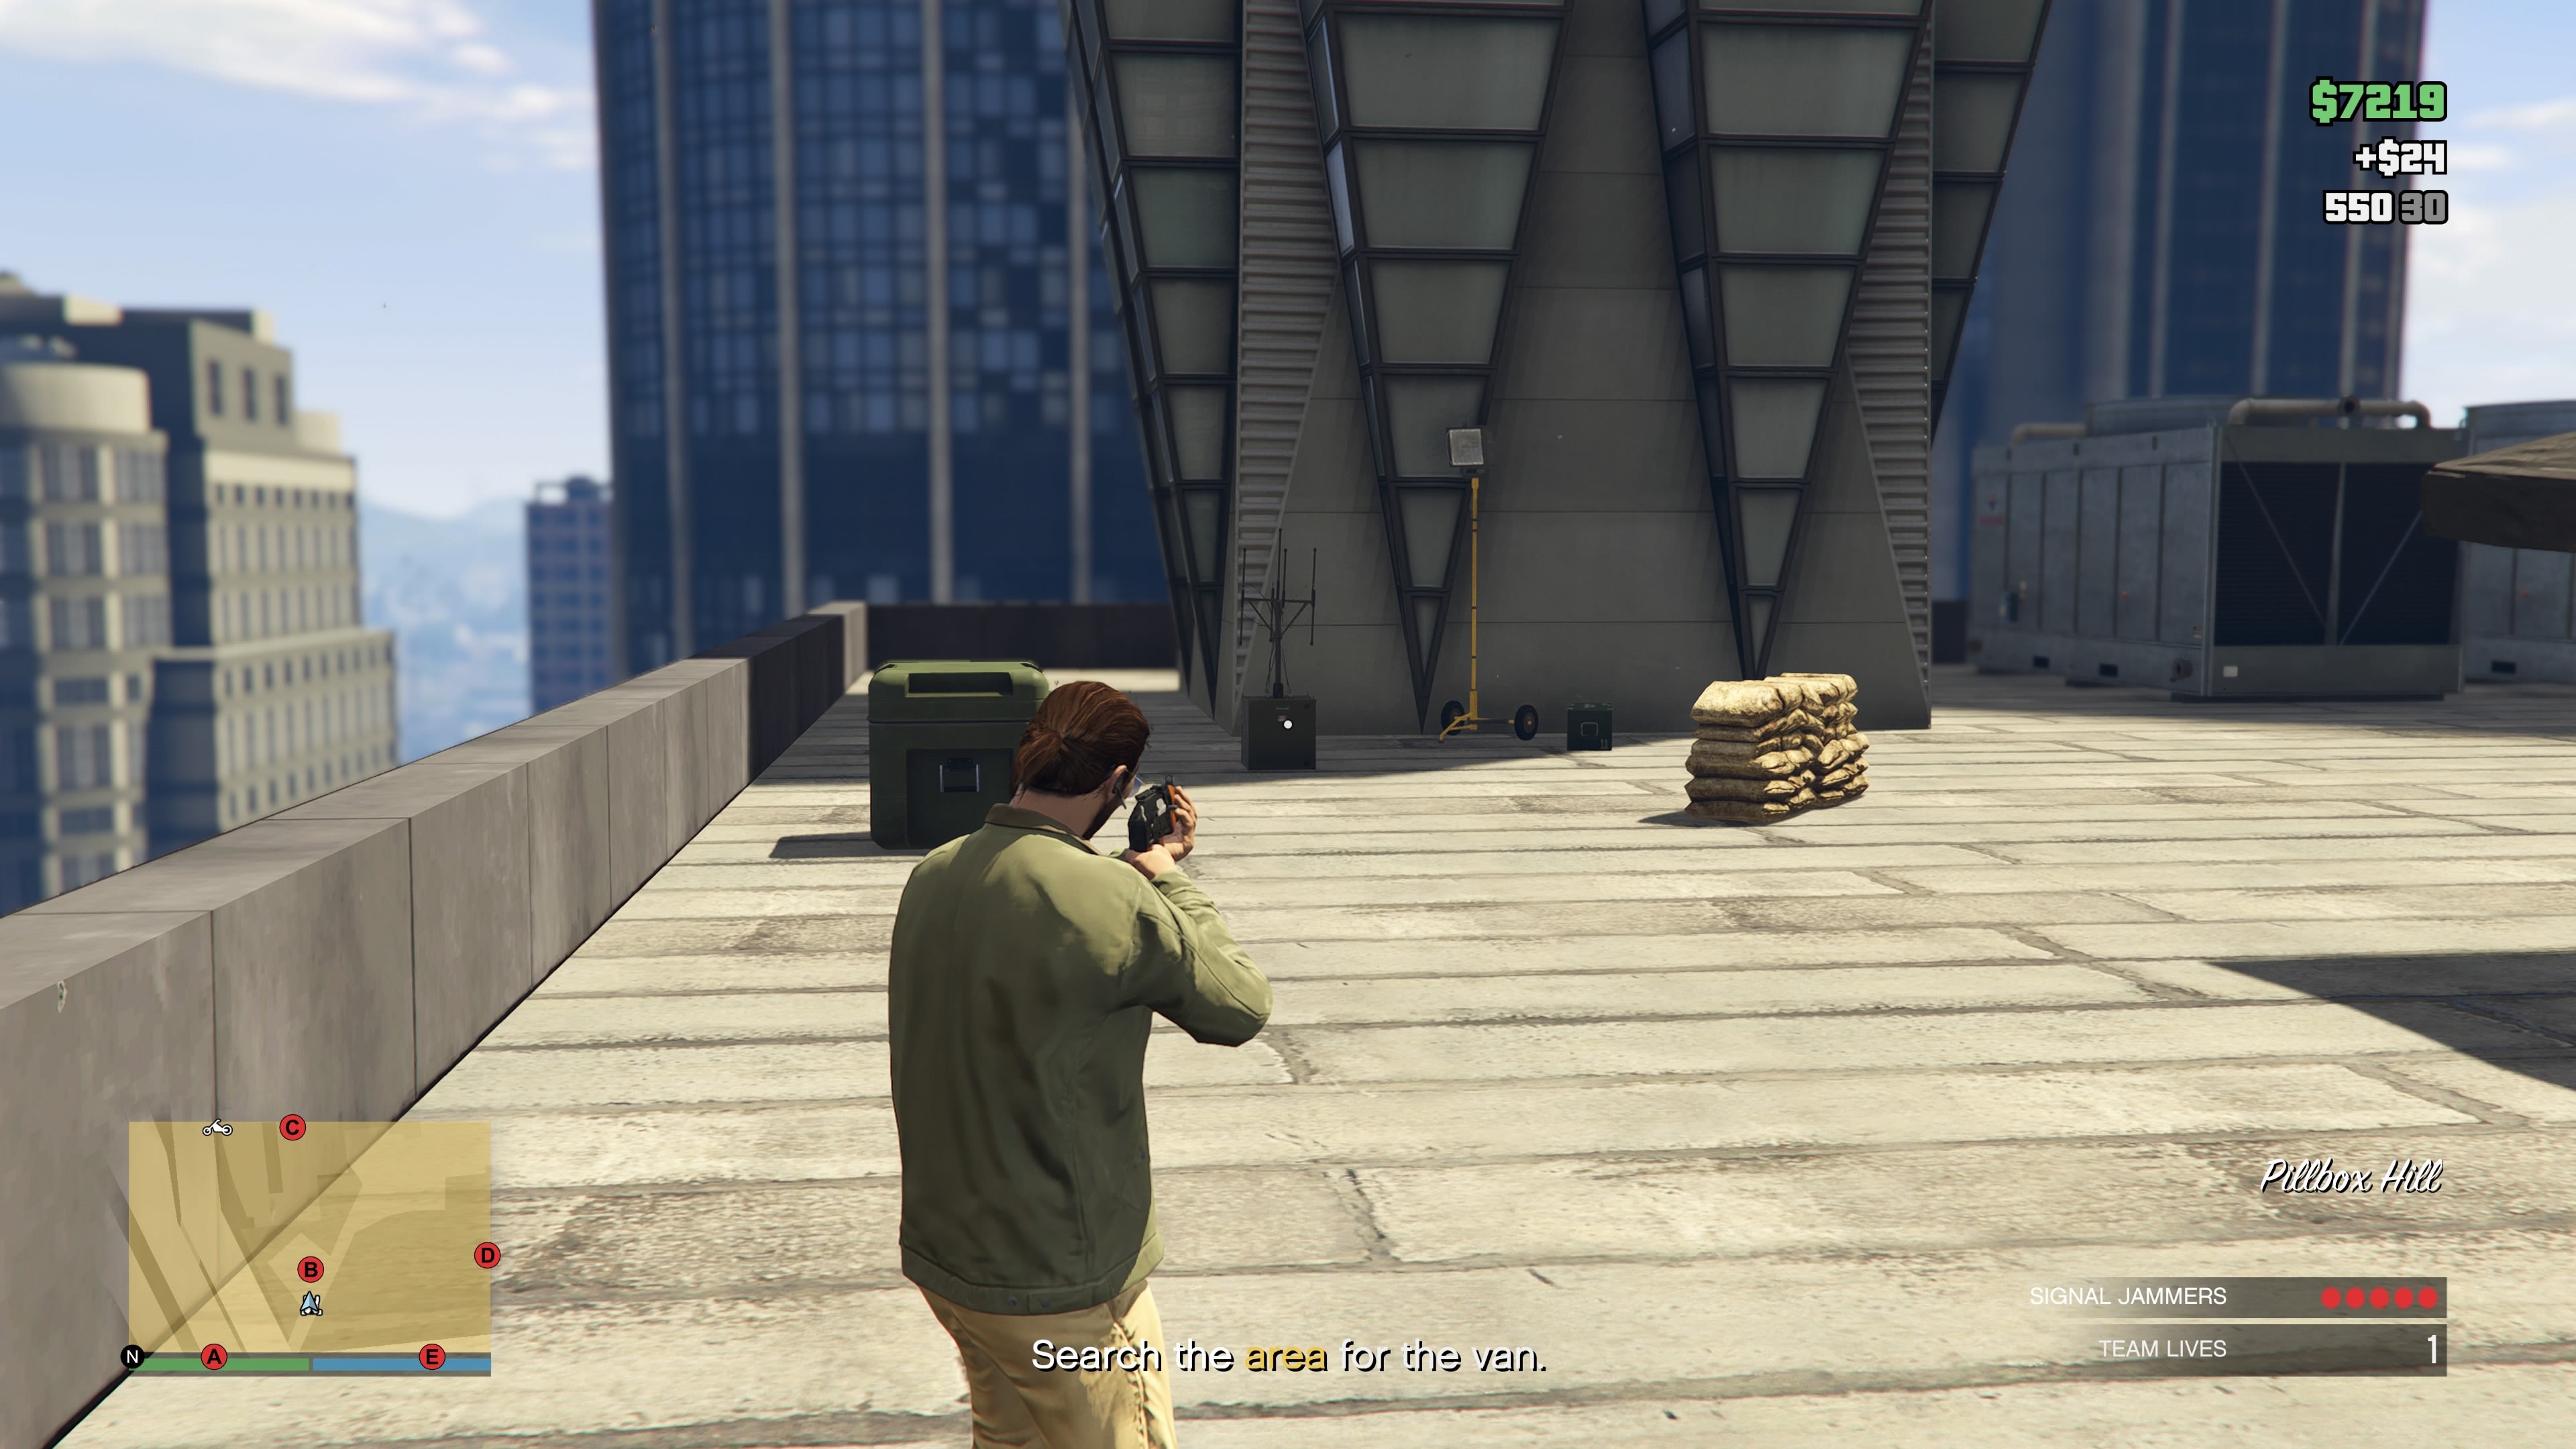
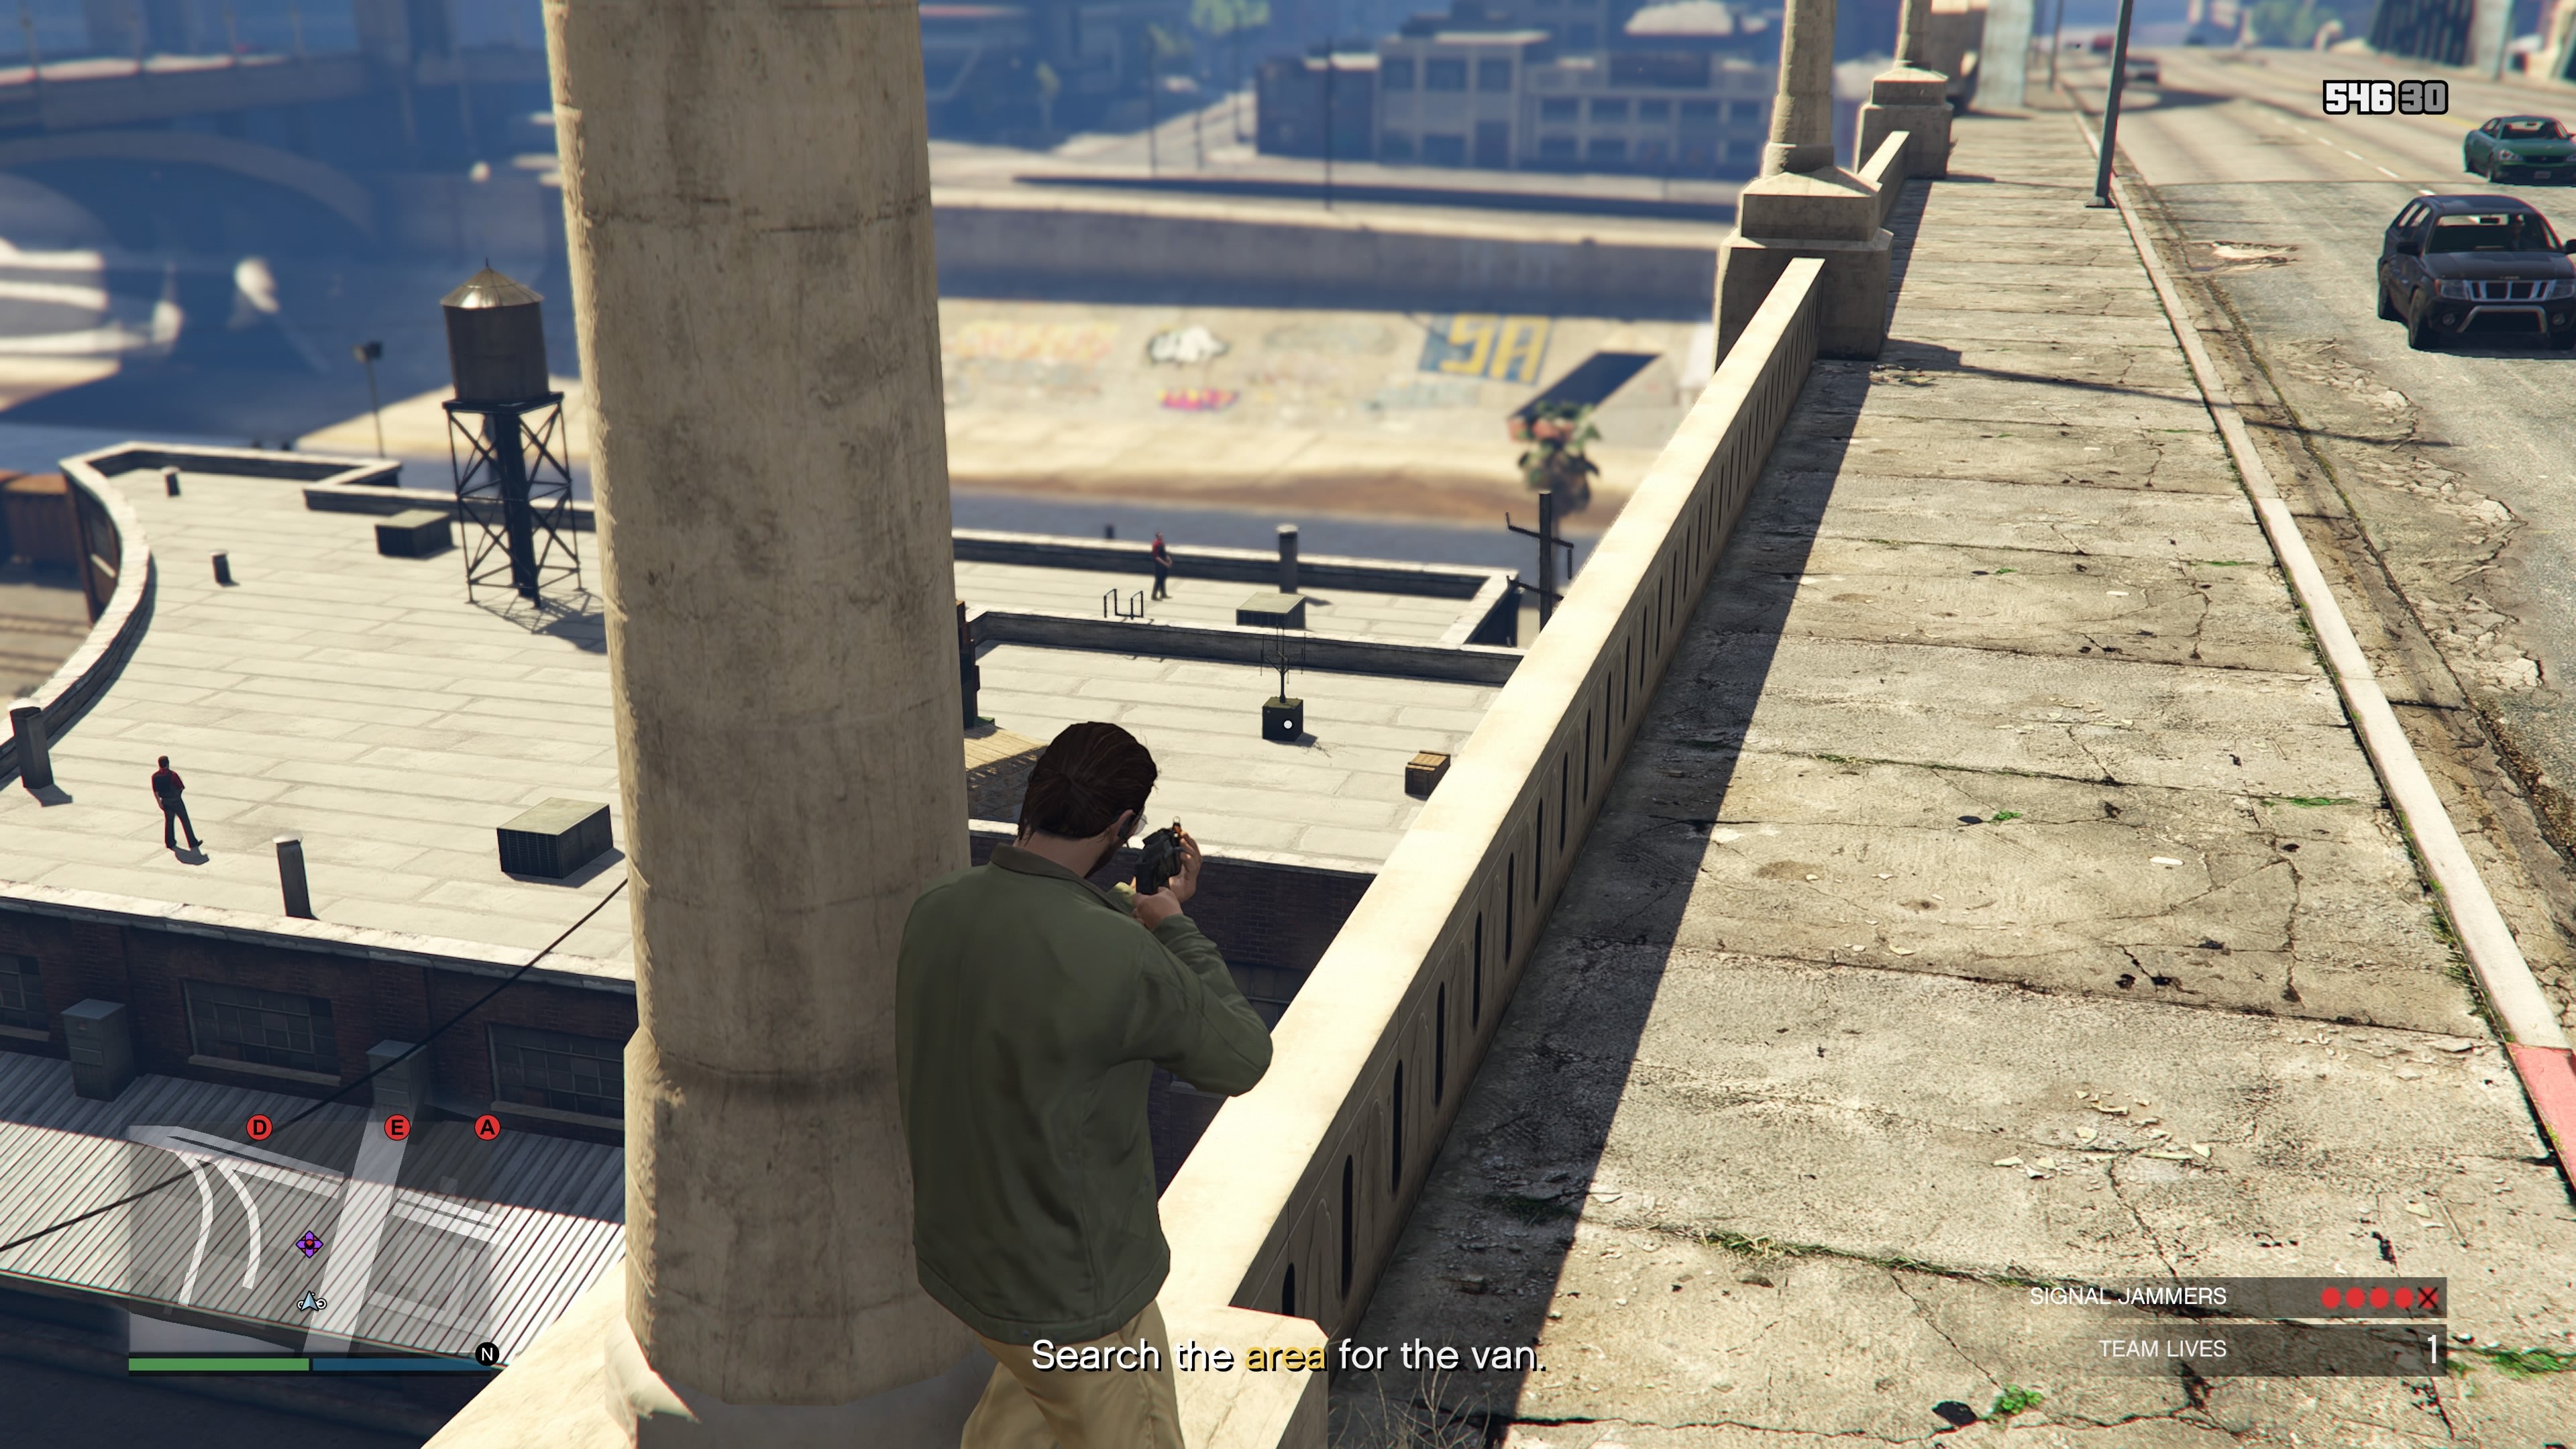
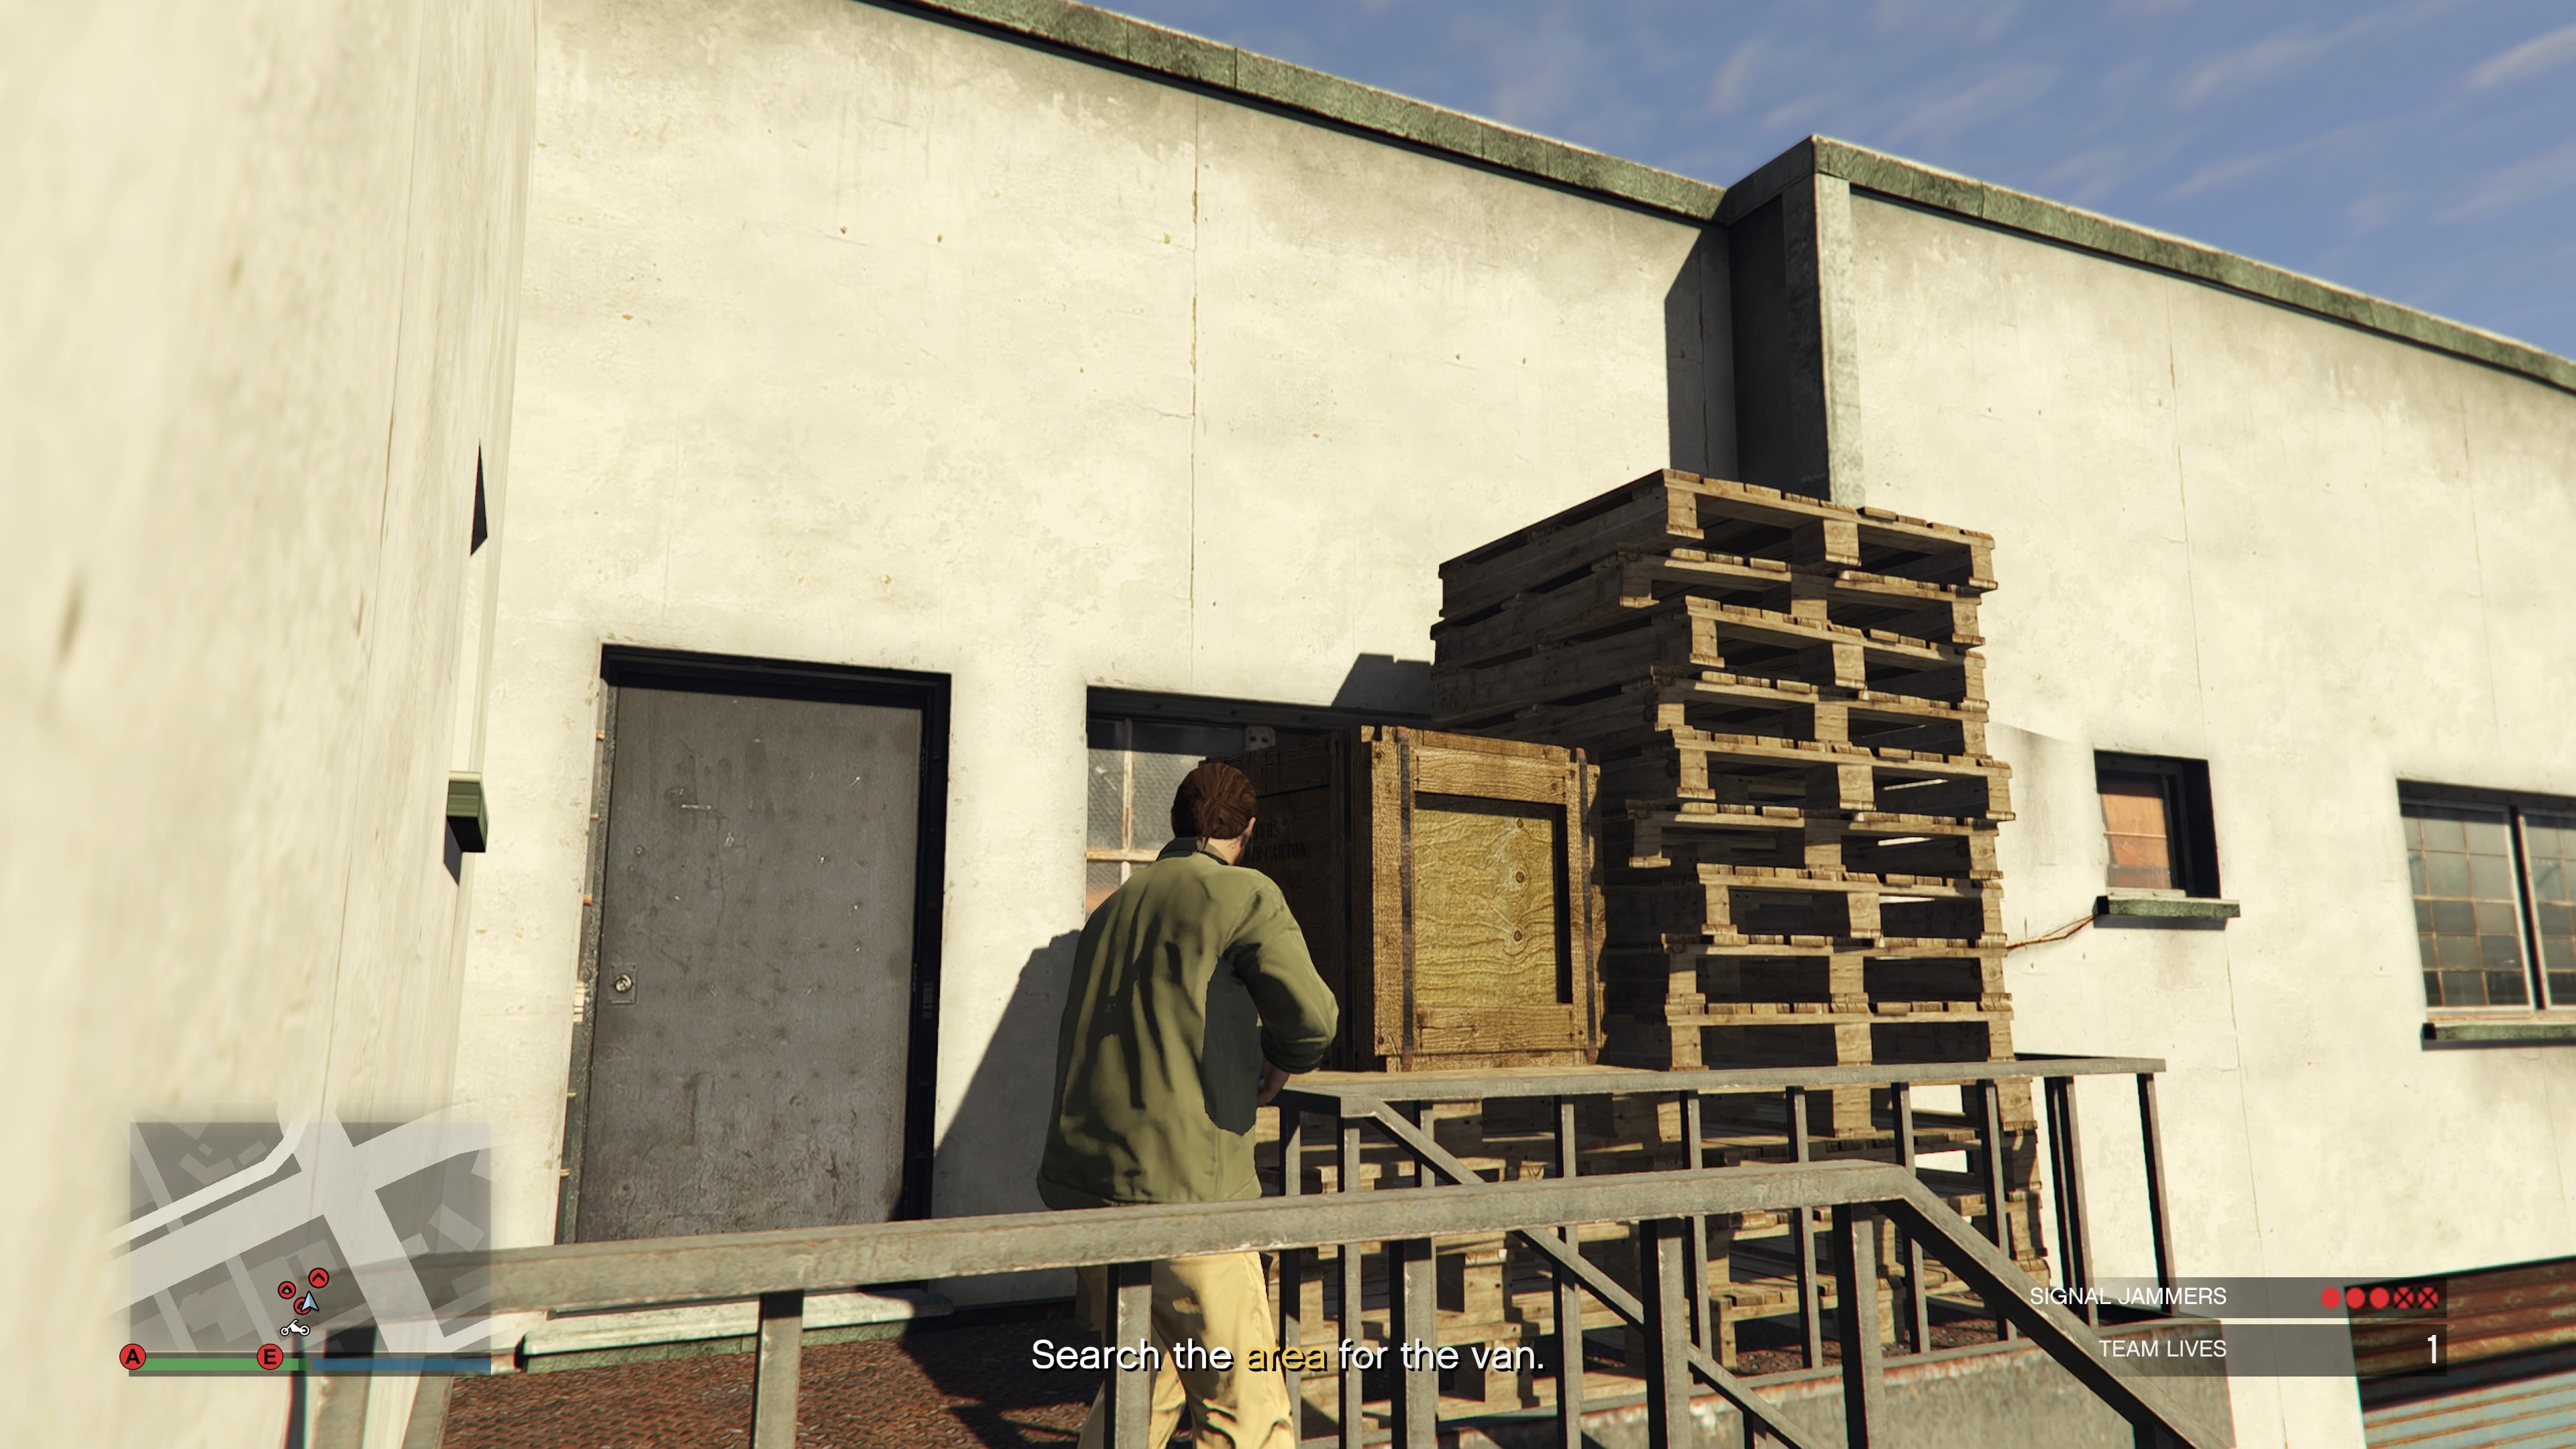
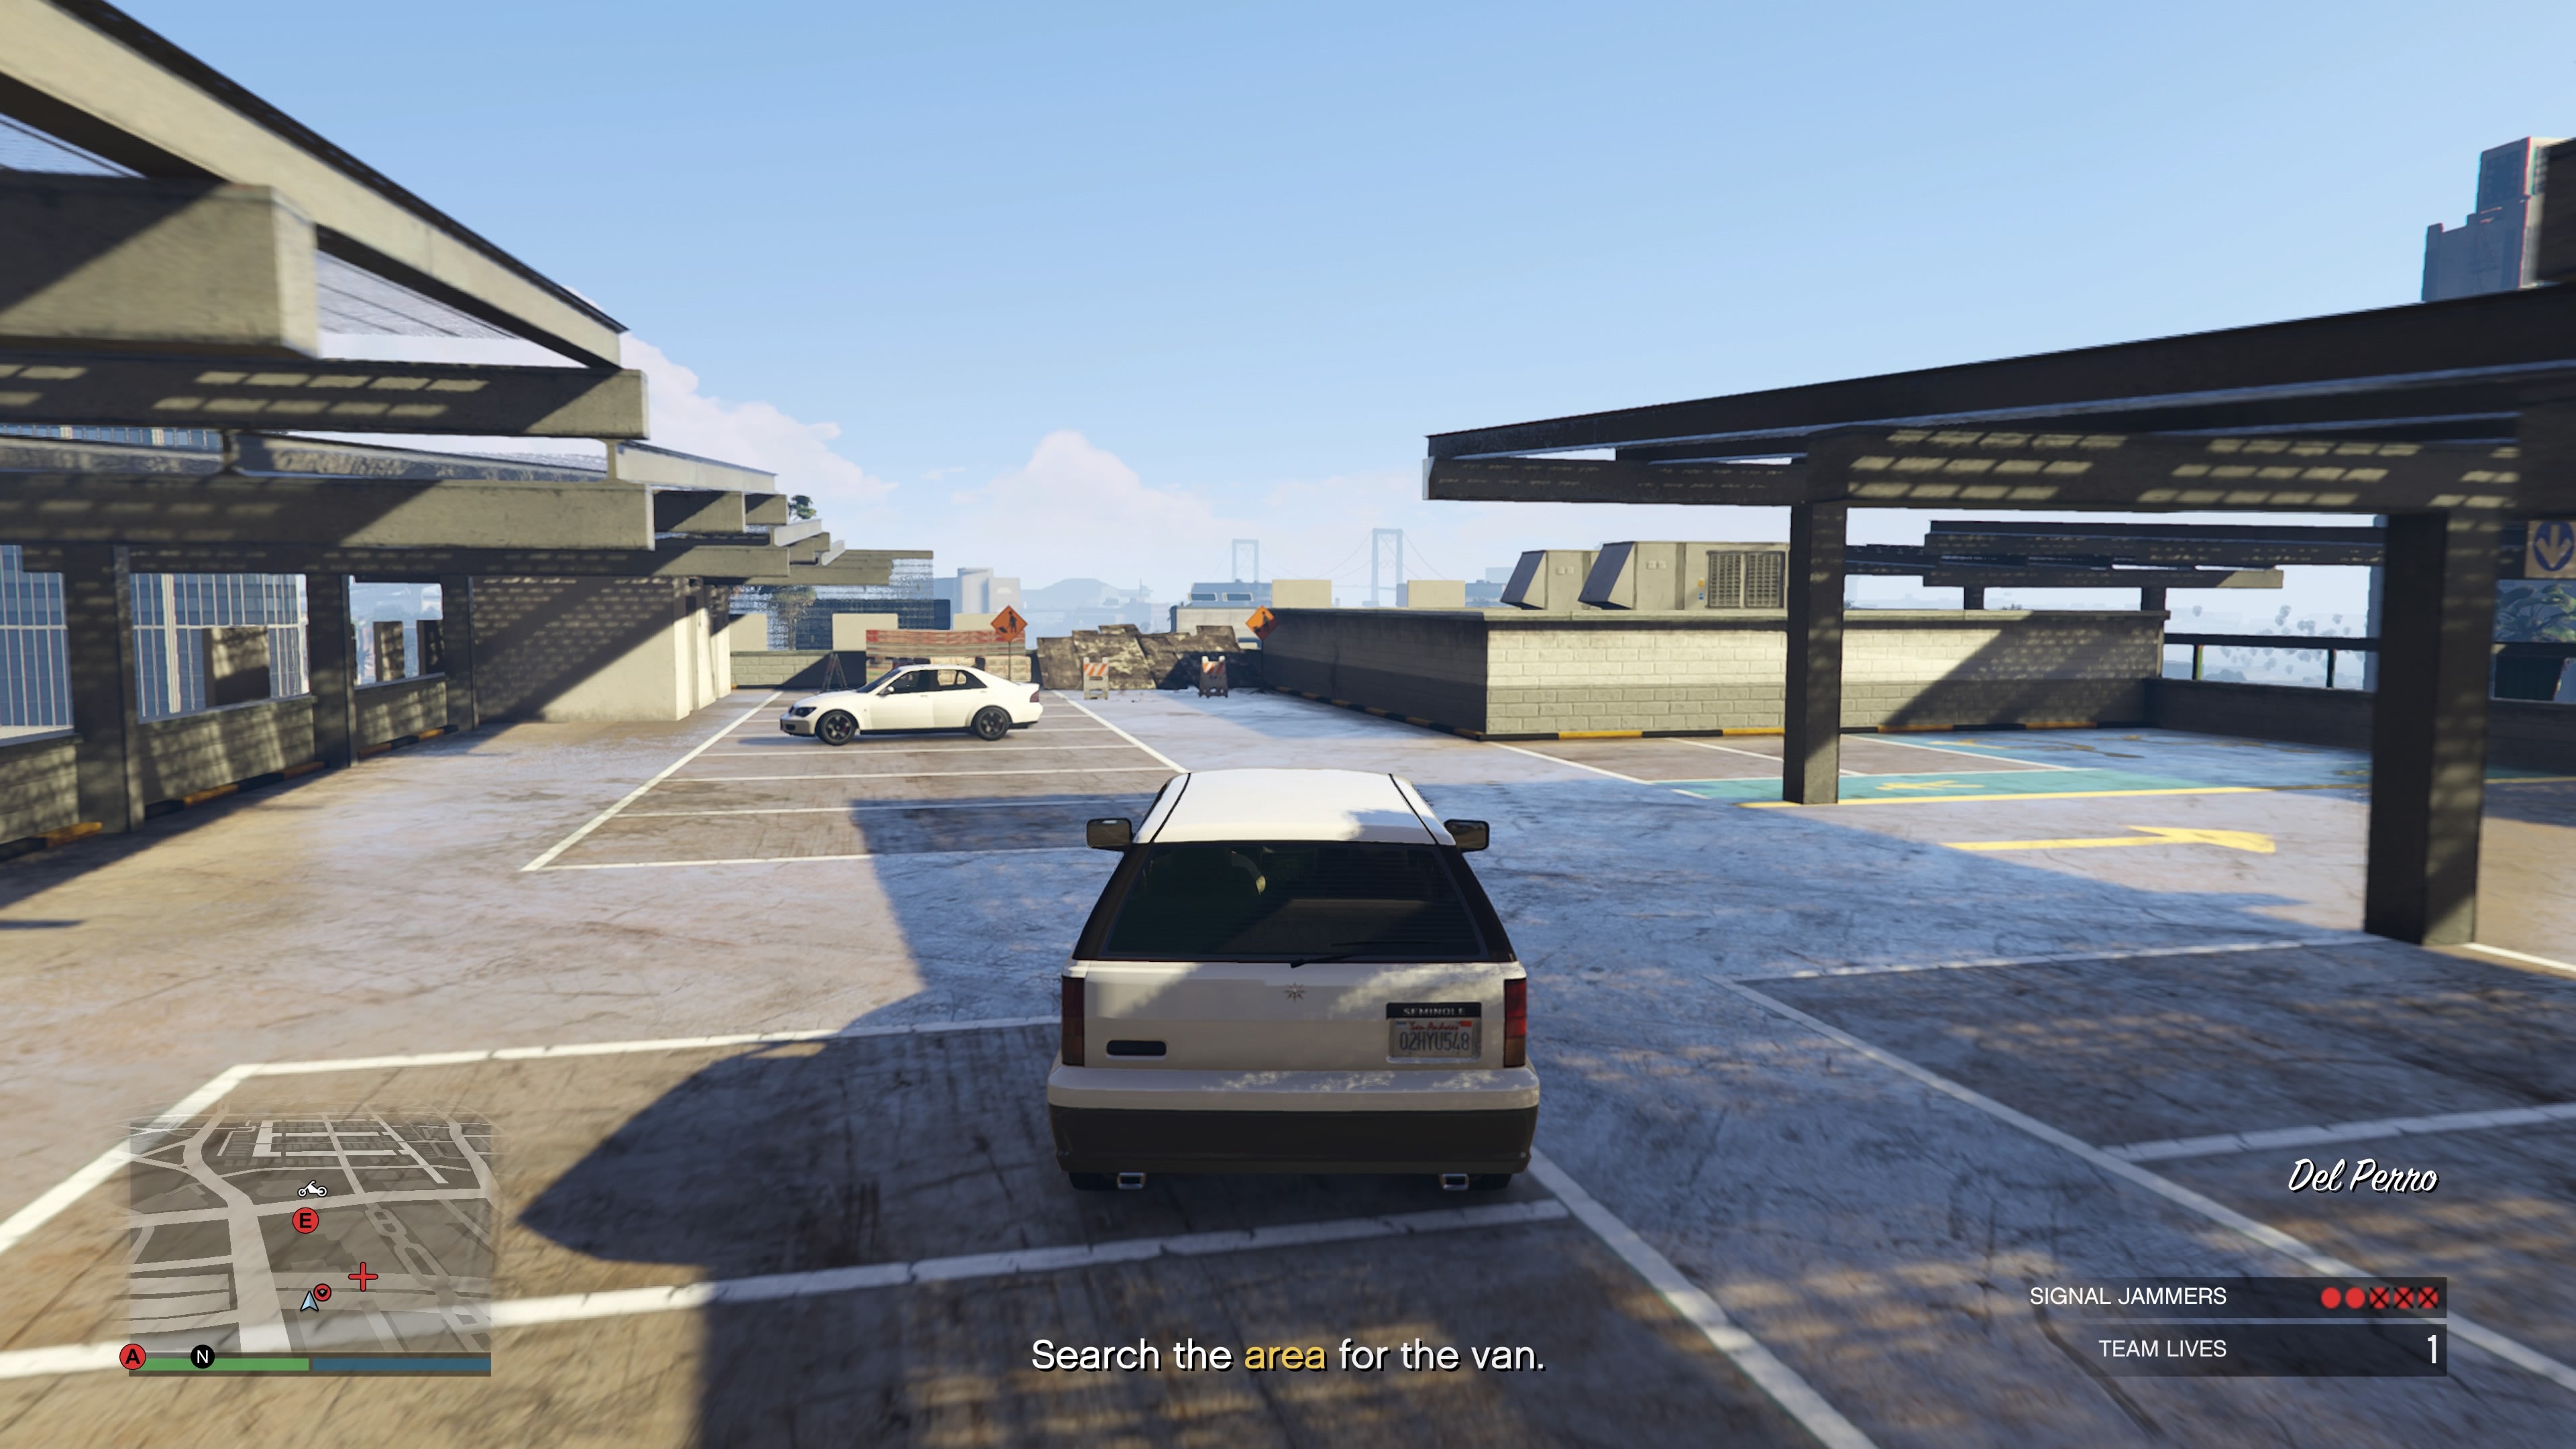
There are five jammers in total, are roughly placed in the same location (although B switched for us between the top of a motel and the top of a skyscraper within the same rough location). You must destroy them all to find the van. While you technically take out the majority then start searching for the van without an exact location, the vehicle changes every time, so you won’t know exactly what you’re looking for aside from a general vehicle type. Not ideal. We recommend you take your time with these. Take them on one at a time and keep an eye out for opportunities to snipe enemies, or even the jammer, from a distance. Typically the jammers are placed in a location that avoids a clear line of sight from the ground, so you’ll want to find another building above the jammer and snipe down. When you do end up destroying jammers up close - something you’ll have to do at least a few times - don’t stand too close! They explode quite violently when destroyed, so make sure you don’t waste a life needlessly Finally, take the time to destroy enemy helicopters as soon as they show up. Having them interrupt you mid jammer is annoying. It’s better to deal with them quickly for a brief reprieve from aerial damage. For exact guides for our jammers, refer below for a breakdown of each location and how to take it on! A: This jammer is an unavoidable fight. Take out as many enemies as you can from the street then climb up via the south side of the building. Take the ladder on your left (west) as the other ladder on top of the black pipe leaves you open to get shot from multiple angles. Either way, you’re going to be eating some bullets, so bring snacks and take your time! B: (If the Skyscraper location) Kill the two guards outside the stairs with a silenced weapon if you can to enter the roof terrace with the element of surprise. Then, pop the two guards in front of you. The last enemy can be found overlooking the streets below - shoot them in the back or stab them. Alternatively, if the jammer is located on top of a nearby motel, wipe out as many enemies as you can from the ground then slowly climb the white spiral staircase. There will be enemies hidden on higher floors, so check your corners as you climb! Once at the top, you can take out the jammer easily. C: This is a brilliant jammer, because you don’t have to fight at all! Instead of travelling to the building, drive up on the motorway that overlooks the jammer location. Then, with your sniper rifle, aim down and blow up the jammer. Just be careful not to fall! D: There’s no cheese way of doing this sadly. Clear out as many enemies as you can from the street level first. Once you’ve cleared out a decent number, make your way up via the east side of the structure. Don’t take the ladder. Instead. take the stairs then vault up the boxes leading to the roof. Go up one box at a time and see if you can pick off an enemy or two before vaulting up to the roof itself. E: This jammer is another big fight, but thanks to a nearby car park you can snipe the vast majority of enemies before you start making your way to the jammer proper. Drive up to the car park roof, pull out your sniper, and get to work! You can’t shoot the jammer, unfortunately. Once they’re all dead, make your way to the alley below, climb the ladder up to the roof, and take out the jammer!
ULP Asset Seizure: How do I steal the van?
Once you destroy all the jammers, you now can find the exact location of the van. First things first, drive to its location. You’ll have to drive this van, so it’s important not to deal too much damage. Do not shoot out the tires! What you’re aiming for is a clean headshot on the driver, so take your time and line up your shoots while chasing it down. Once the driver is dead, get in the van and the marathon to the drop off point begins!
ULP Asset Seizure: How do I drop off the van without getting murdered?
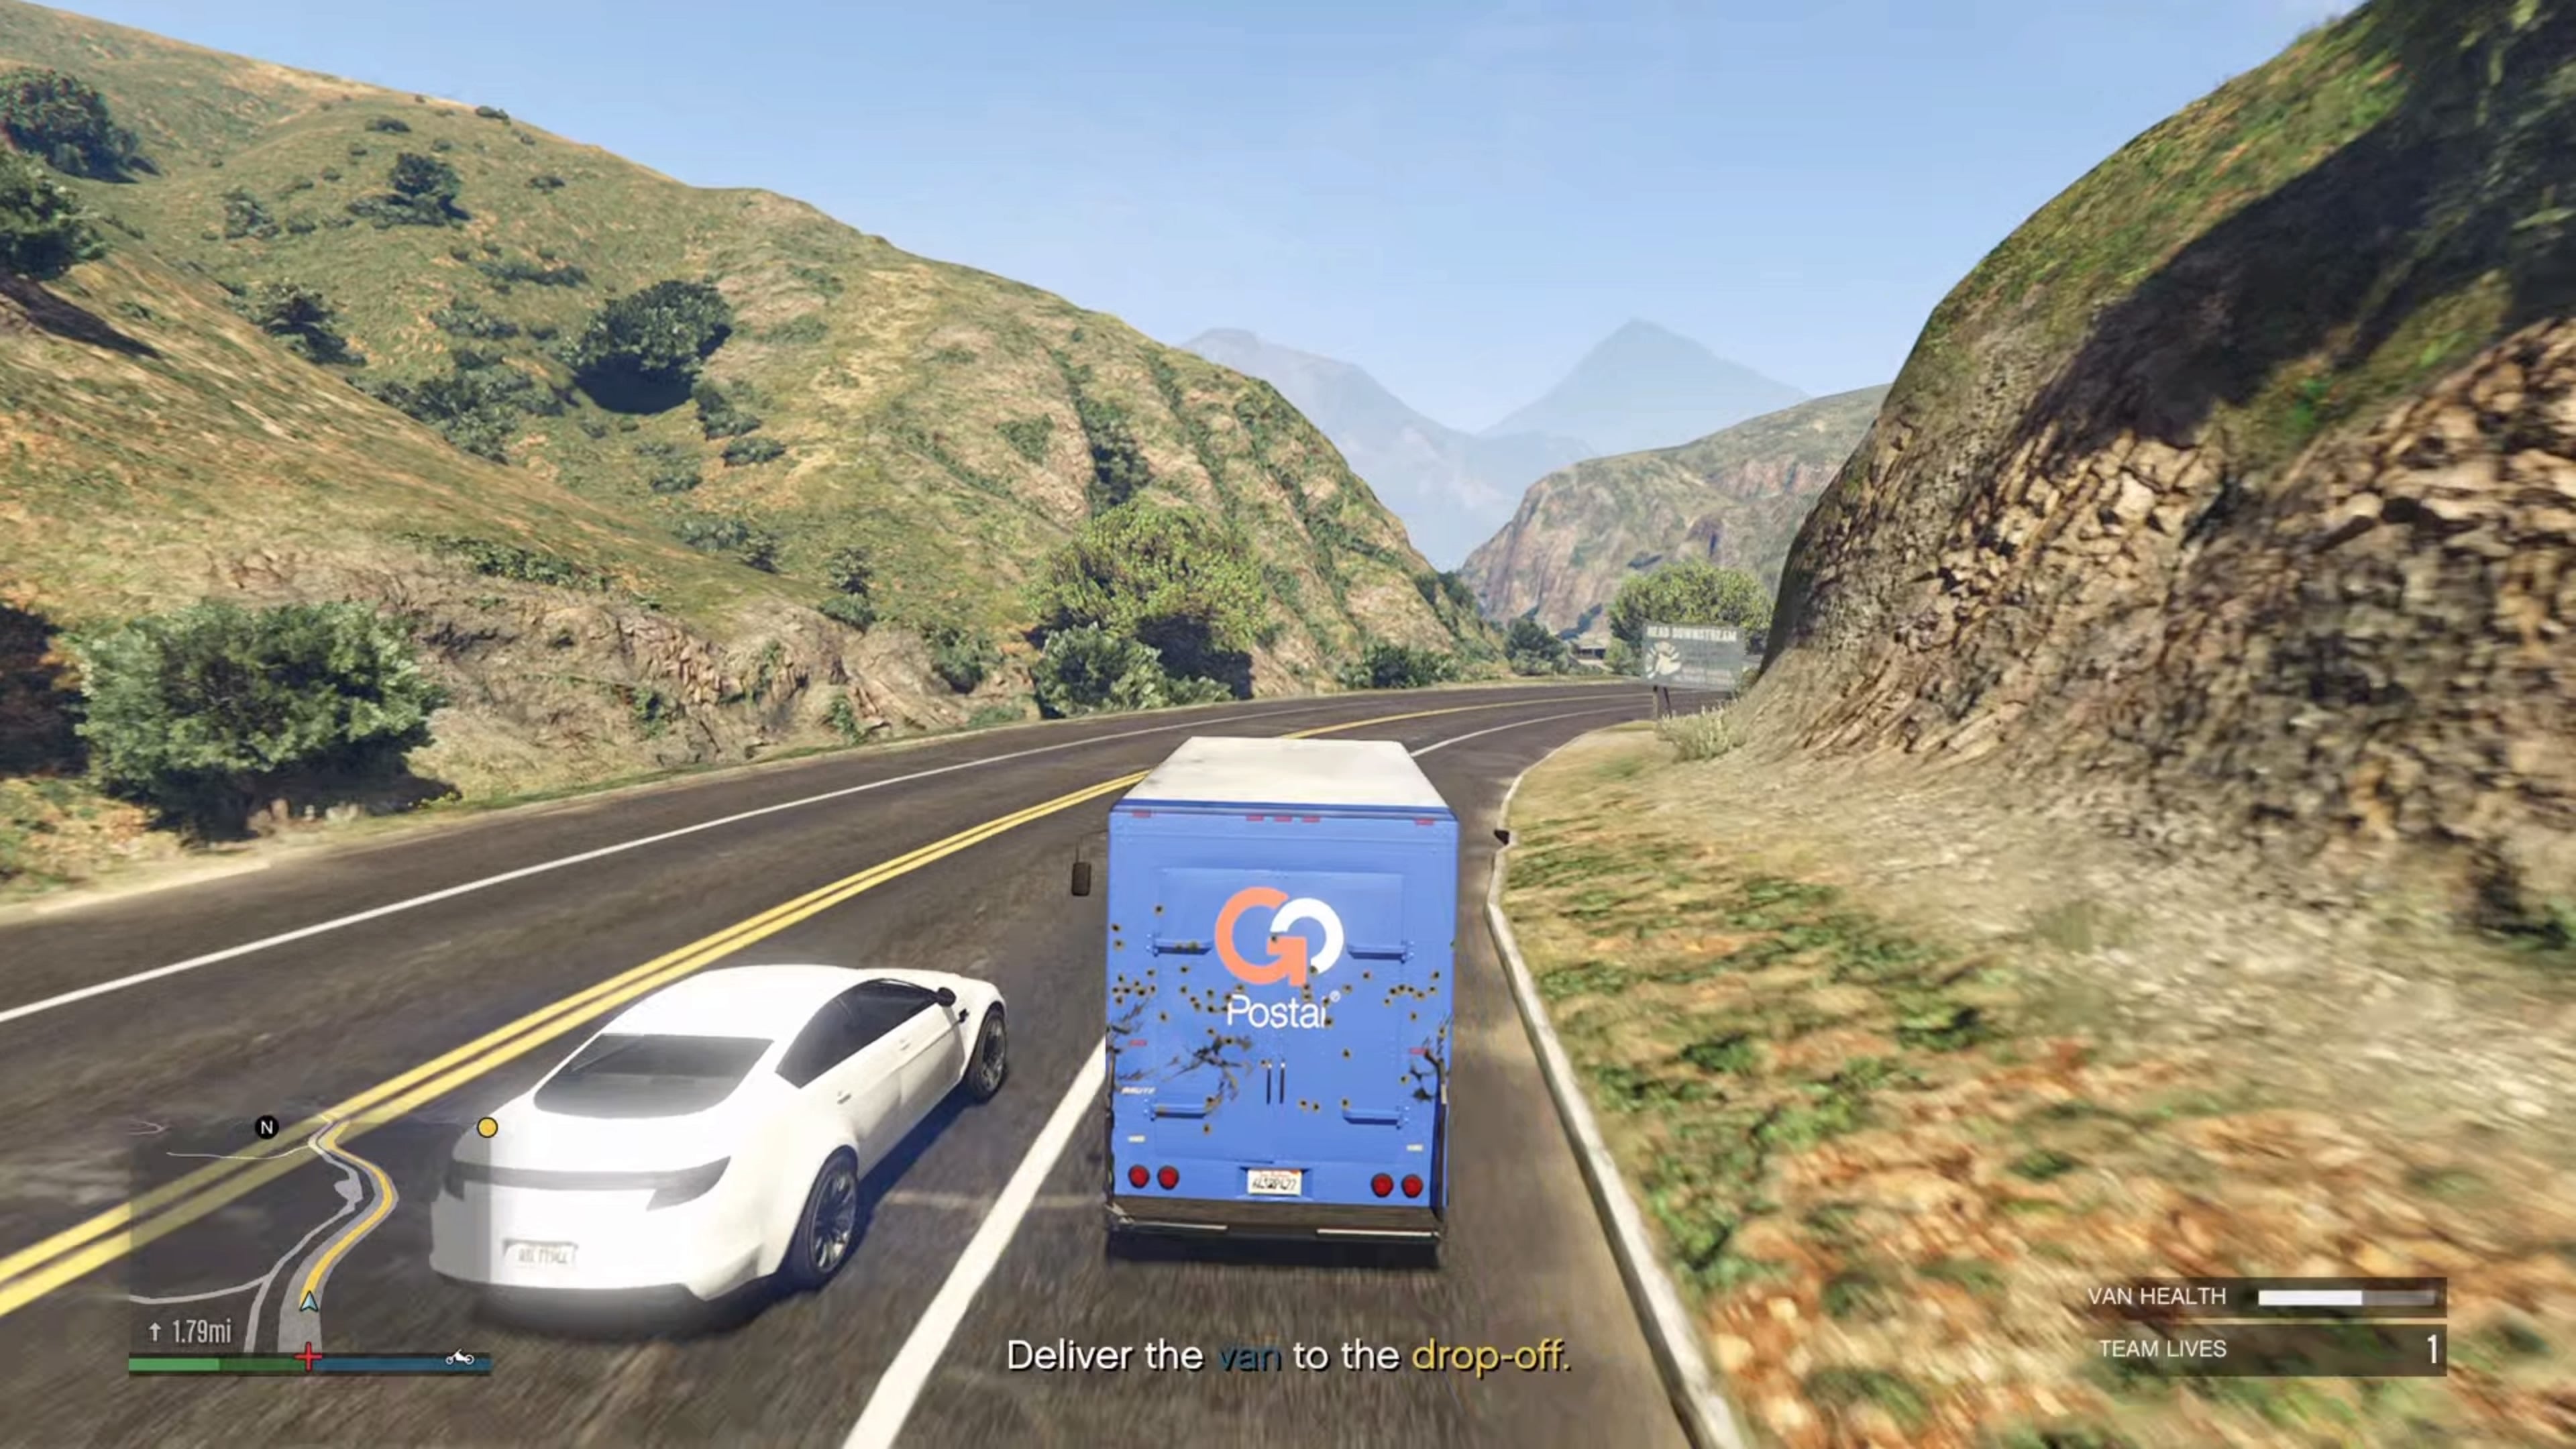
First off, congratulations! You’ve unlocked a checkpoint that means if you die now, you can quick restart the mission with the van already in your hands. For this final step in the mission, you need to drive from Vinewood all the way up the mountains and into a lonesome lodge around 3.5km north. This means driving slowly up hills, and bombing it back down again in a vehicle type that doesn’t handle super well. In addition, you’ll constantly be attacked by enemies in tough 4x4s. They drive faster than you uphill, and will keep up with you on the faster downhill sections too. As such, your main threat is these vehicles getting in front of you and shooting your face off through the windscreen. We recommend making great efforts to keep enemies behind you whenever possible, and shooting drivers while you drive during safe moments. You can also try to ram them off the road, which works well, but be careful of stray bullets taking you out. If you ever get too low on health, stop the car, get out, and slam snacks until you’re healed up. You can also take this opportunity to wipe out nearby soldiers. After an arduous journey, you’ll make it to the drop off point. Simply drive the van up to the house and you’ll have earnt yourself $40,000. Nice. If you’re looking for a guide on the next mission in Operation Paper Trail, check out our walkthrough guide for ULP: Operation Paperclip! That concludes our guide on ULP: Asset Seizure. For more Criminal Enterprises guides, check out our guide on how to get all 18 new Criminal Enterprises vehicles, as well as the new GTA + rewards.
